
Basic Overview For 80 Series Trucks
Instal overview to show installation images specific for the 80 series windows.
The details and finicky stuff are almost exactly the same as the 60 series info, of which there is a ton of detailed stuff posted in the main flip window instal page here:
Flip Window Instructions-60 Series
This will just be a quick(er) look at the big stuff.
The 80 Series Windows require the use of the factory solid glass. Toyota part numbers:
(US 60 series windows are already all solid glass, no additional parts needed)
(I do also have powder coated solid aluminum blank-out panels for those that do not want glass)
62712-60030 (LH) & 62711-60070 (RH)
(just the glass is needed, none of the gaskets or vent trims, should be about $140 per side depending on your dealer)
Update: These (of course) have gotten more difficult to find. There are a variety of part numbers, all the solid glass is the same size and all of them will work for this application, however it would appear from the part descriptions that some of them do have factory tint so that needs to be watched out for.
I know for a fact that part number 62711-60330 works for the passenger (RH) side.
And 62712-60270 SHOULD be its mate for the LH
62711-60060 should work for RH
62712-60020 should work for LH
I will add other options as I find them.
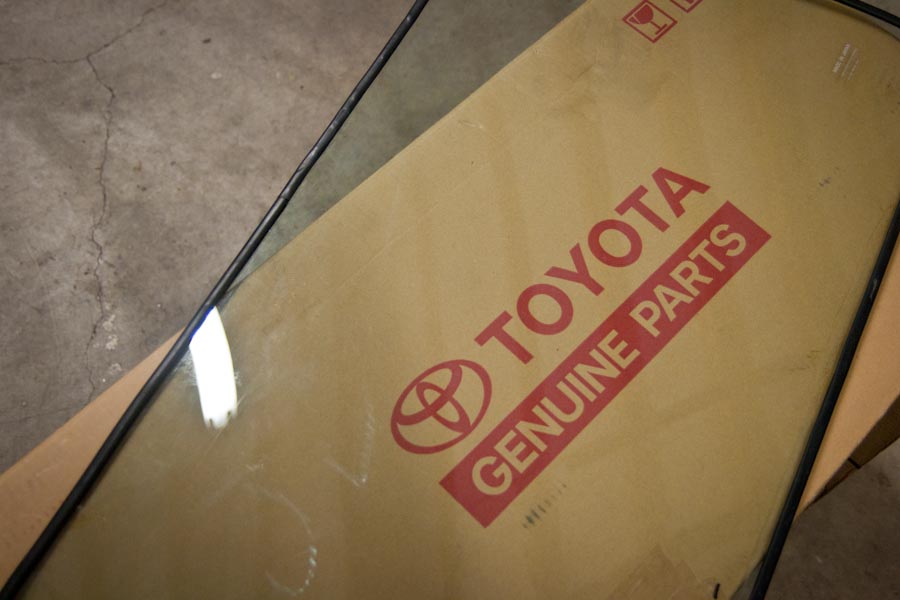
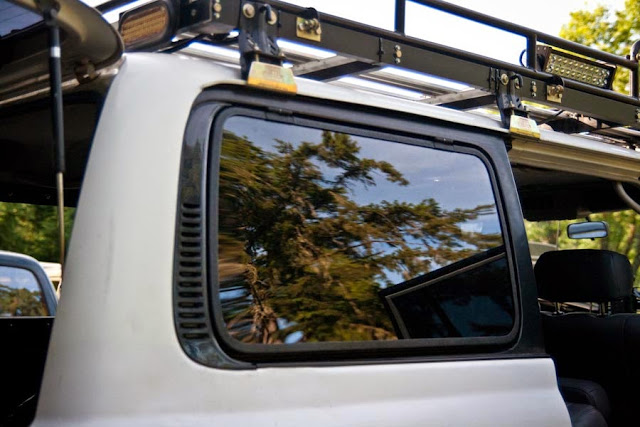
First up, the window set as they would be after being unpacked. Got them out and ready with the tools lined up to go.
I pop the factory windows out, this truck already had solid glass installed so removal was exactly as pictured and documented in the other install thread. For the factory sliders they come out the same way, but even easier.
After that, pull the taillights to get access to the panel.
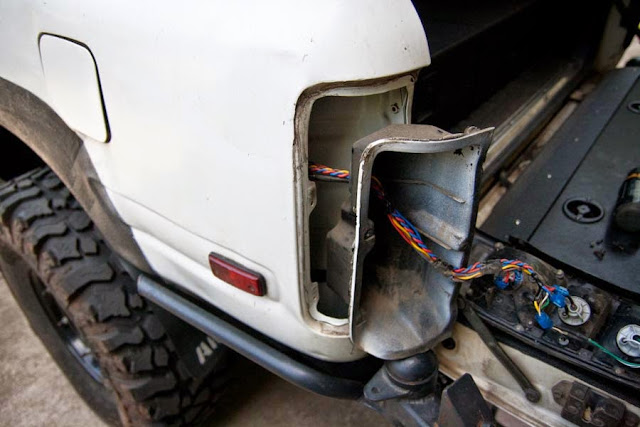
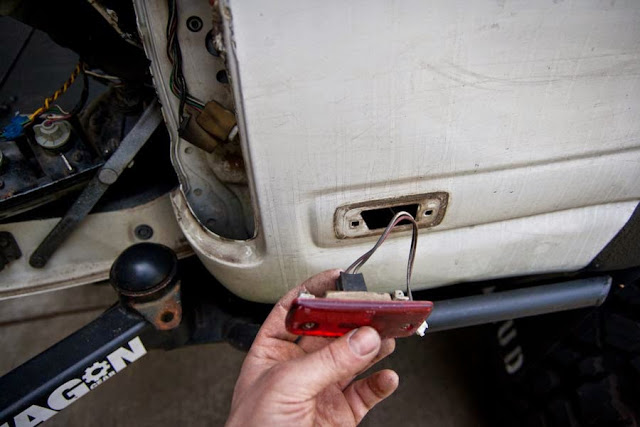
And the marker lights to make a spot for the actuators.
This truck being white I did a quick scrub-down of the metal in front of the pressure vent and rattle canned it black, otherwise there would be a strip of white between the window and the vent trim. On dark trucks it wouldn’t matter.
Next up unbolt the frames and set the hardware aside.
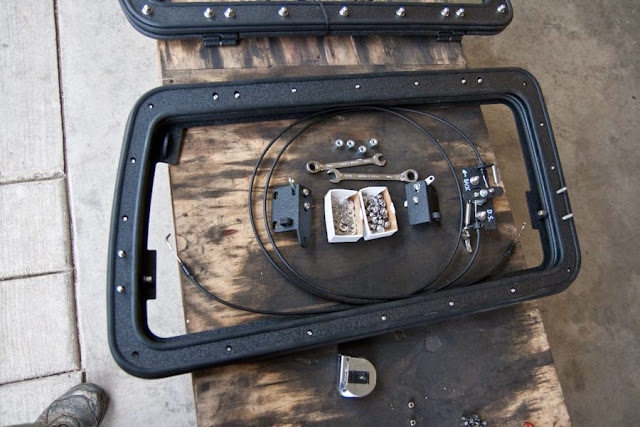
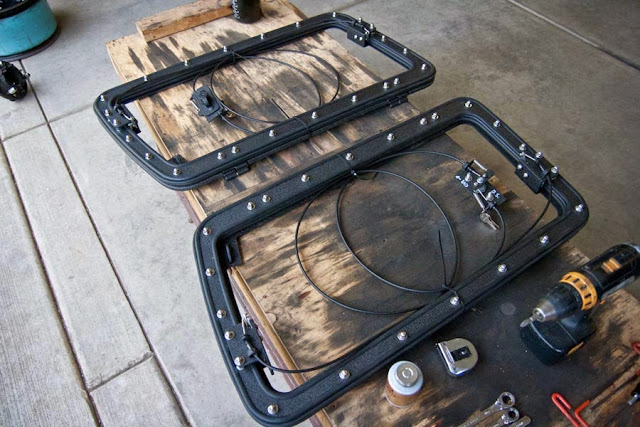
To start with all we need are the inner and outer frames and the four standoffs with four washers.
As with the 60, set the frames in place, finger tight the standoffs and we can center the frames in the opening, get them justified a little towards the top and double check the fit before proceeding. Then Move on to the rest of the hardware. The inner acorns and washers a black coated stainless now.
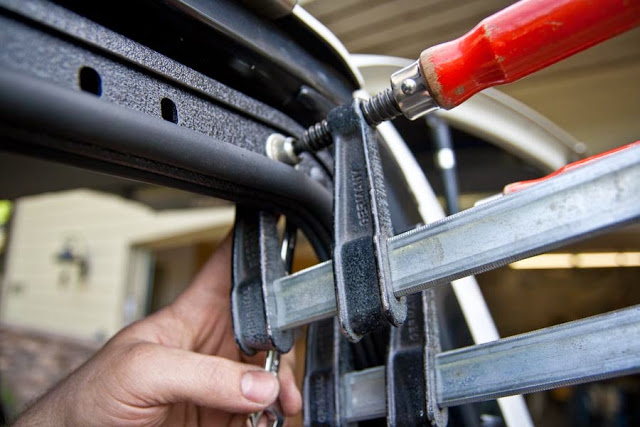
It’s not all rose petals and posies, you will have to use a clamp.
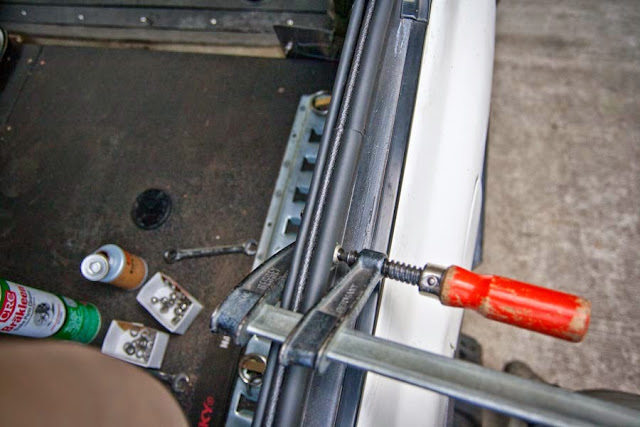
And for the corner bolts (which I leave for last) you will probably have to use two.
With the frame in place we can loosely bolt the latches on.
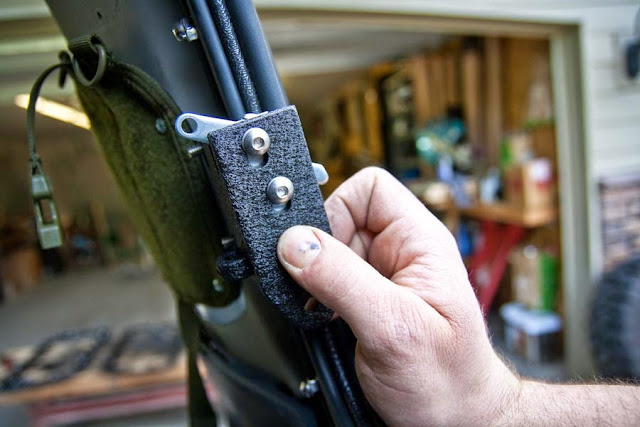
Then we’ve got the outer frame, put a little bit of RTV on the back of the hinge plate, it’s not needed but a little extra help wont hurt.
We’ve got the frame ready to go.
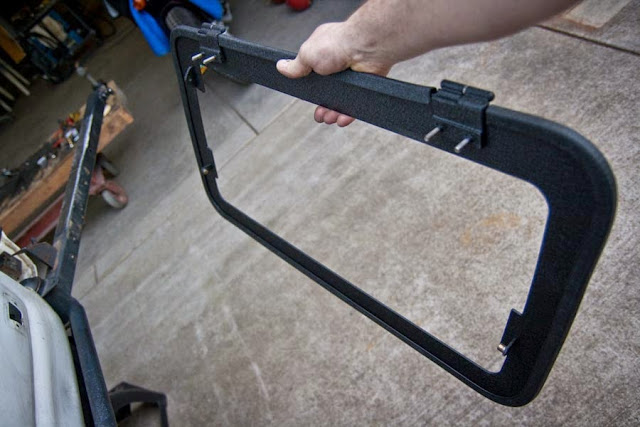
Set it in place and latch it to the latches.

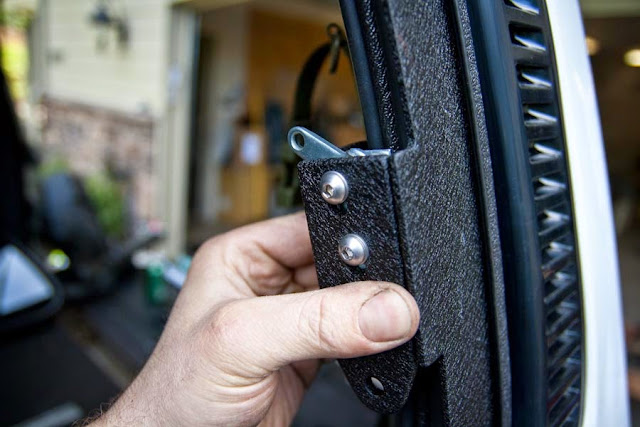
Get it situated in the opening and bolt the hinges in place.
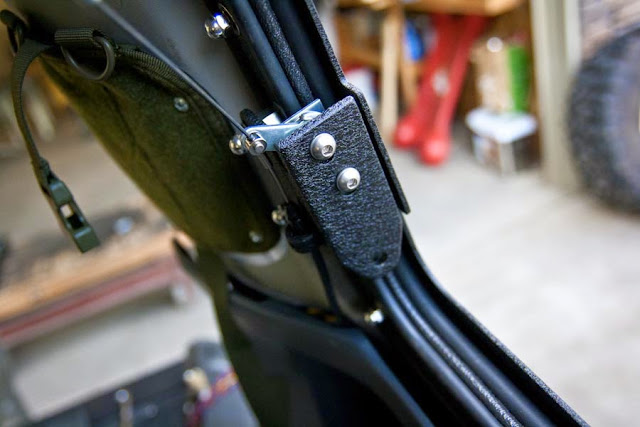
Now that the frame is where it needs to go, match the latch holder bracket up to it and snug it in place as well.
With the holders matched up move on to the latch itself.
Slide them up or down to get the pin to hit center on the pawl and so the pin tab is centered in the cutout.
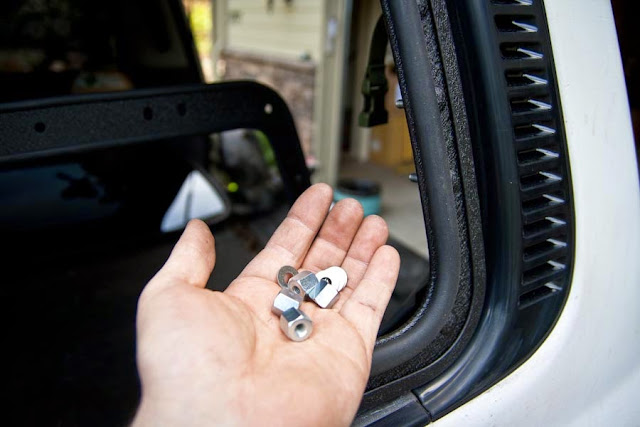
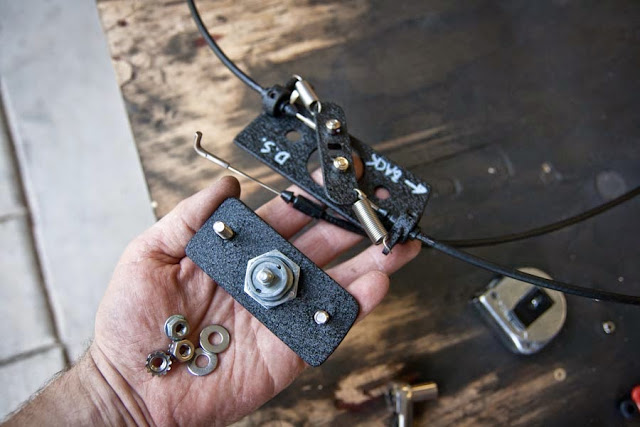
Then we can move on to the actuators. I’ve got them labeled for each side and which is the back cable.
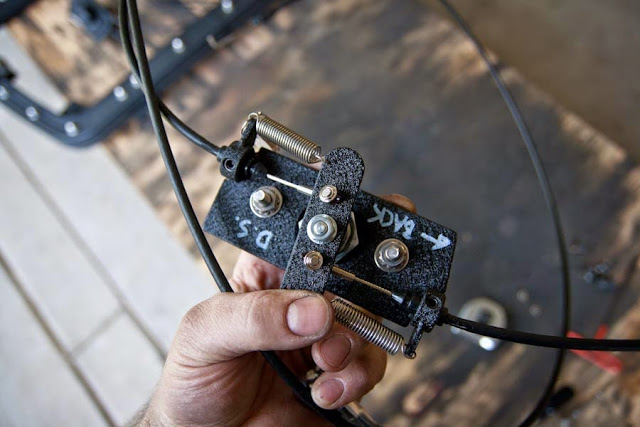
For assembly all that needs to be removed is the three nuts, that gives you all the parts you need.
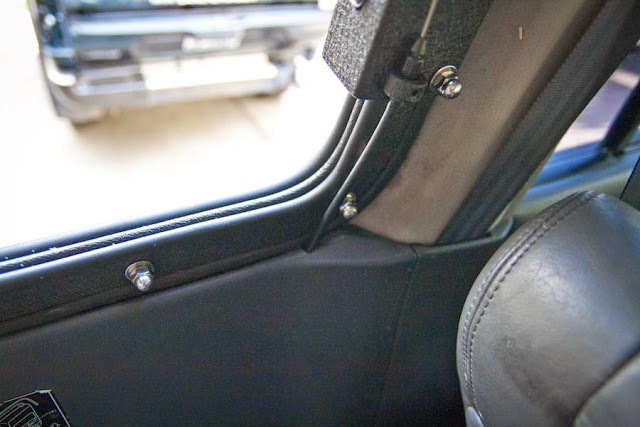
Throw the backer plate with the cables in through the taillight opening and snake the cables up into place.
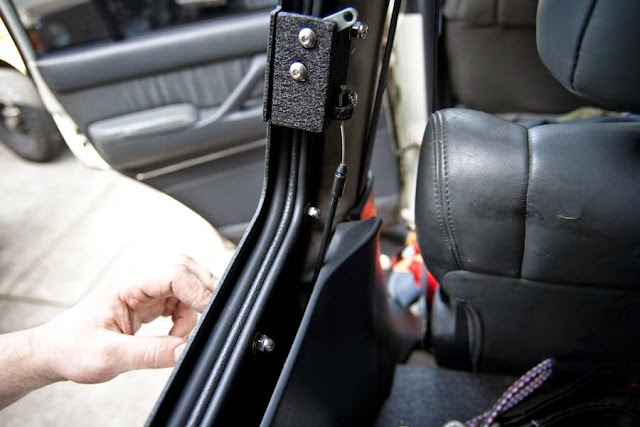
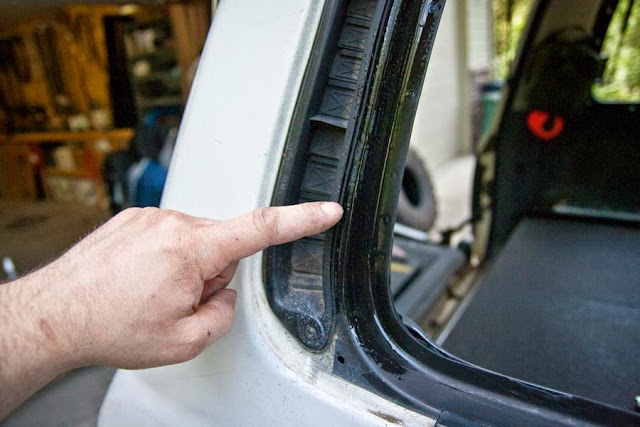
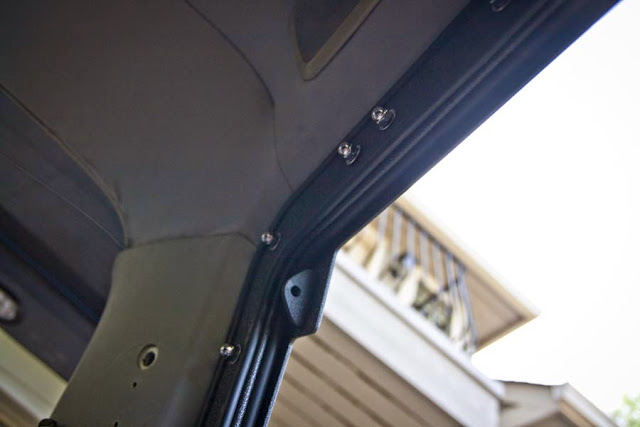
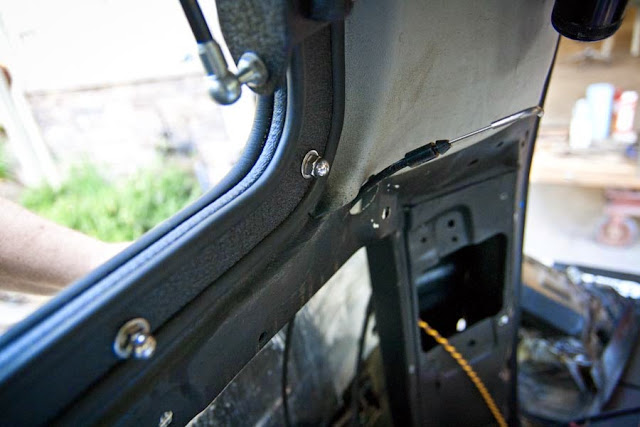
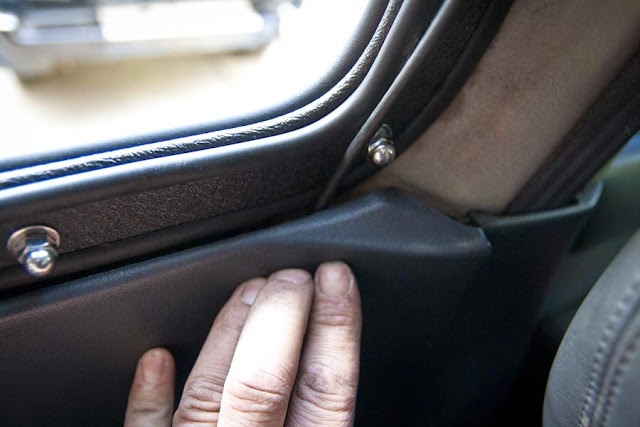
For the back cables be sure to rout them up through the access hole for the vent trim panel nut as pictured here.
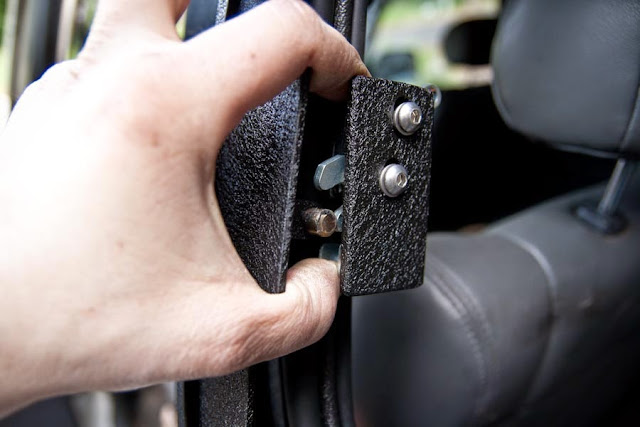
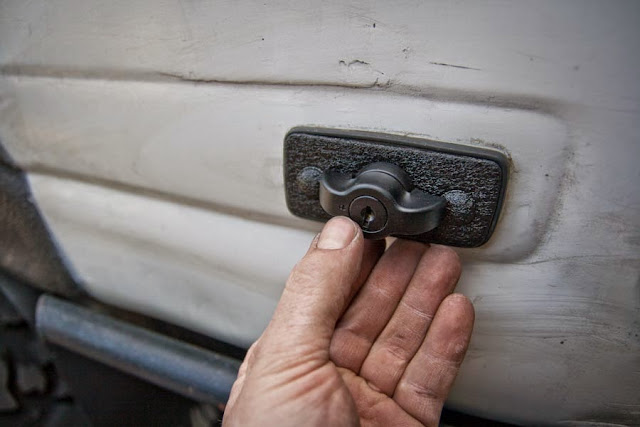
Then on to the exterior actuators. My thumb is pointing towards the little lock icon on the knob, if you install them with the symbol towards the front the keys will go in with the tumbler cuts forward, that makes it consistent and easy to remember whichever side you are on. I find that on the passenger side it works better for the lock symbol to be toward the back so that the key orientation is the same as the drivers side, since the drivers side tends to get used more often it just becomes habit for the key to point a certain way.
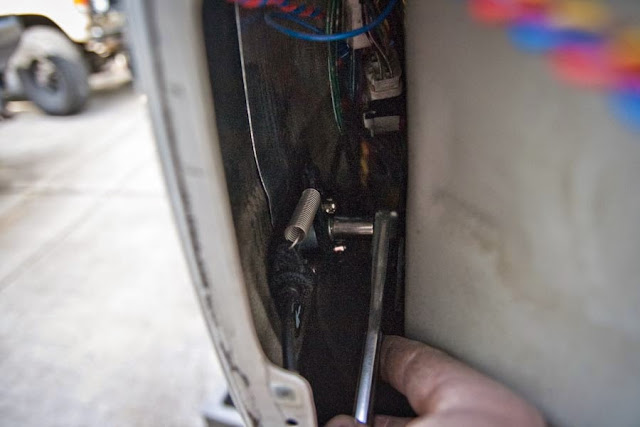
With that in place assembling them is as simple as putting the three nuts back on and threading them into place. Easier said than done since space is tight.
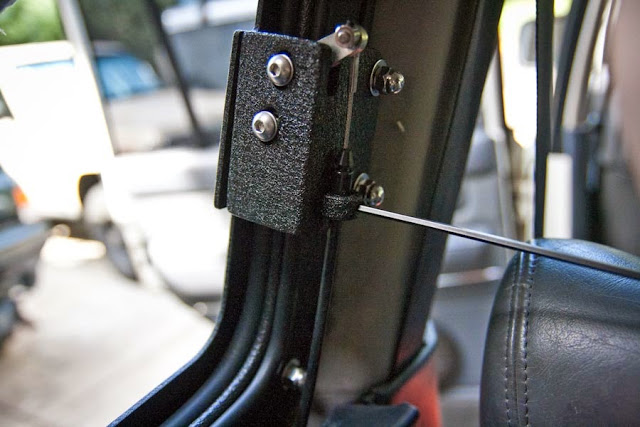
Hook the cables to the latches. I have switched to using these tiny metal shaft collars rather than the metal clips. They are held in place with a 1.5mm drive set screw. It is typically the smallest size in normal metric allen key sets.
Lock the cables in place, using this setting to adjust the cable free-play so they both engage at the same time. Be careful to not over-tighten them- they are clamping down a plastic barrel- too tight and it make the cable bind.
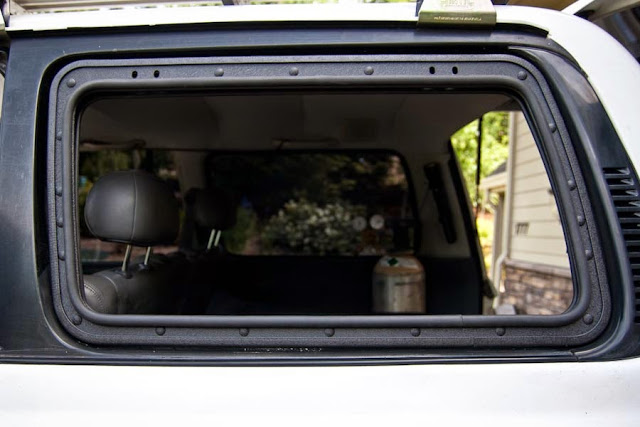
You can do all this and make any adjustments before the glass is put in place and it makes it easy to just reach through the frame and get to both sides. Once it’s all set we can move on to the glass. The glass frame will pop off its pins when pushed to the back, and the glass slides under the two tabs on the top of the frame and is locked in place with the lock strip.

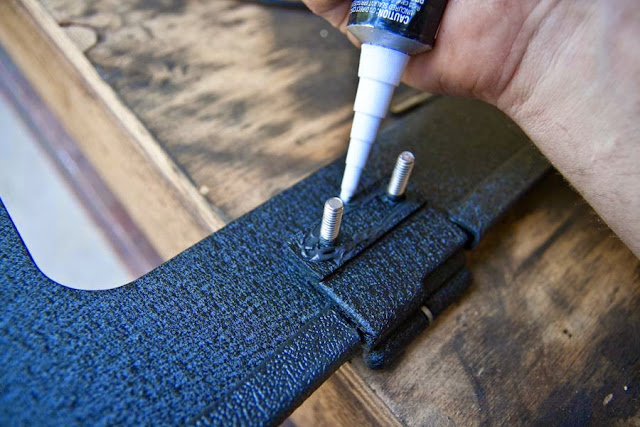
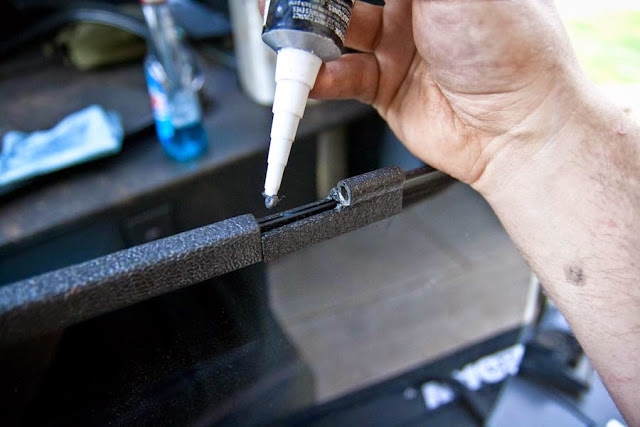
This small area under the hinges has no lock strip coverage so it’s necessary to seal it with a bit of RTV.
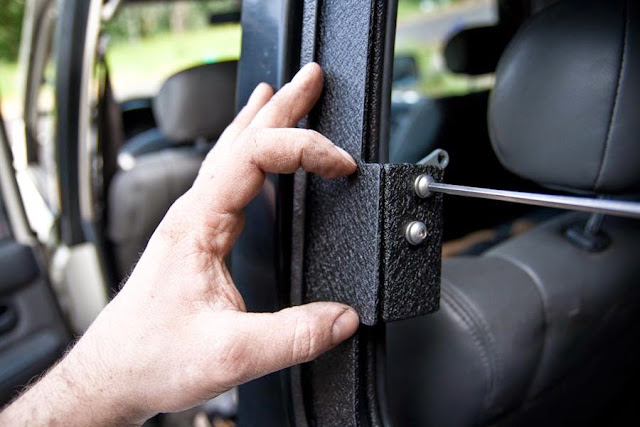
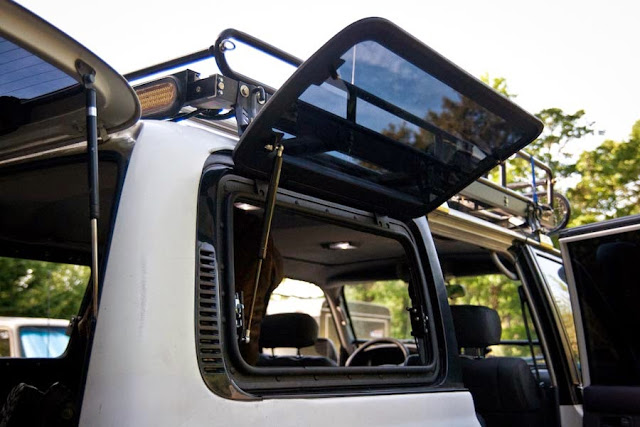
With that done, pop the glass and frame back on its pin hinges and install the gas shock, you should have a working window. The only thing left is to finish routing the cables, this is the only part that is a little different than on the 60s, rather than drilling holes you just need to file a little notch in the plastic like so:
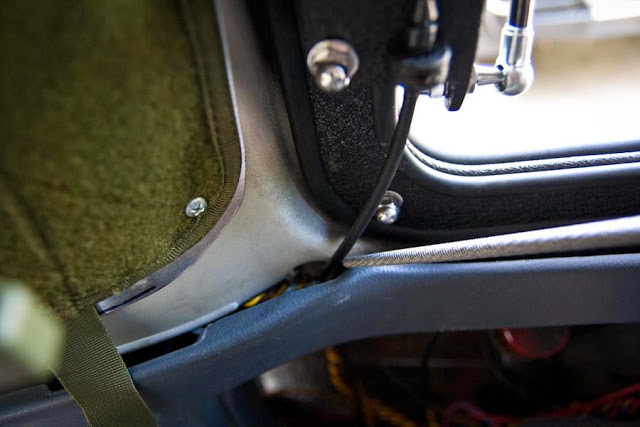
Notch:

Set:
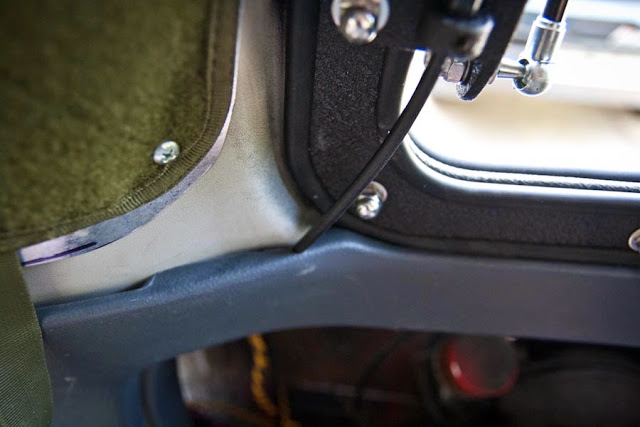
Same thing on the front:

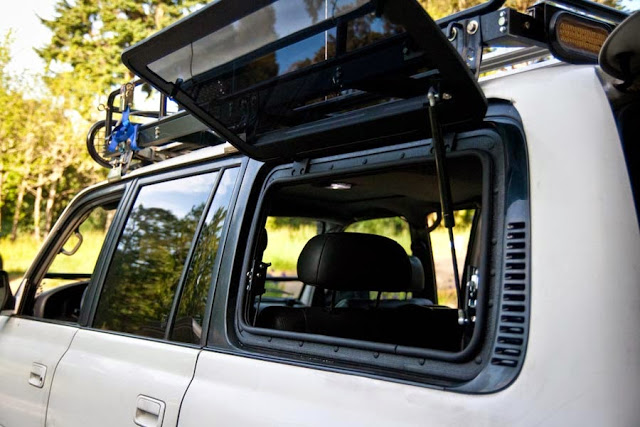
And we have flip open windows.
A simplified step-by-step set of written instructions.
Tools Needed:
Tool Not Shown in Video: 1.5mm Allen Key
(video was made for 60 series installation)
Order Of Operations: Remove factory glass and gasket Window Frame Adjust Latches Actuators Install Cables Install Glass
That is just an overview, for the fully detailed descriptions check in on the 60 series specific instructions, they include videos and lots more details.
Flip Window Instructions-60 Series