
I have posted a striped down version of the installation instructions specific to the 80 series trucks here:
Flip Window Instructions Overview-80 Series
The details and small changes/updates posted there apply to all the series
To start with here are all the tools we used that day:
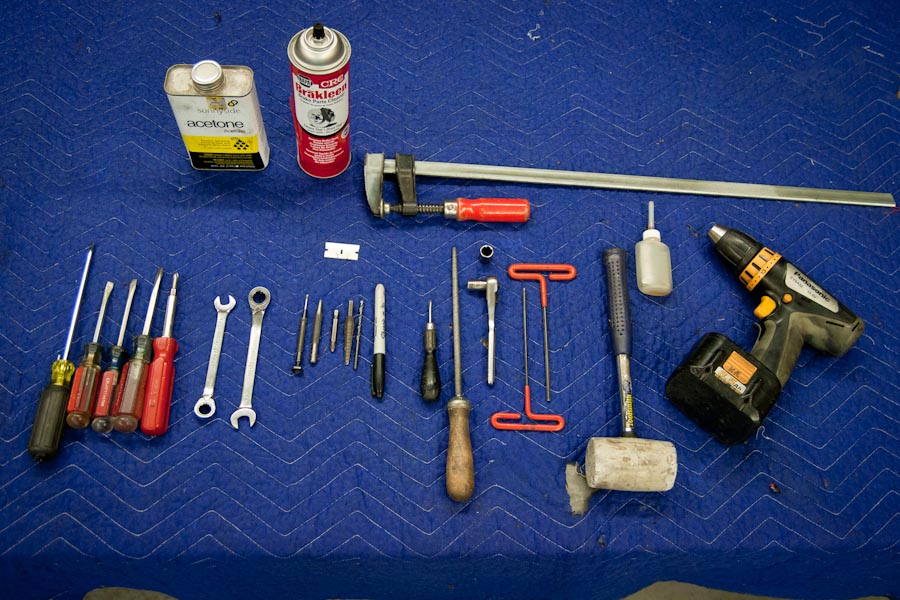
And a video overview of what’s-what:
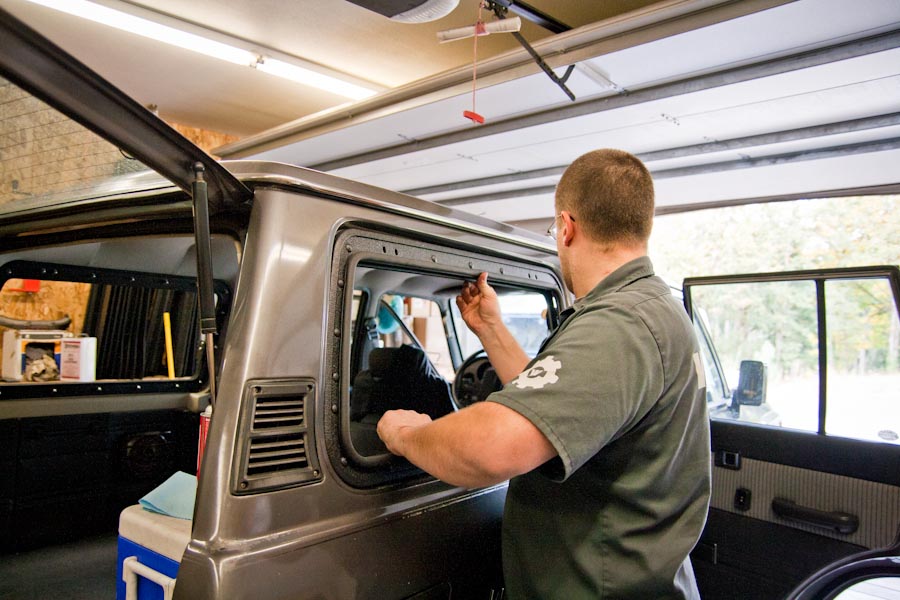
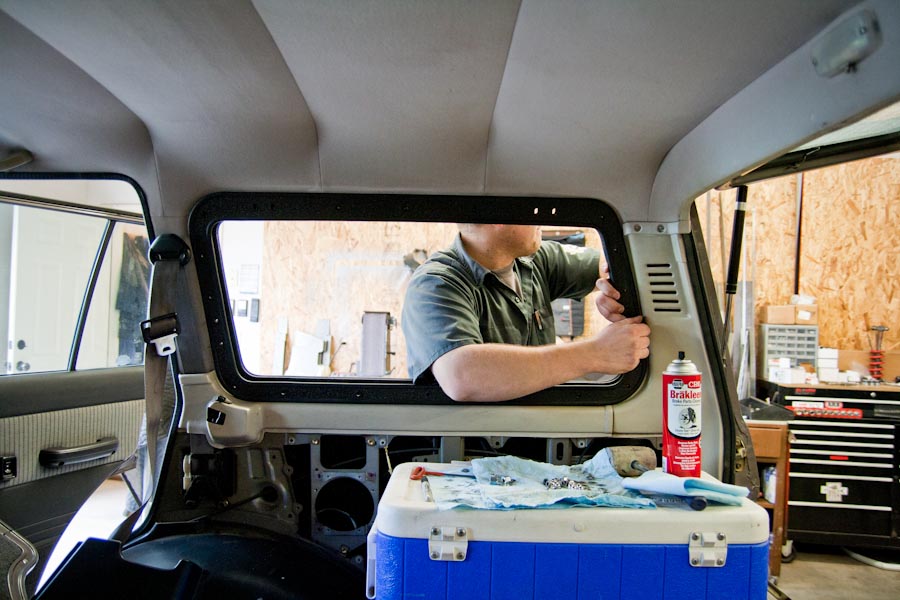
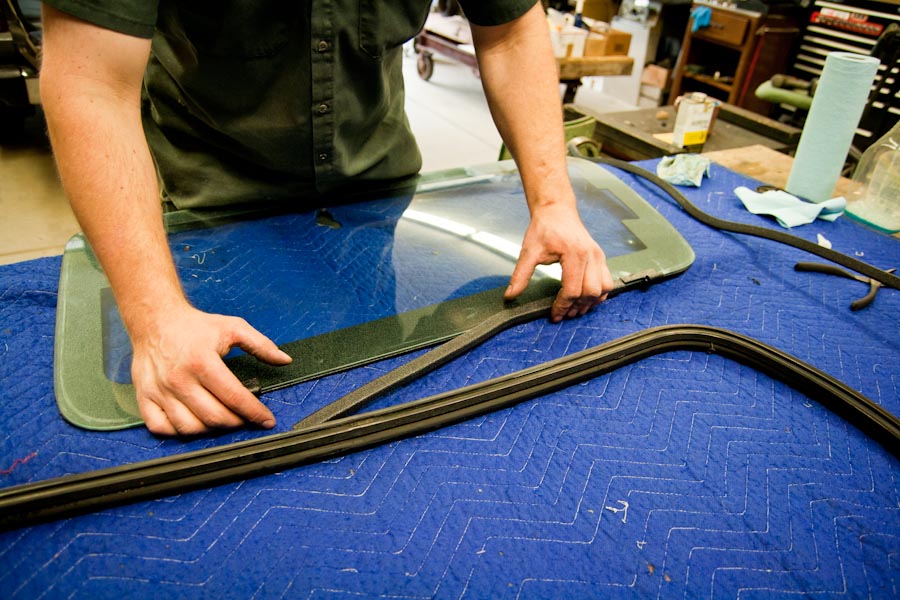
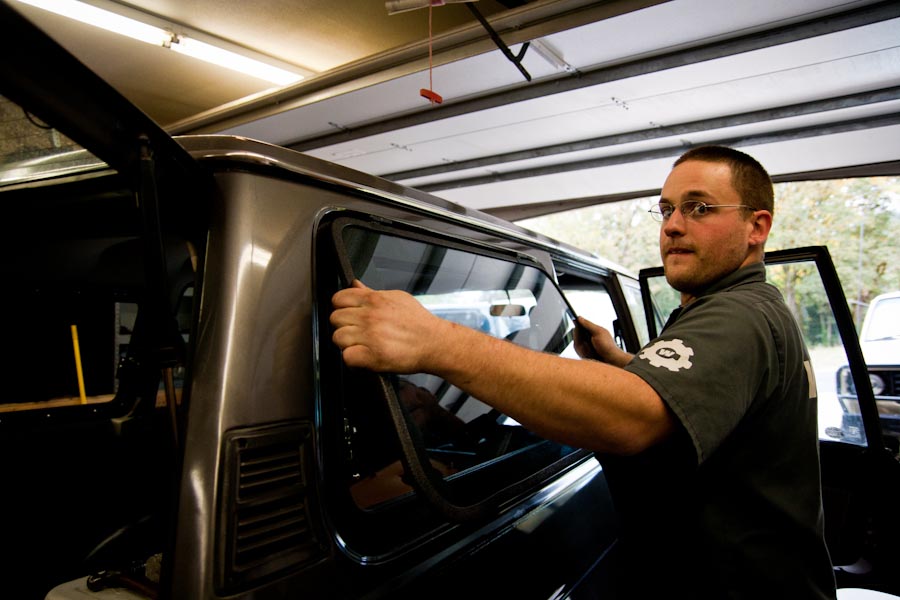
First up is getting the glass out of the truck.
Video overview of the process:
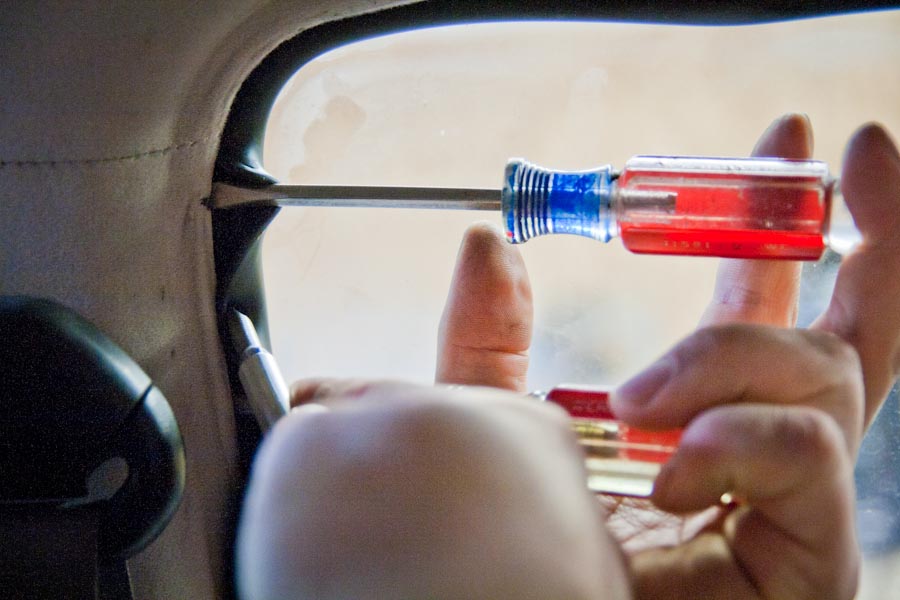
You really just need a bunch of flat-head screw drivers and some patience.
Start near a top corner and and pull the gasket away from the body.
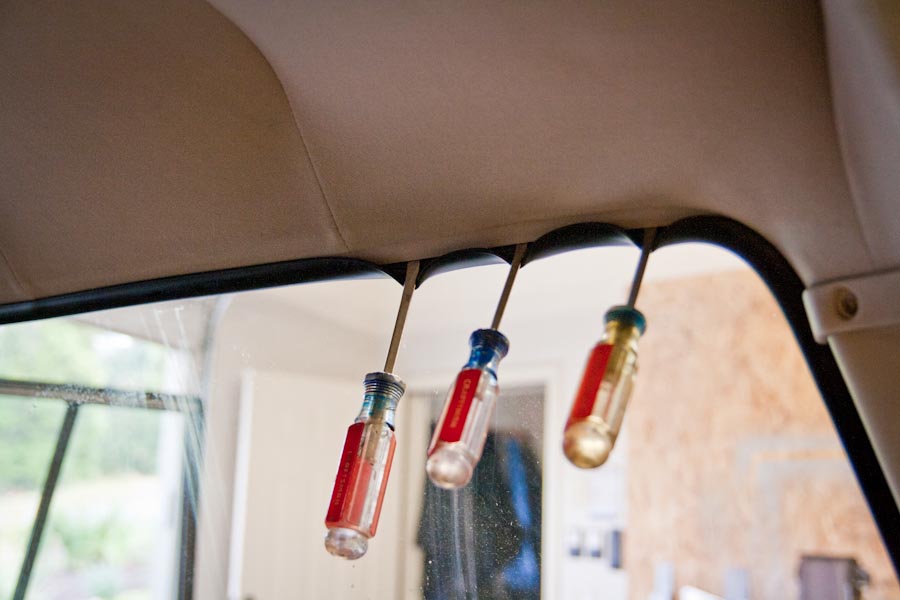
As you do this the window will move away from the body, the objective is to start pushing the gasket underneath and outside of the pinch weld.
(you do not do this by prying, you loosen the grip by inserting the drivers and once you have enough room you start to tuck the gasket under)
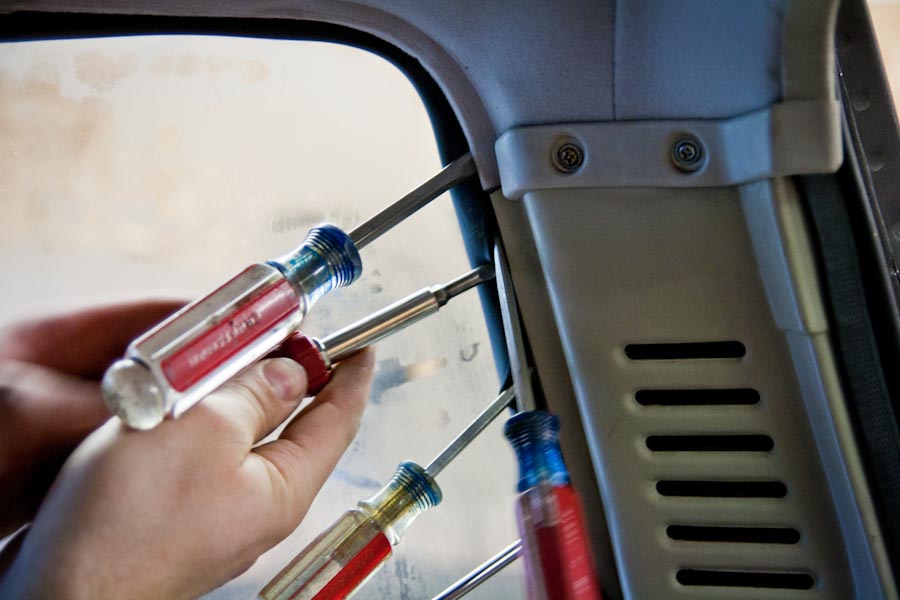
The corners are going to be the most difficult, you can see that it can be a bit of a balancing act.
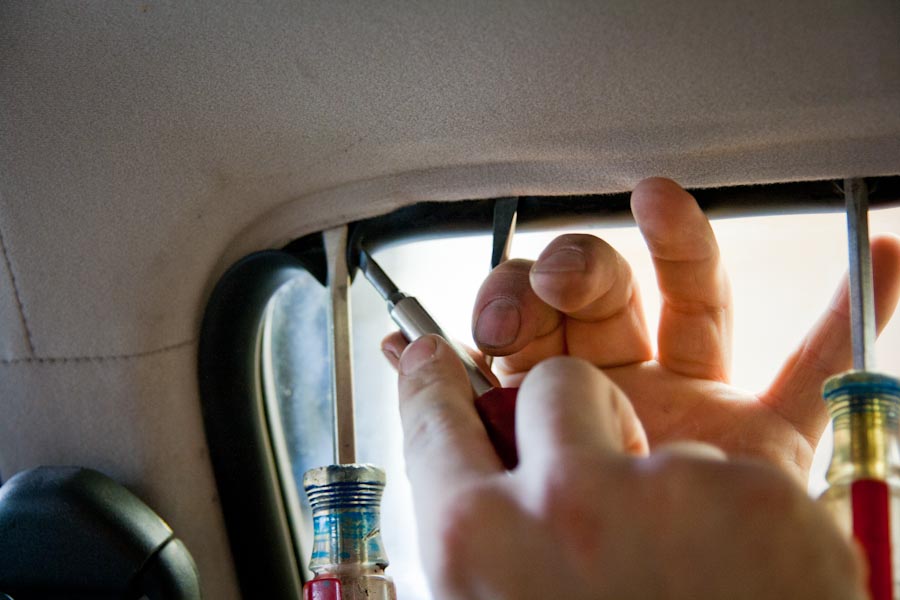
One screwdriver holding the gasket out, one (burnished one) pushing it under the pinch weld.
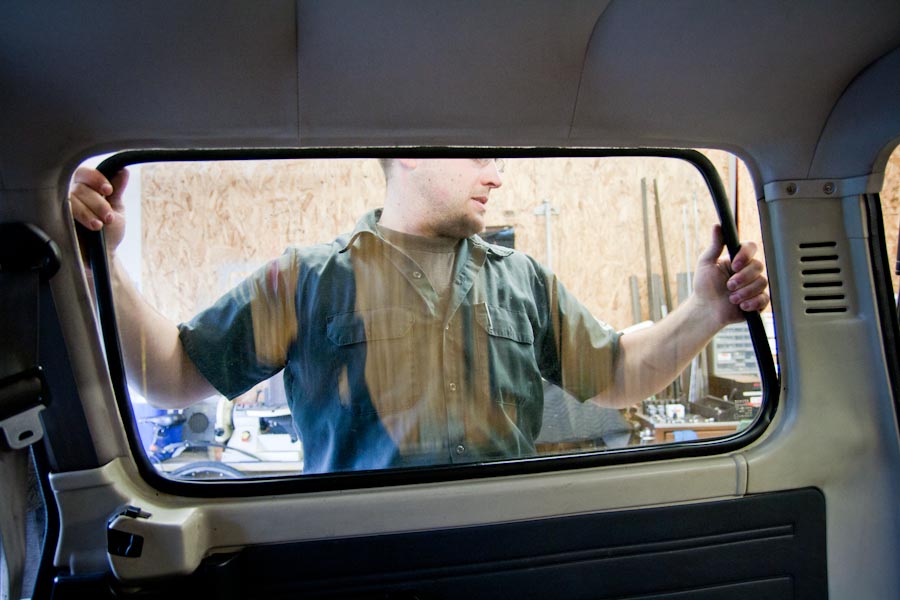
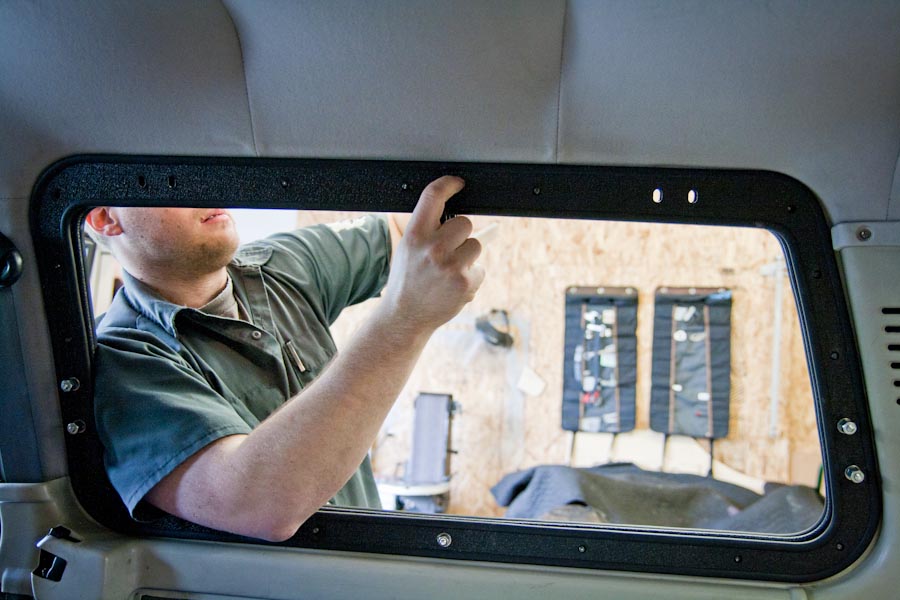
Once you get the top edge and the top two corners tucked under you can push out on the glass.
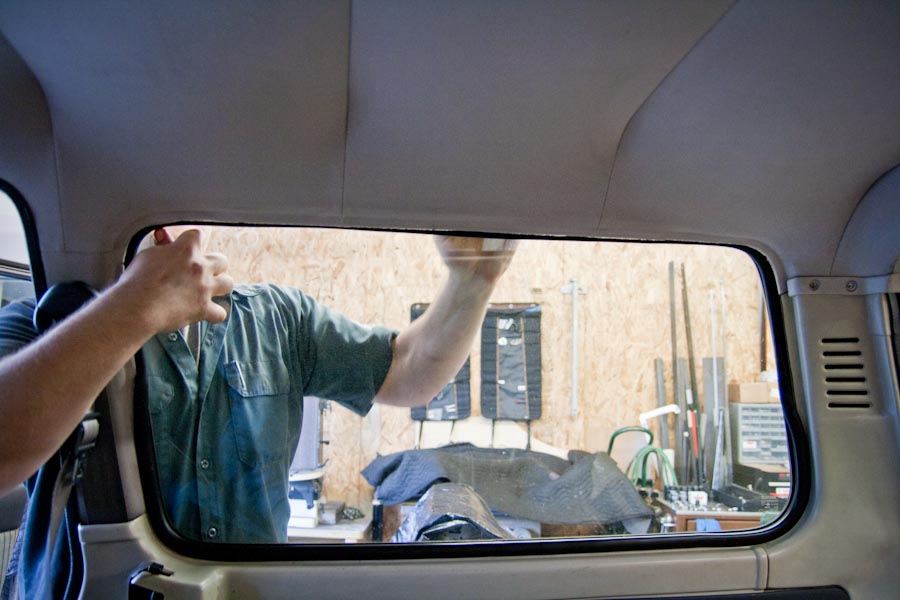
Grab hold and lift it out of place.
That’s how i do it anyway.
On to the new frames. I will be sending them out mostly assembled. This makes sure I’ve included all the hardware, starts to seat in the gaskets so they are easier to bolt in, and gives you a direct example for how to put them back together.

Video 2 for disassembly and frame prep:
Once the frames are separated, set the inner and outer frame in place.
And hold them in place with just the 4 longest bolts and the threaded standoffs that go on them.
At that point the frames will be held in place but will be loose enough to get centered in the openings. Also check and double check both the inside and outside, make sure all the edge trim pieces are in place and both plates are lined up nicely. This is the only chance you have to make adjustments, once any more hardware is installed the frames are locked in place, you would have to remove all the hardware to move them a little bit. Once you are satisfied start to bolt the frame in place from the center out, leaving the corners for last.
You want them centered side to side and justified towards the top, but not so much that there is not enough room for the gasket to compress once bolted in place. This is all explained in detail in the video.
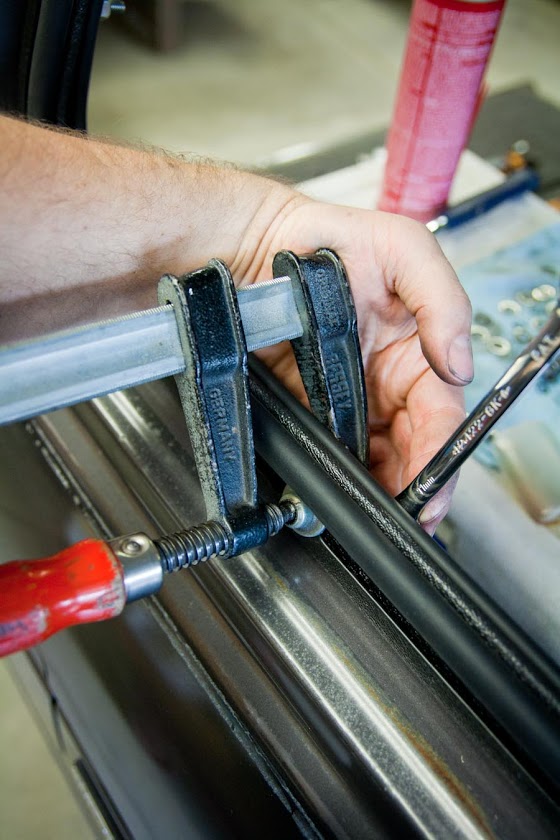
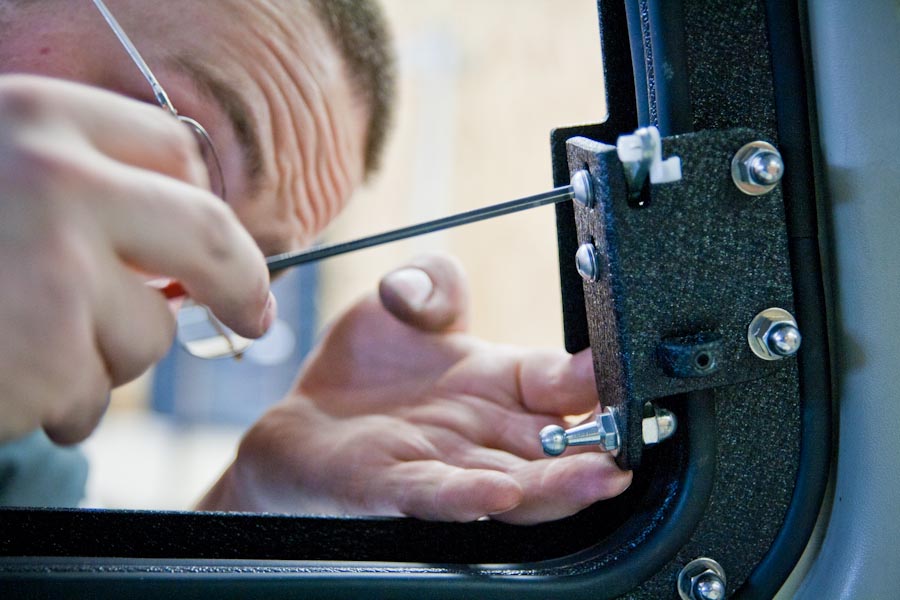
Video 3 for bolting the frames in place:
Some force will be needed to draw the frames together, a bar clamp works great, just make sure it’s clean and oiled.
Work towards the corners and install the hinge plates as well. These plates are adjustable but for right now we are just using them to hold the frame where it is supposed to be, we will loosen them up, and line them up, to install the window glass frame.

Once all the hardware is in place, go around and snug everything up evenly, not a lot of force, one fingers worth, enough to snug the frames together and fully compress the gaskets.
Don’t break the studs off!

Video 4, window frame and latch adjustments (primary video)
Now grab the latch assemblies and loosely bolt them in place. There are lefts and rights, fronts and backs.

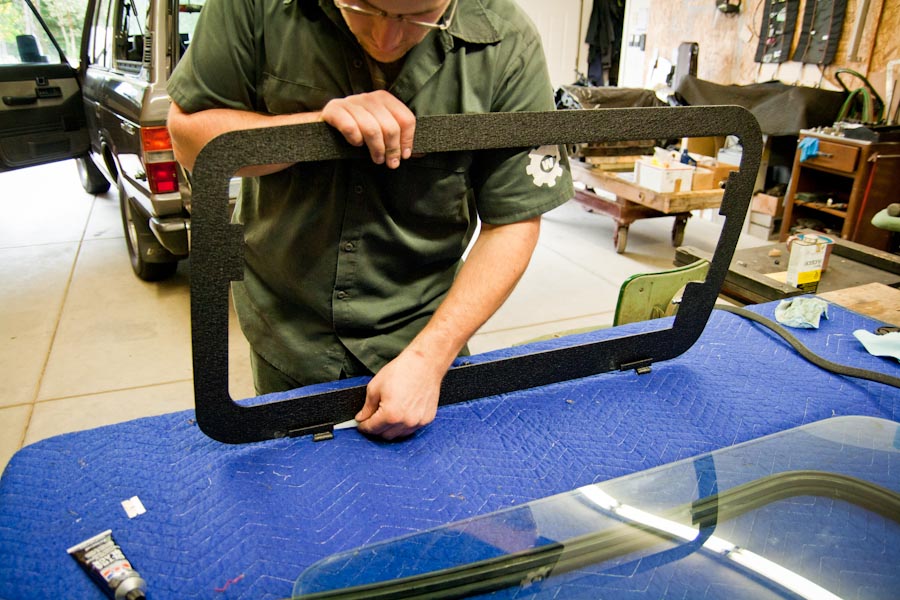
Once they are set in place shift over to the window glass frame.
Remove the edge trim from the frame.

Snag the two little washers for the hinges (that you didn’t loose yet) and head for the truck.
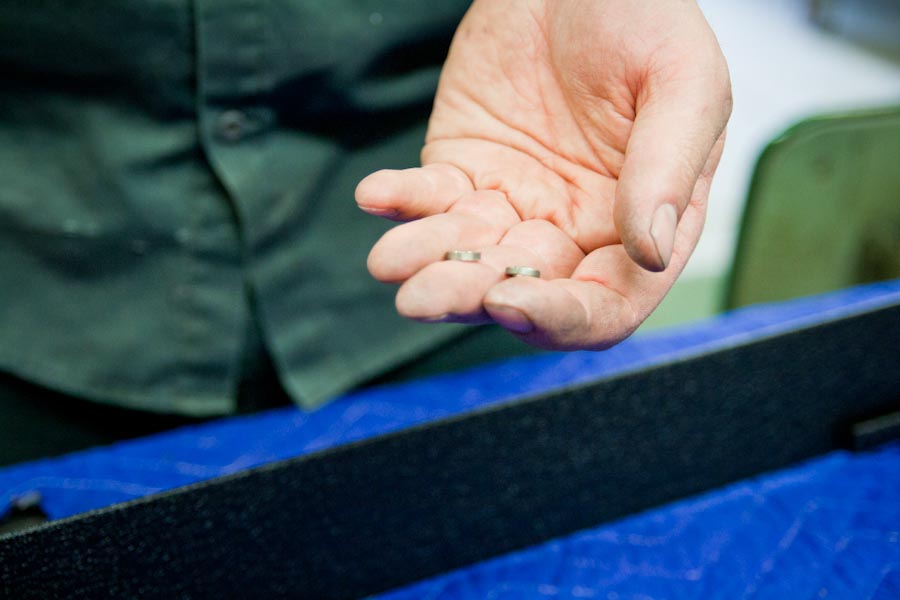
Put the washers in place.
Try to set the window frame onto the hinges.
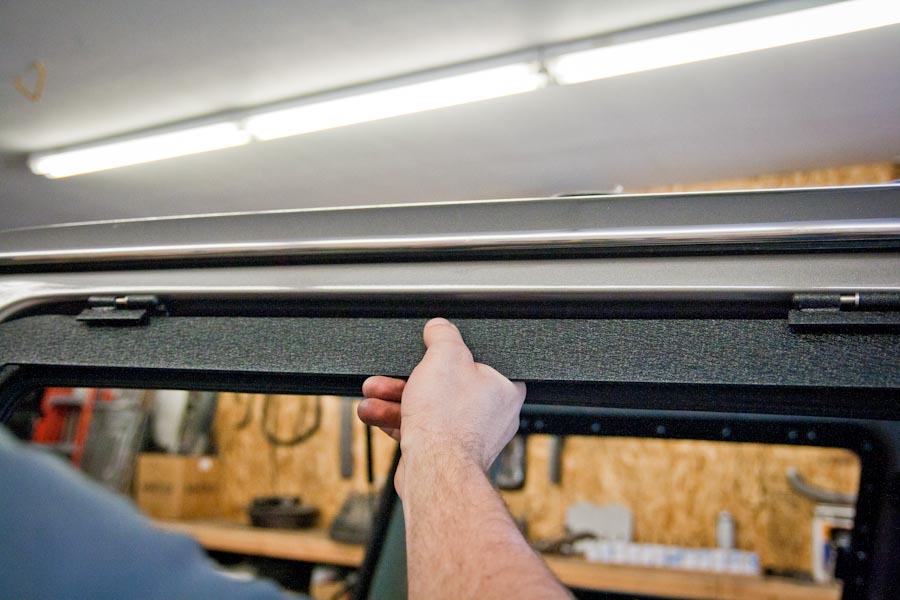
You are going to need to loosen up the bolts in order to get the hinge to line up and get the frame sitting in the opening correctly.
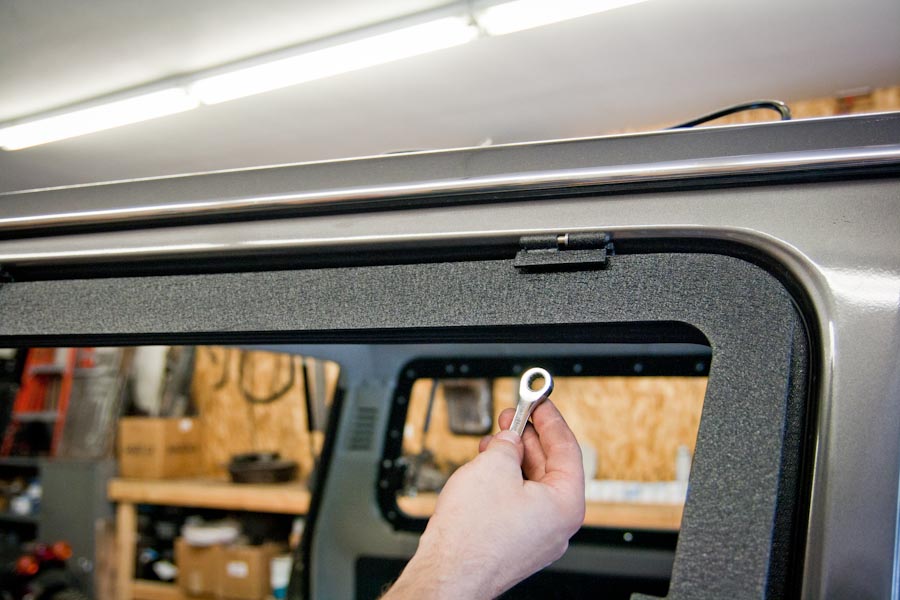
Lots of eye-balling at this point, you want to get the window frame centered and looking nice in the opening by adjusting the hinges as necessary, once it’s set, slowly bolt the hinges in place making sure everything stays lined up.

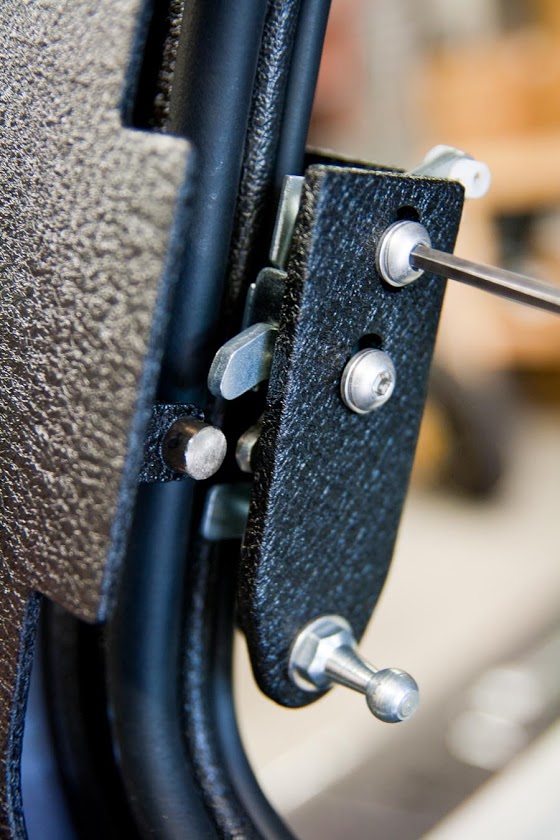
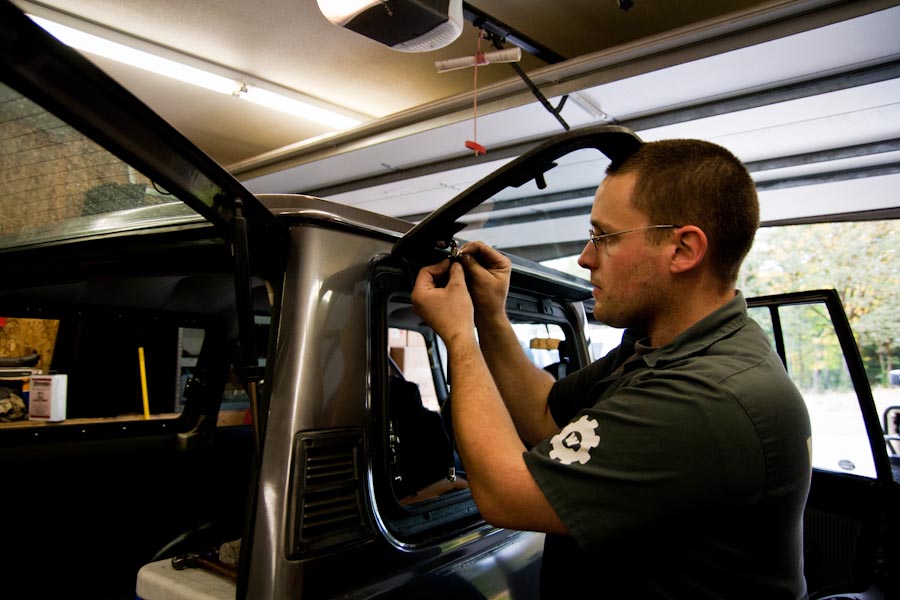
With the window frame in place we can shift to the latch plates.
With the window latched into the latches go ahead and loosen the button head bolts that hold the actual latch in place.
With those loose, use the bolts on the inside of the frame to get the latch holder assembly lined up with the tab on the window frame.
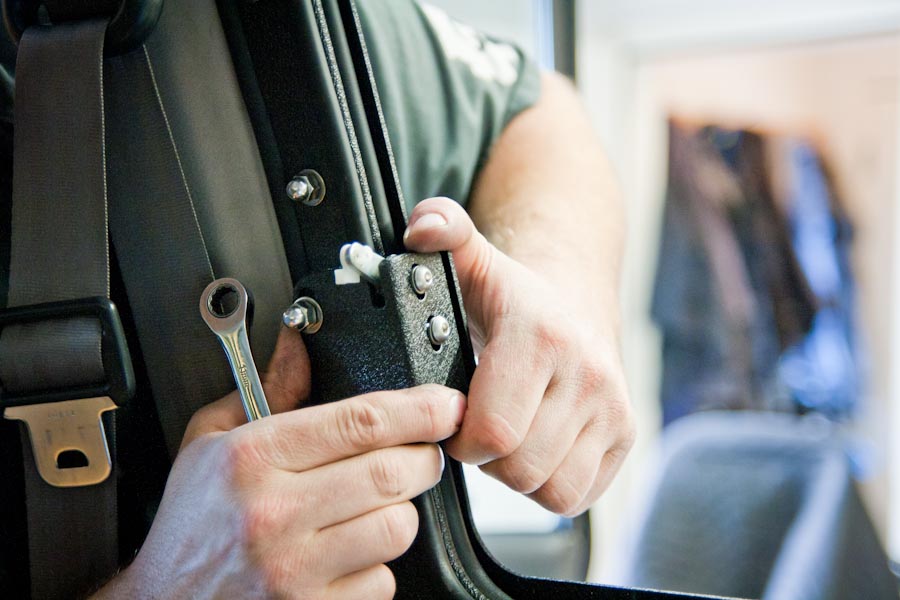
You can snug them up in stages and use a rubber mallet to tap them into alignment. With the latch holder lined up, shift your focus to the latch itself.
The button head bolts will let you move the latch all around in the holder to get it lined up perfectly with the latch tab pin.
The objective is to get the pin to engage the roller in line and centered with no friction or drag on any part. This is covered in detail in the video above.
Video 5, the last of the latch adjustments and the actuator installation.
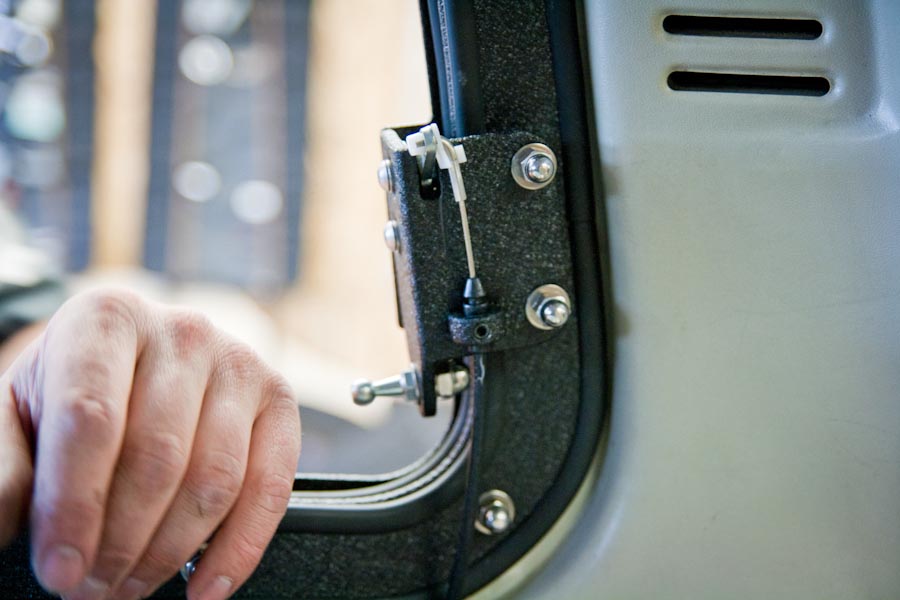
Now that the latches are in place and adjusted to the window frame we can play with the actuator. Remove the tail and marker lights.

Save the marker light gasket for the actuator.
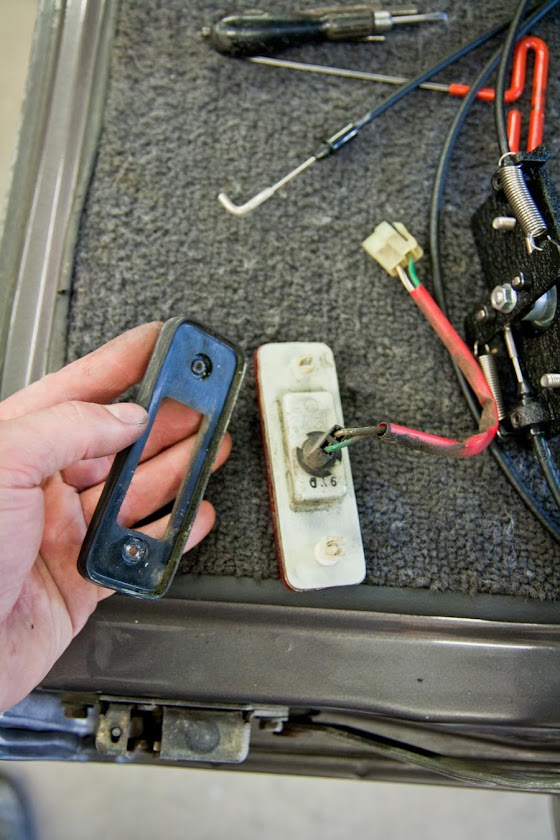
Disassemble the actuator (this is the extent of the disassembly needed) remove just the one 10mm nut in the center and the two plates will separate, thread off the washers and nuts to use for install.
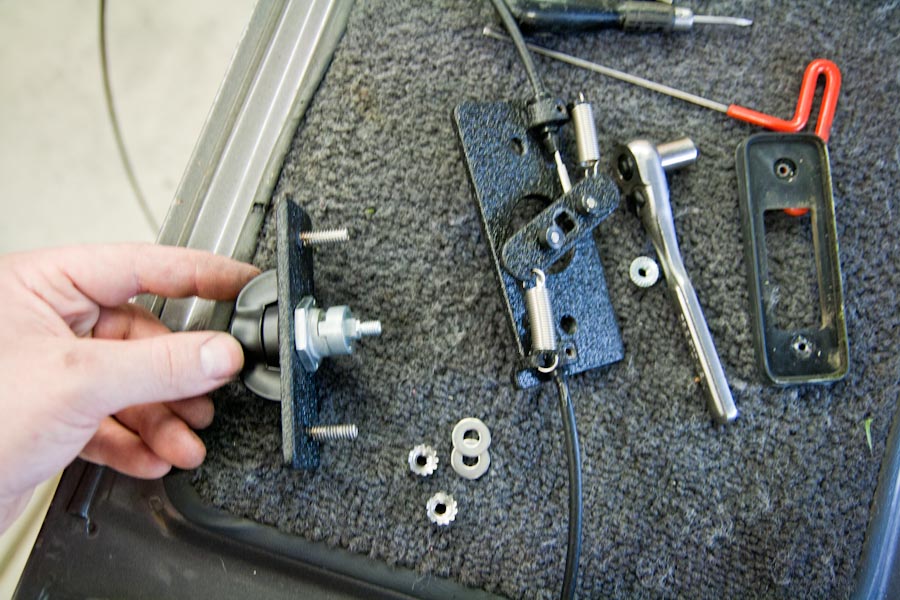
You may need to file the inner or outer edges of the mount holes to get the actuator to fit correctly, these holes are not all the same.
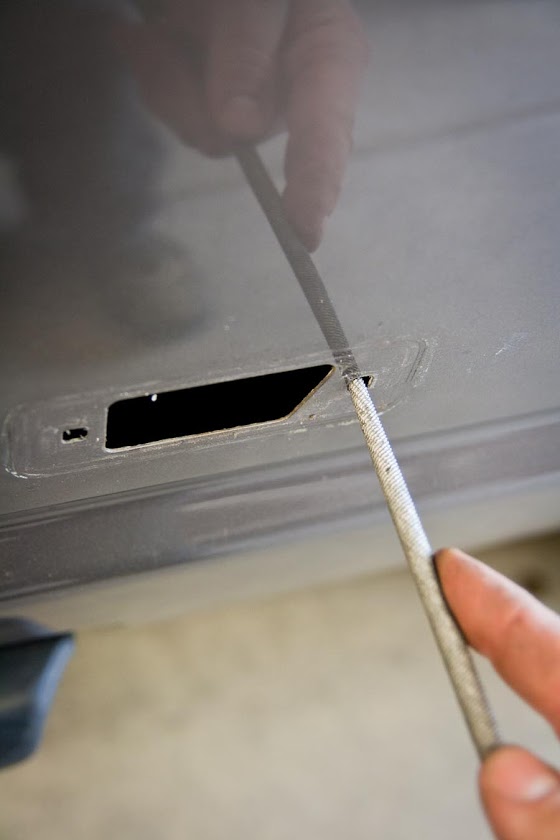
Set the outer plate and gasket in place, take the inner plate, locate the short cable and put it towards the rear and bolt the two plates together.
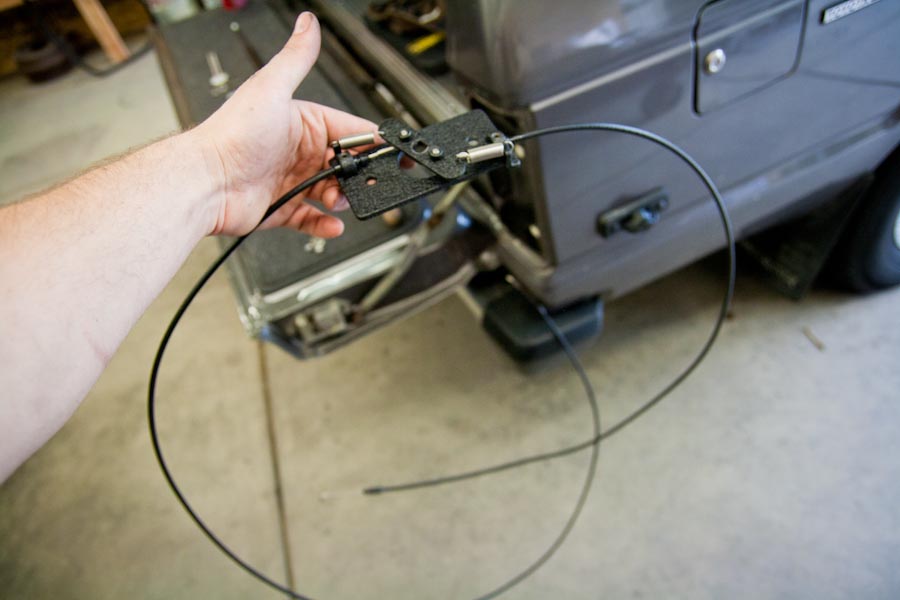
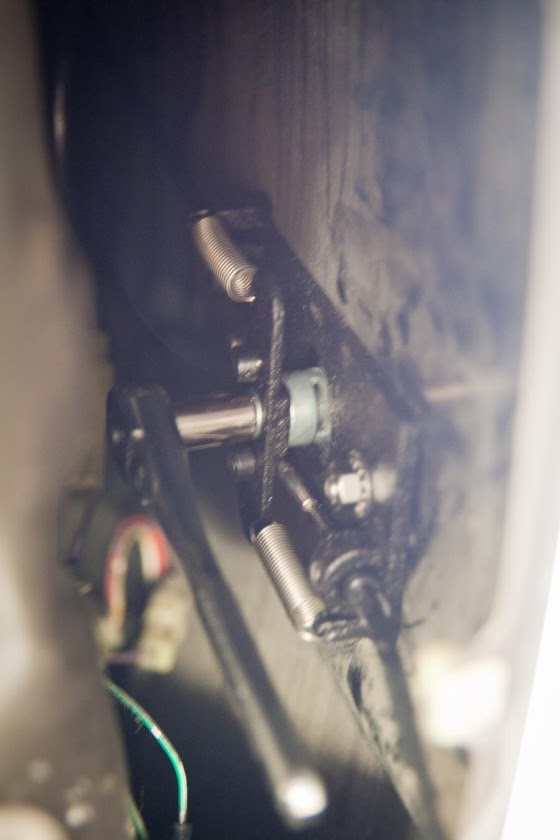
With the two hold down nuts in place install the square hole of the cam on the square stud of the actuator and bolt in place, all set.
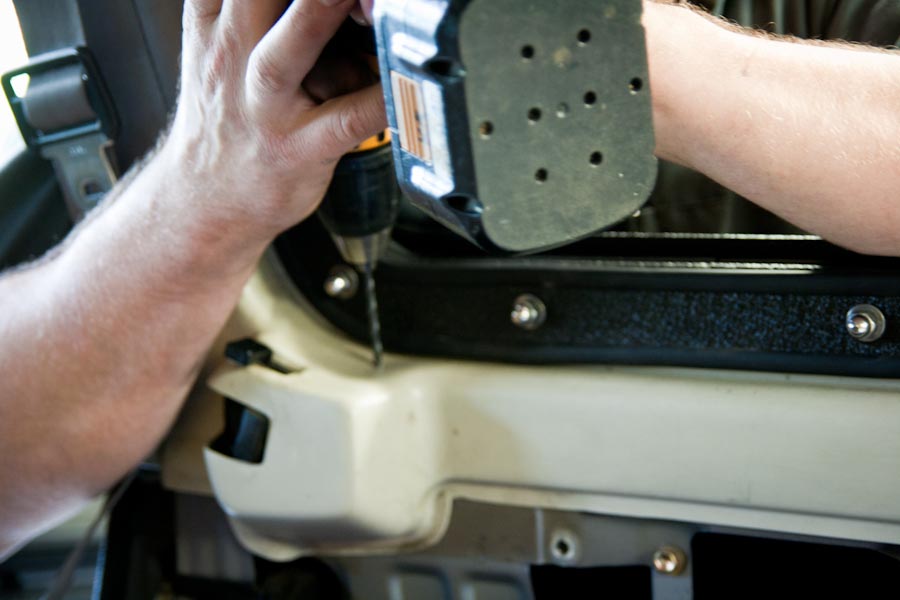
Video 6, actuator install and drilling for the cables.
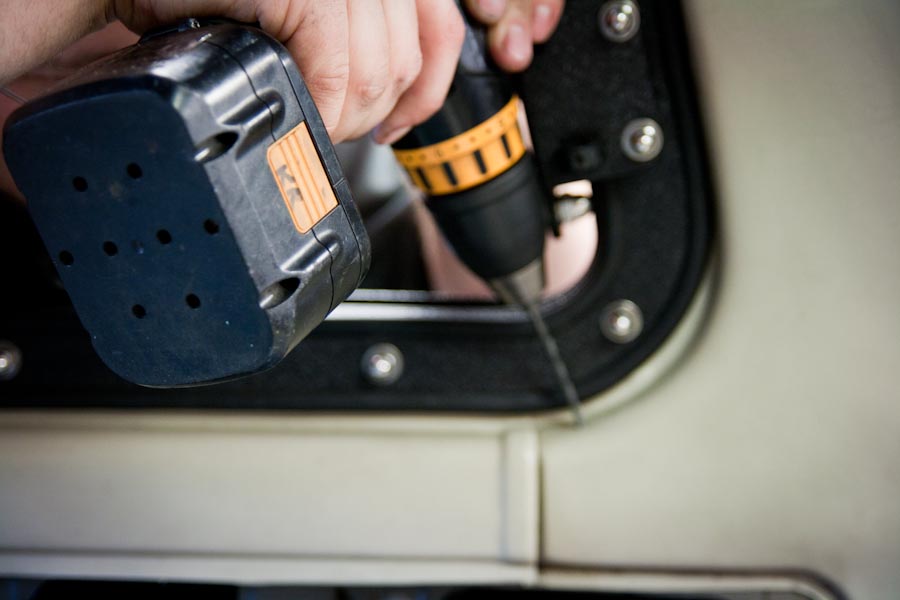
With the latches and actuators in place and adjusted we can mark for and drill the holes for the cables.
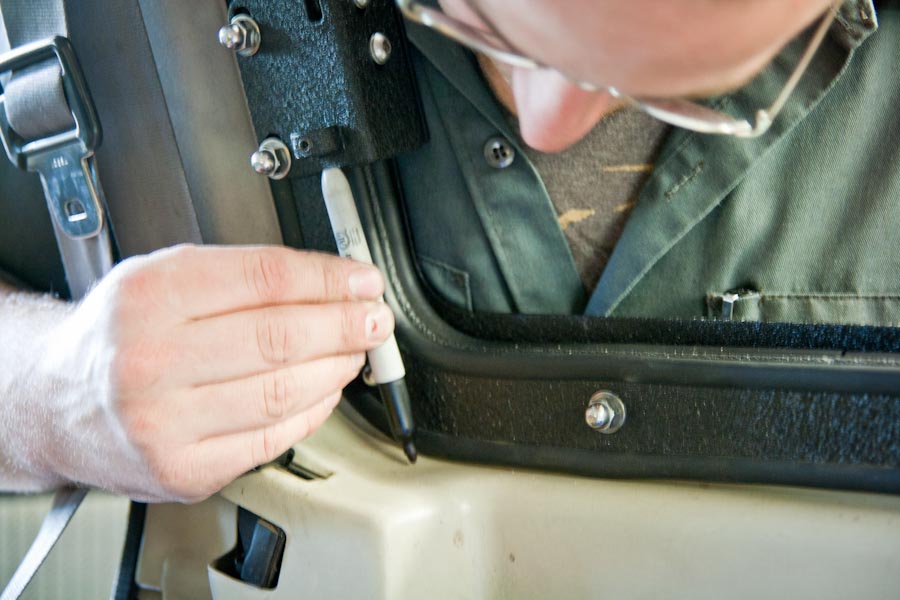
Step two
Step three
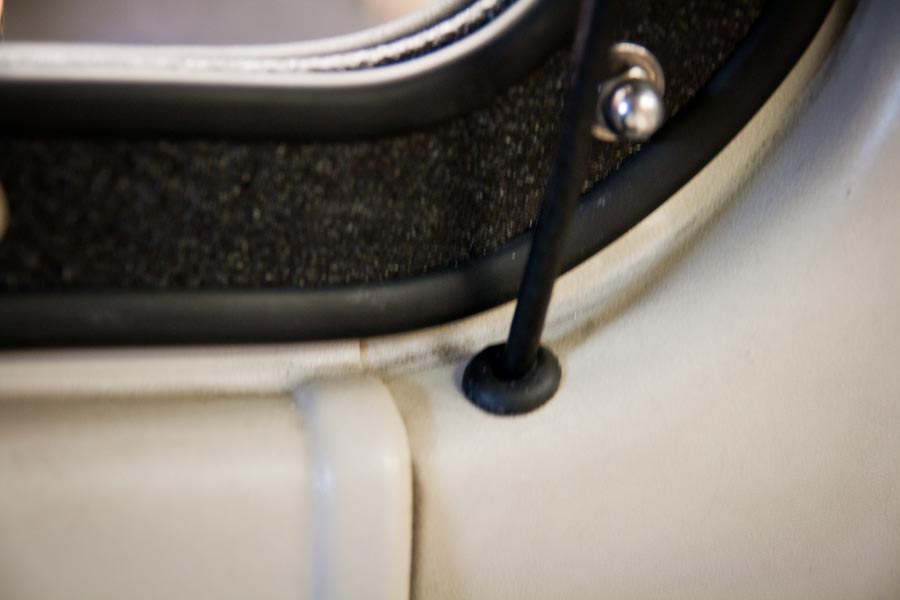
Snake the cables up through the holes, short one toward the back.

The front one can be difficult.
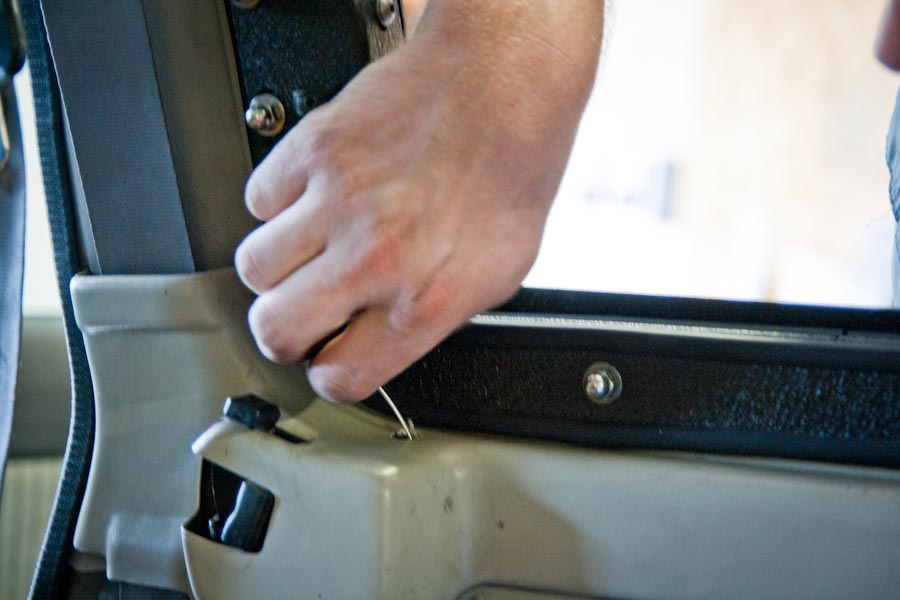
Slide the rubber grommet over the cable.
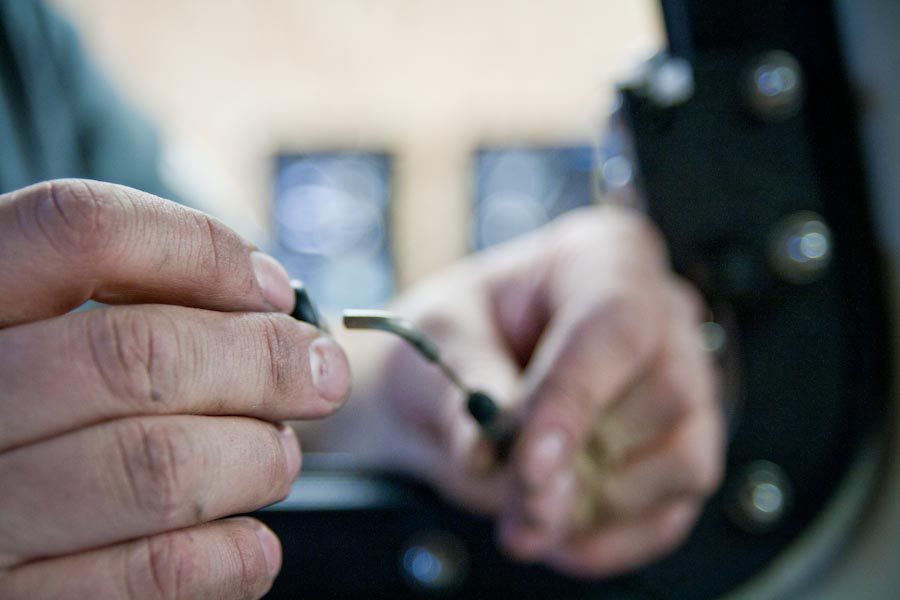
Snake the cable into the latch, clip it in place, adjust the free play on the cable and snug the set screw onto the ferule.
Set the grommets into the holes.
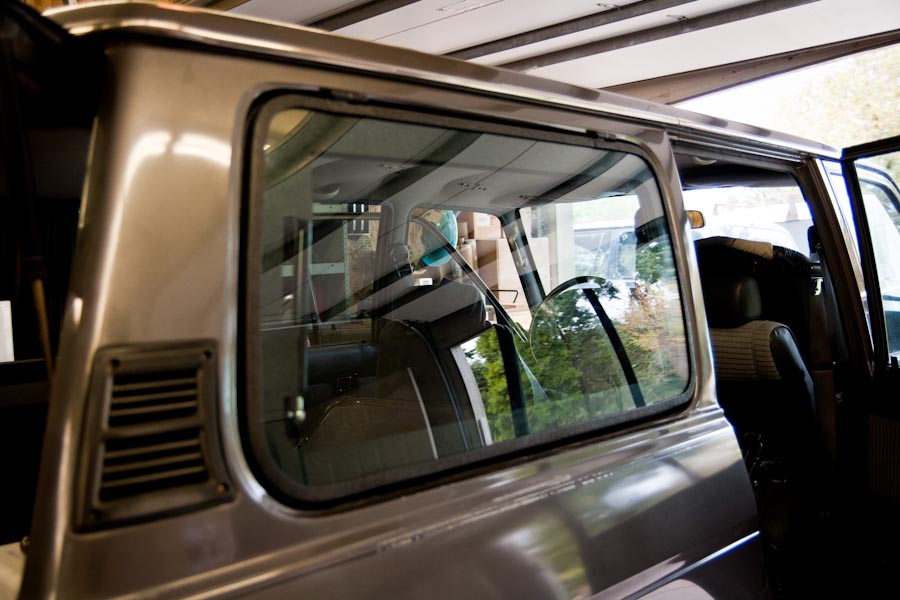
Once everything is all set and adjusted the last step is to remove the window glass frame, install the glass and button it all up.
Video 7, final cable adjustments and window glass installation.
We didn’t do a complete installation here since the windows needed to come out to get tinted very soon. I’ll do a more comprehensive documentation of the glass install on my truck.
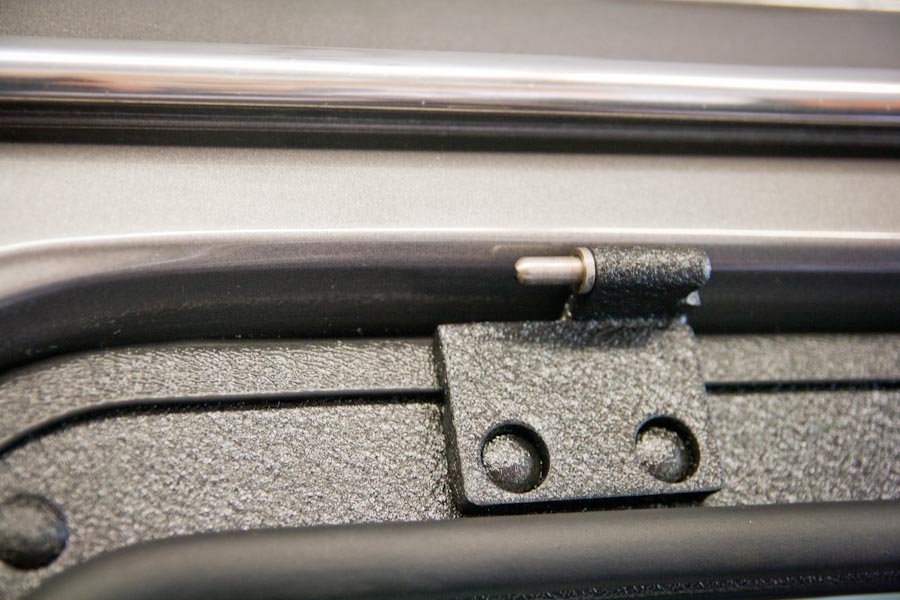
The only thing we really left out was the RTV sealant step, if this were a complete install we would have put a tiny bit of RTV under the top lip of the hinge like so:
Then slide the glass under the tabs and set it in place.
Line the glass up with the frame, run a tiny bead of RTV along the seam between the glass and frame and instal the top lock stip.
Then the rest of the lock strip, keeping it tight to the hinge tabs, working around the window, putting it tight to the other hinge tab and then working backwards to compress it into place. Once the frame and glass are conjoined we can put them on the truck.

Video 8, finishing up and some final notes.
Slide the glass on the hinges (make sure you haven’t lost the little washers)
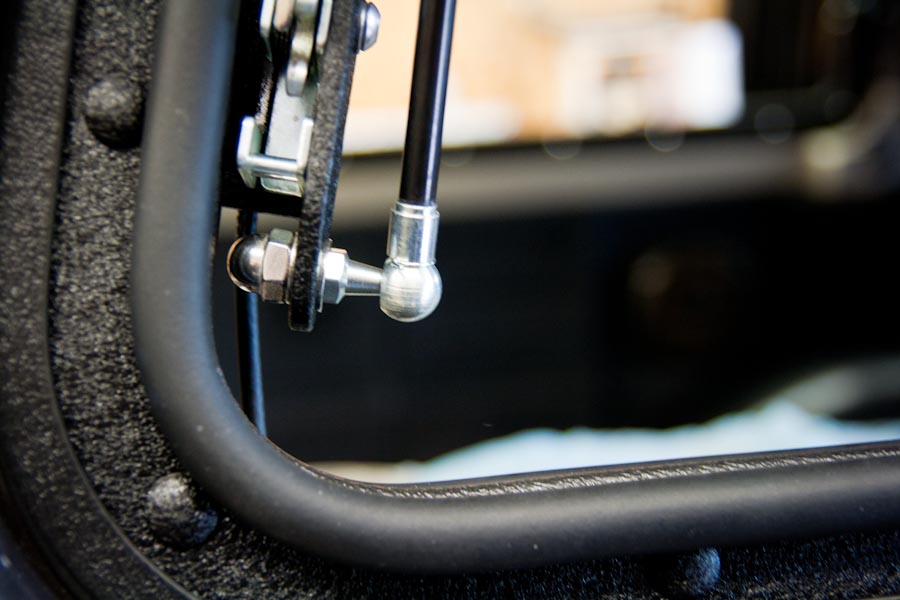
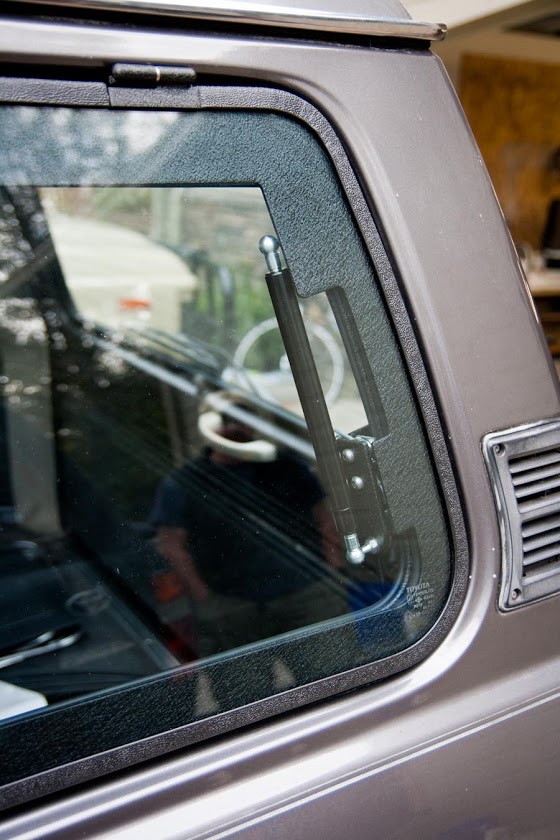
Instal the gas shock on the top nub.

Put the ring clip in immediately.
Then install on the lower nub, with ring clip.
Then it’s done.
You wont be able to slam the window shut at first, the gaskets will need to seat in for a few weeks, but then you will just be able to slam it like it was an OE feature.
Until then you will have to push directly on each latch location to compress the gasket and make sure they catch properly.


All the videos in order:
The details are really in the videos, the above photos and info are just an overview, there are some important things to note in these.
A simplified step-by-step set of written instructions.
Tools Needed:
Tool Not Shown in Video: 1.5mm Allen Key
Order Of Operations: Remove factory glass and gasket Window Frame Adjust Latches Actuators Install Cables Install Glass