
60/62 Series Side Panel Installation Instructions
This is still a work in progress but should give some indication of what is needed for the install. I don’t get a chance to install very many side panels myself so I’ve got very few pics to choose from, what follows is a bit of a mishmash.
Tools Needed:
Drill
Pilot Drill Bit/Step Drill (or saw)
Flashlight
Philips Bit
Pliers
10mm socket on an extension
5/32 Allen Wrench
7/16(11mm) Wrench
Materials Needed:
0.25″(6mm) Fuel Line. 8′ should be plenty
0.375″(10mm) Fuel Line. 2′ should be plenty (check yours, some late models need more 10mm and only one 6mm)
Couple of Zip Ties to tidy things up.
Vertical Supports
The installation process is very simple, the primary task is to remove the vertical supports on both sides.
This can be done fast and dirty with a reciprocating saw, or you can drill out the spot welds and remove the supports as one clean piece.
If the spot welds are drilled out, this becomes a fully reversible modification, the supports can be bolted back in later.
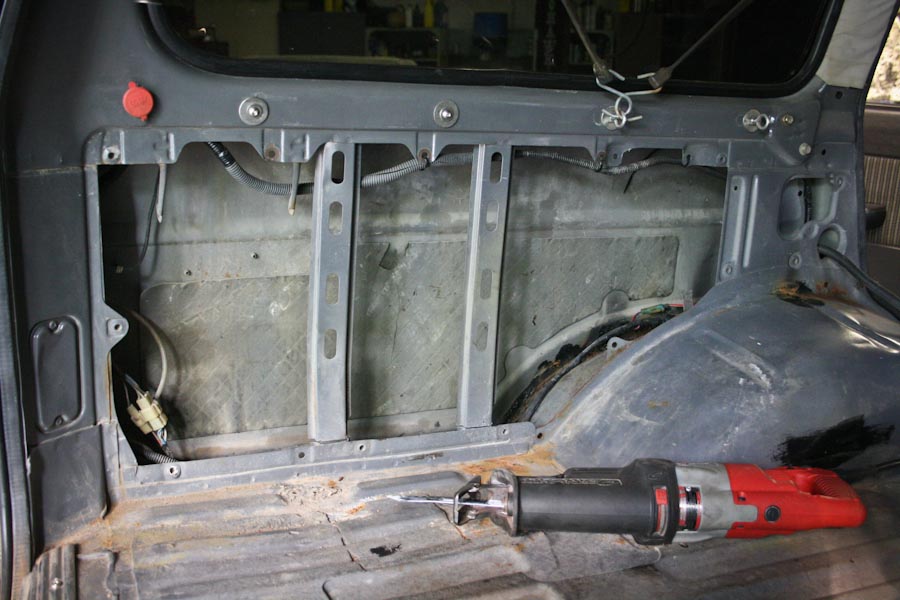
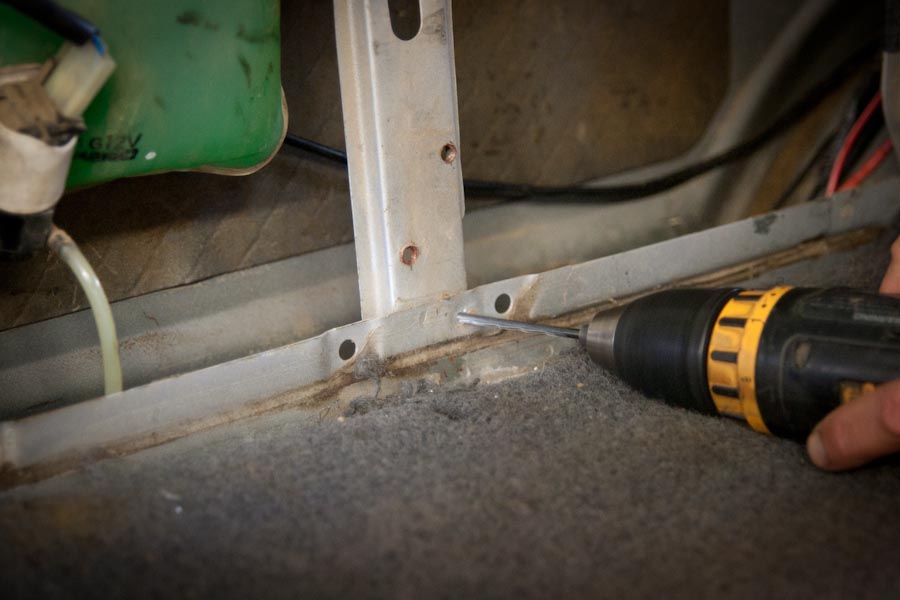
There are 2 supports on each side. To remove them by drilling out the spot welds I like to drill a starter hole and then use a step drill to widen the hole until the weld just breaks free.
Starter Hole
If you are having a hard time seeing the spot welds a flashlight beam raked across the surface is a great way to make them pop right out. This photo is not of a side panel, but it shows what happens with a low angle light on the surface.
Side Light
There are spot weld drills that you can buy for this, but I find a step bit works best since you can keep making the hole bigger until the weld is completely gone. That way if you are not perfectly centered at the start, or if there are two spot welds close to each other you can still remove the fused metal.
Step Drill
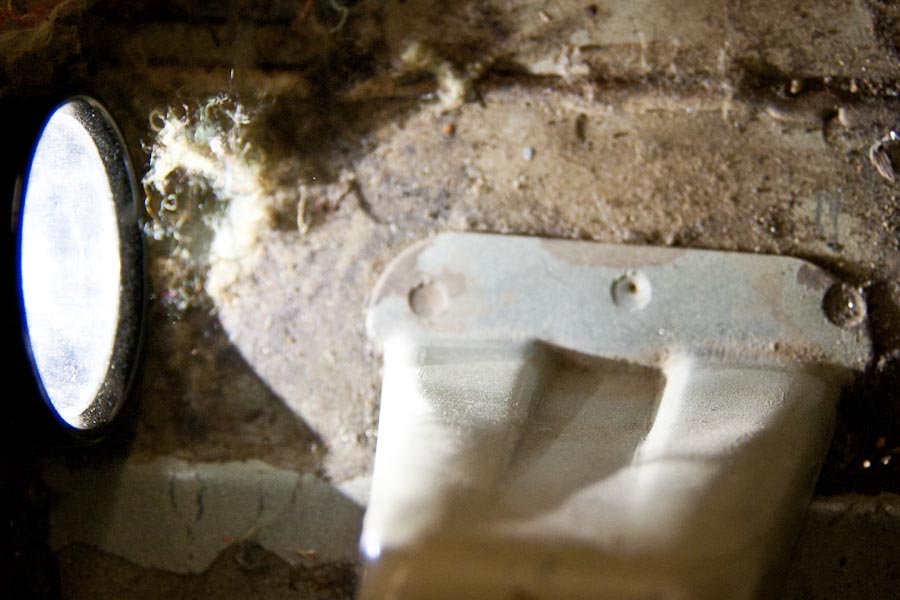
If you have done this right the ribs will just pop right off, if it takes any force at all, just drill a bit more.
Loose

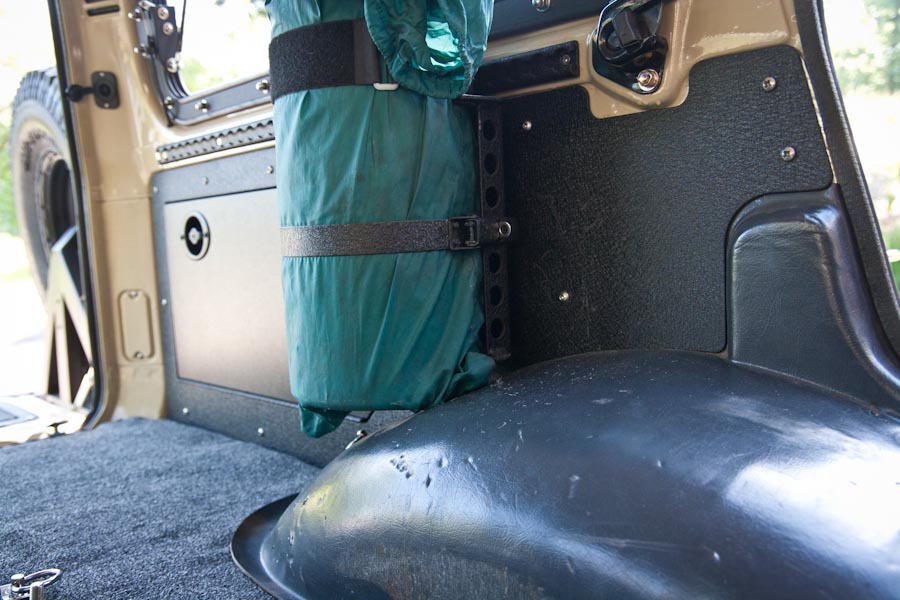
This covers the parts to be removed, you can see the four vertical ribs, all the plastic socket plugs from the factory mount holes and I also remove the hanger tabs for the rear washer water bag. Those are up to you, I find the storage space gain from removing the bag to be more useful than the washer fluid. If you do leave them in place, it is helpful to bend them into the cavity space a bit since the structure of the new panels is going to hit them, bolting the panel in place bends them in, but if you do it by hand first the bolt-in is a bit easier.
Left Overs
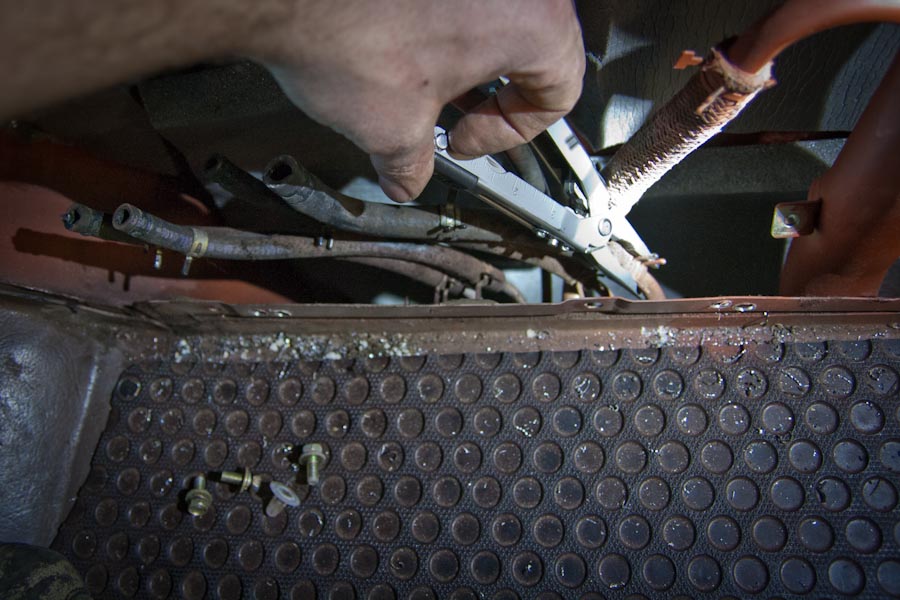
On the passenger side (LHD) the evap tube assembly will need to be relocated to install the panels.
Evap Assembly
There is a variety of ways to do this, the simplest of which is to install longer fuel lines and relocate the assembly to the back corner of the quarter panel.

With the ribs removed you can get to the fuel lines. These are just low pressure fuel lines, at most they will only ever have tiny traces of fuel vapor in them, the goal is that the vapor will condense in the evaporative assembly and drain into the gas tank.
Evap Assembly
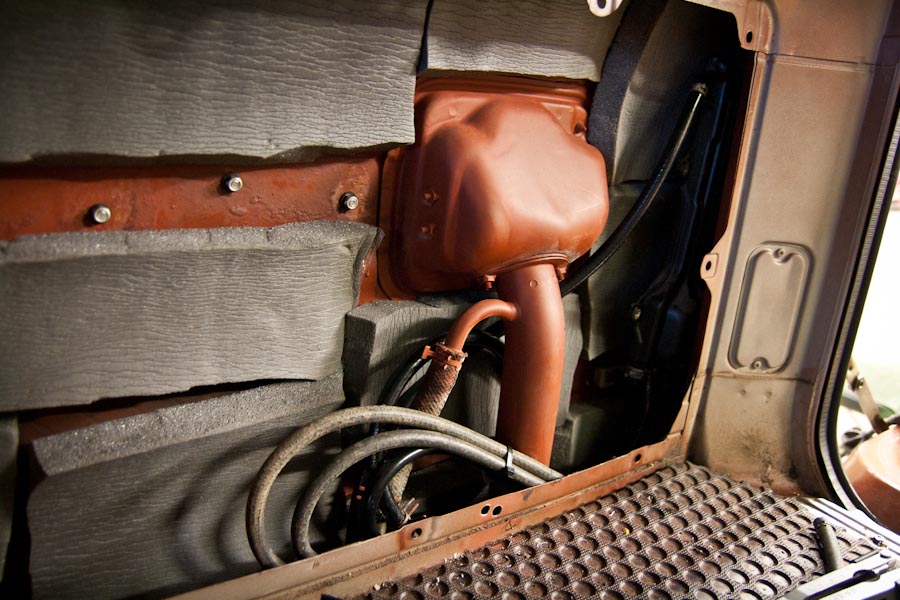
It’s in the way of the storage space so we will want to move it.

The goal is to get the evap tube removed so it can be relocated out of the way in the back corner. Originally I had made a bracket to mount it back there and hold it in place, etc. But the simple fact of the mater is that it actually stuffs in the back pretty much perfectly and the fuel lines hold it in place once they are extended.
Evap Assembly
Simple is good.
You will need a pair of needle nose pliers to get in at the spring clips on the hoses.
All ready for it’s new home. (I keep the fuel line needed for installation here in the shop, it’s a common item but if you would like I can include the lengths needed for $20.)
Evap Assembly-Out
The way you choose to route the new hoses will determine the lengths they need to be. You will need some 0.25″(6mm) low pressure regular old fuel line, about 8 feet is plenty, could be done with as little as 6′. Then you will need one piece of 0.375” , two feet is plenty.

And in it’s new home, you can run the hoses in any manner you want as long as they go to the correct ports, in this case we reused some of the old line since there was no reason to replace it.
Evap Assembly-Relocated
A couple zip-ties to tame the unruly bits and we are ready to set the panels in place.
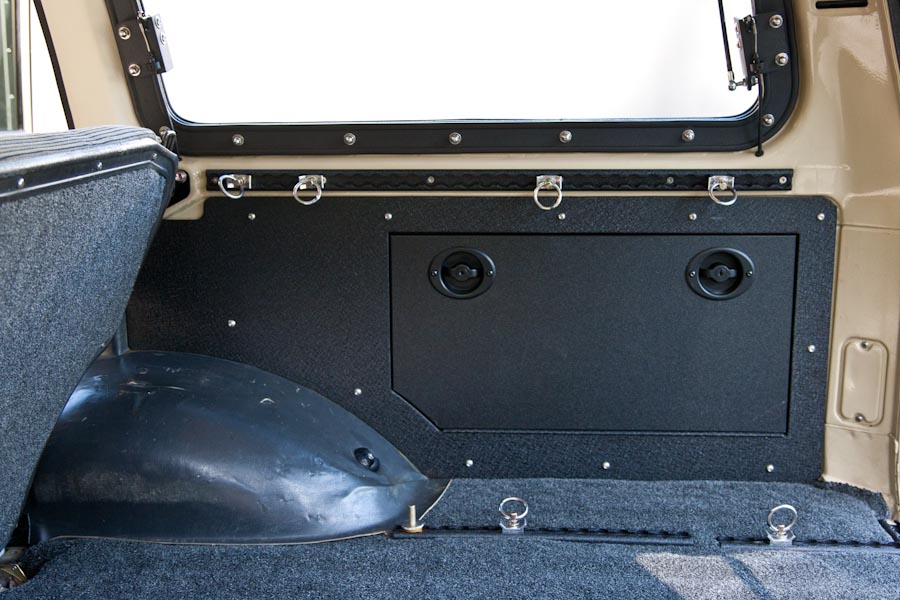
As long as you’ve got the plastic plugs out of the mount holes (it’s easiest to tap them out from the back) the panels will just set in place. All you need to do is set all the hardware in the holes, put the washers and the nuts on the back of the bolts (I recommend putting a bit of lok-tite on the nut threads) and snug them into place.
Bolt it in Place
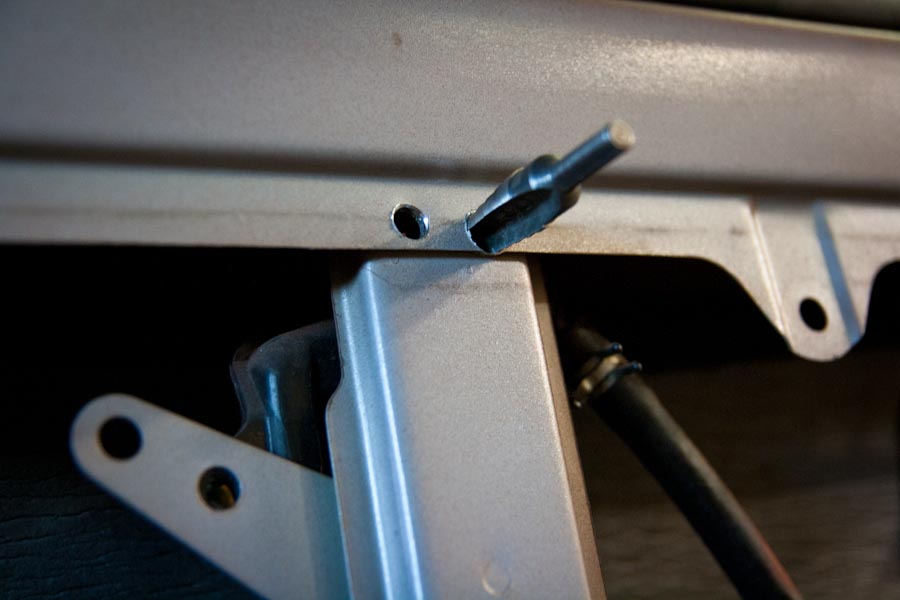
As a last step there is no access to the space behind the very front of the panel so the two mounts there use a self-drilling set of screws. You will need a drill and bit driver.
Front Screws
For more info about the side panels, check out the info page:
Side Panel Info