
60 & 62 Series Land Cruiser Replacement Side Panels
Side panels are custom built for each truck, there are a lot of profile variables and construction options that I sort out for each situation. In most cases the turn-around for a set of side panels is about a month. This leaves time for CAD, laser cutting, welding/fabrication, then powder coating and final assembly/packing/shipping.
The first step with any side panel project is determining the exact profile they need to match. To do I need to see a photo of your current cargo area, there are quite a few parameters that need to be matched and the change-over years are not consistent.
Tabs:
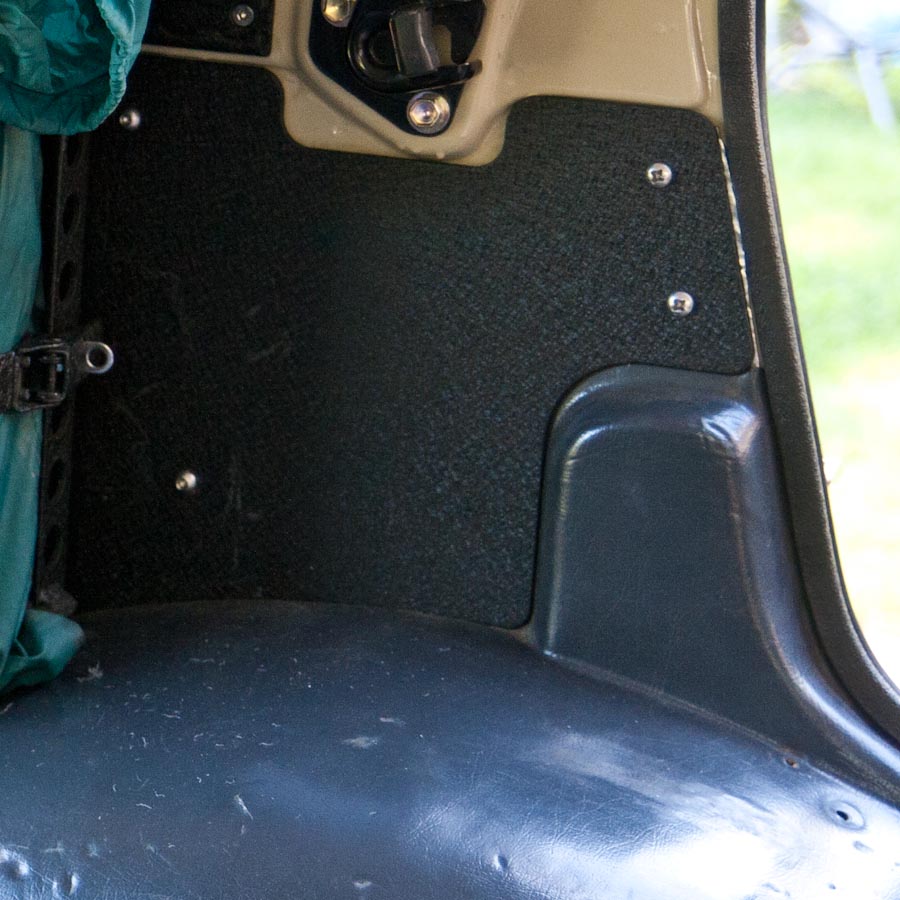
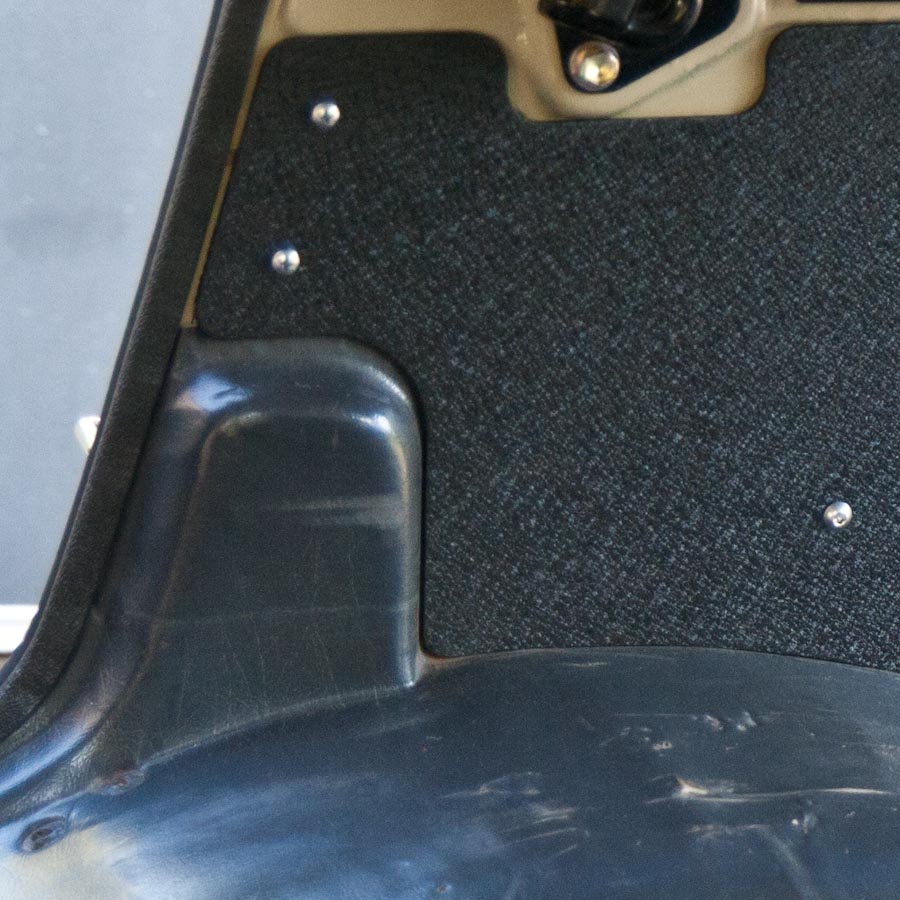
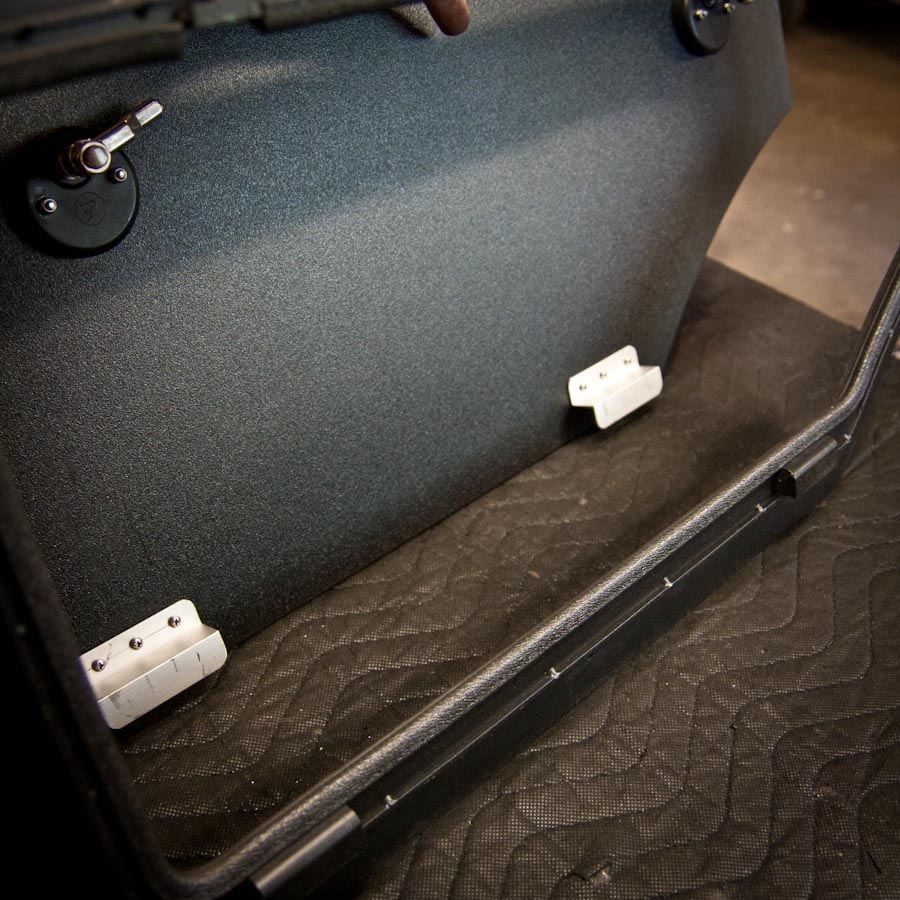
One important profile change is the presence or lack of “tabs” above the wheel arches.
All US spec 60 and early 62s will have one on the drivers side as pictured, but only later model ones have this tab, or ear, on the passenger side. It was put in to prepare for the installation of gas door release cables.
Conversely if you have a truck that no longer has the vinyl wheel arch covers or other changes the passenger side panel may be better off being a full (no tab) profile. If the truck has factory rear shoulder belts this area of the profile will again be different, etc.
The lack of a tab on the passenger side can be found on trucks all the way up to 1986.
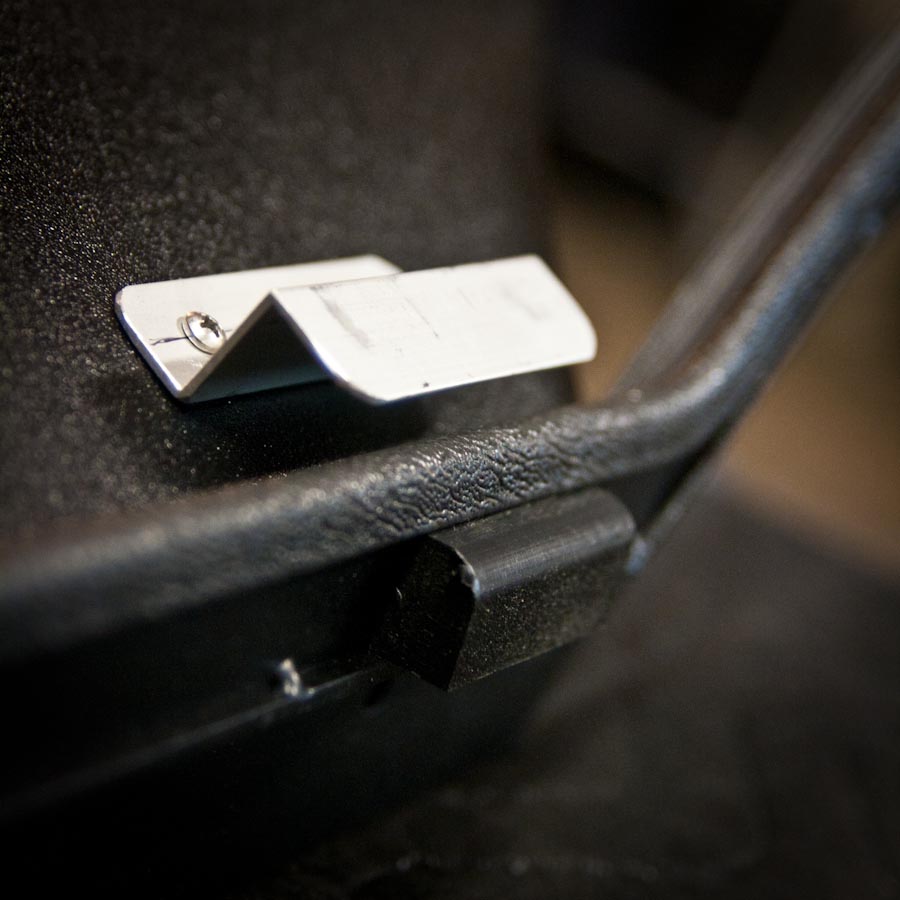
Seat Latches:
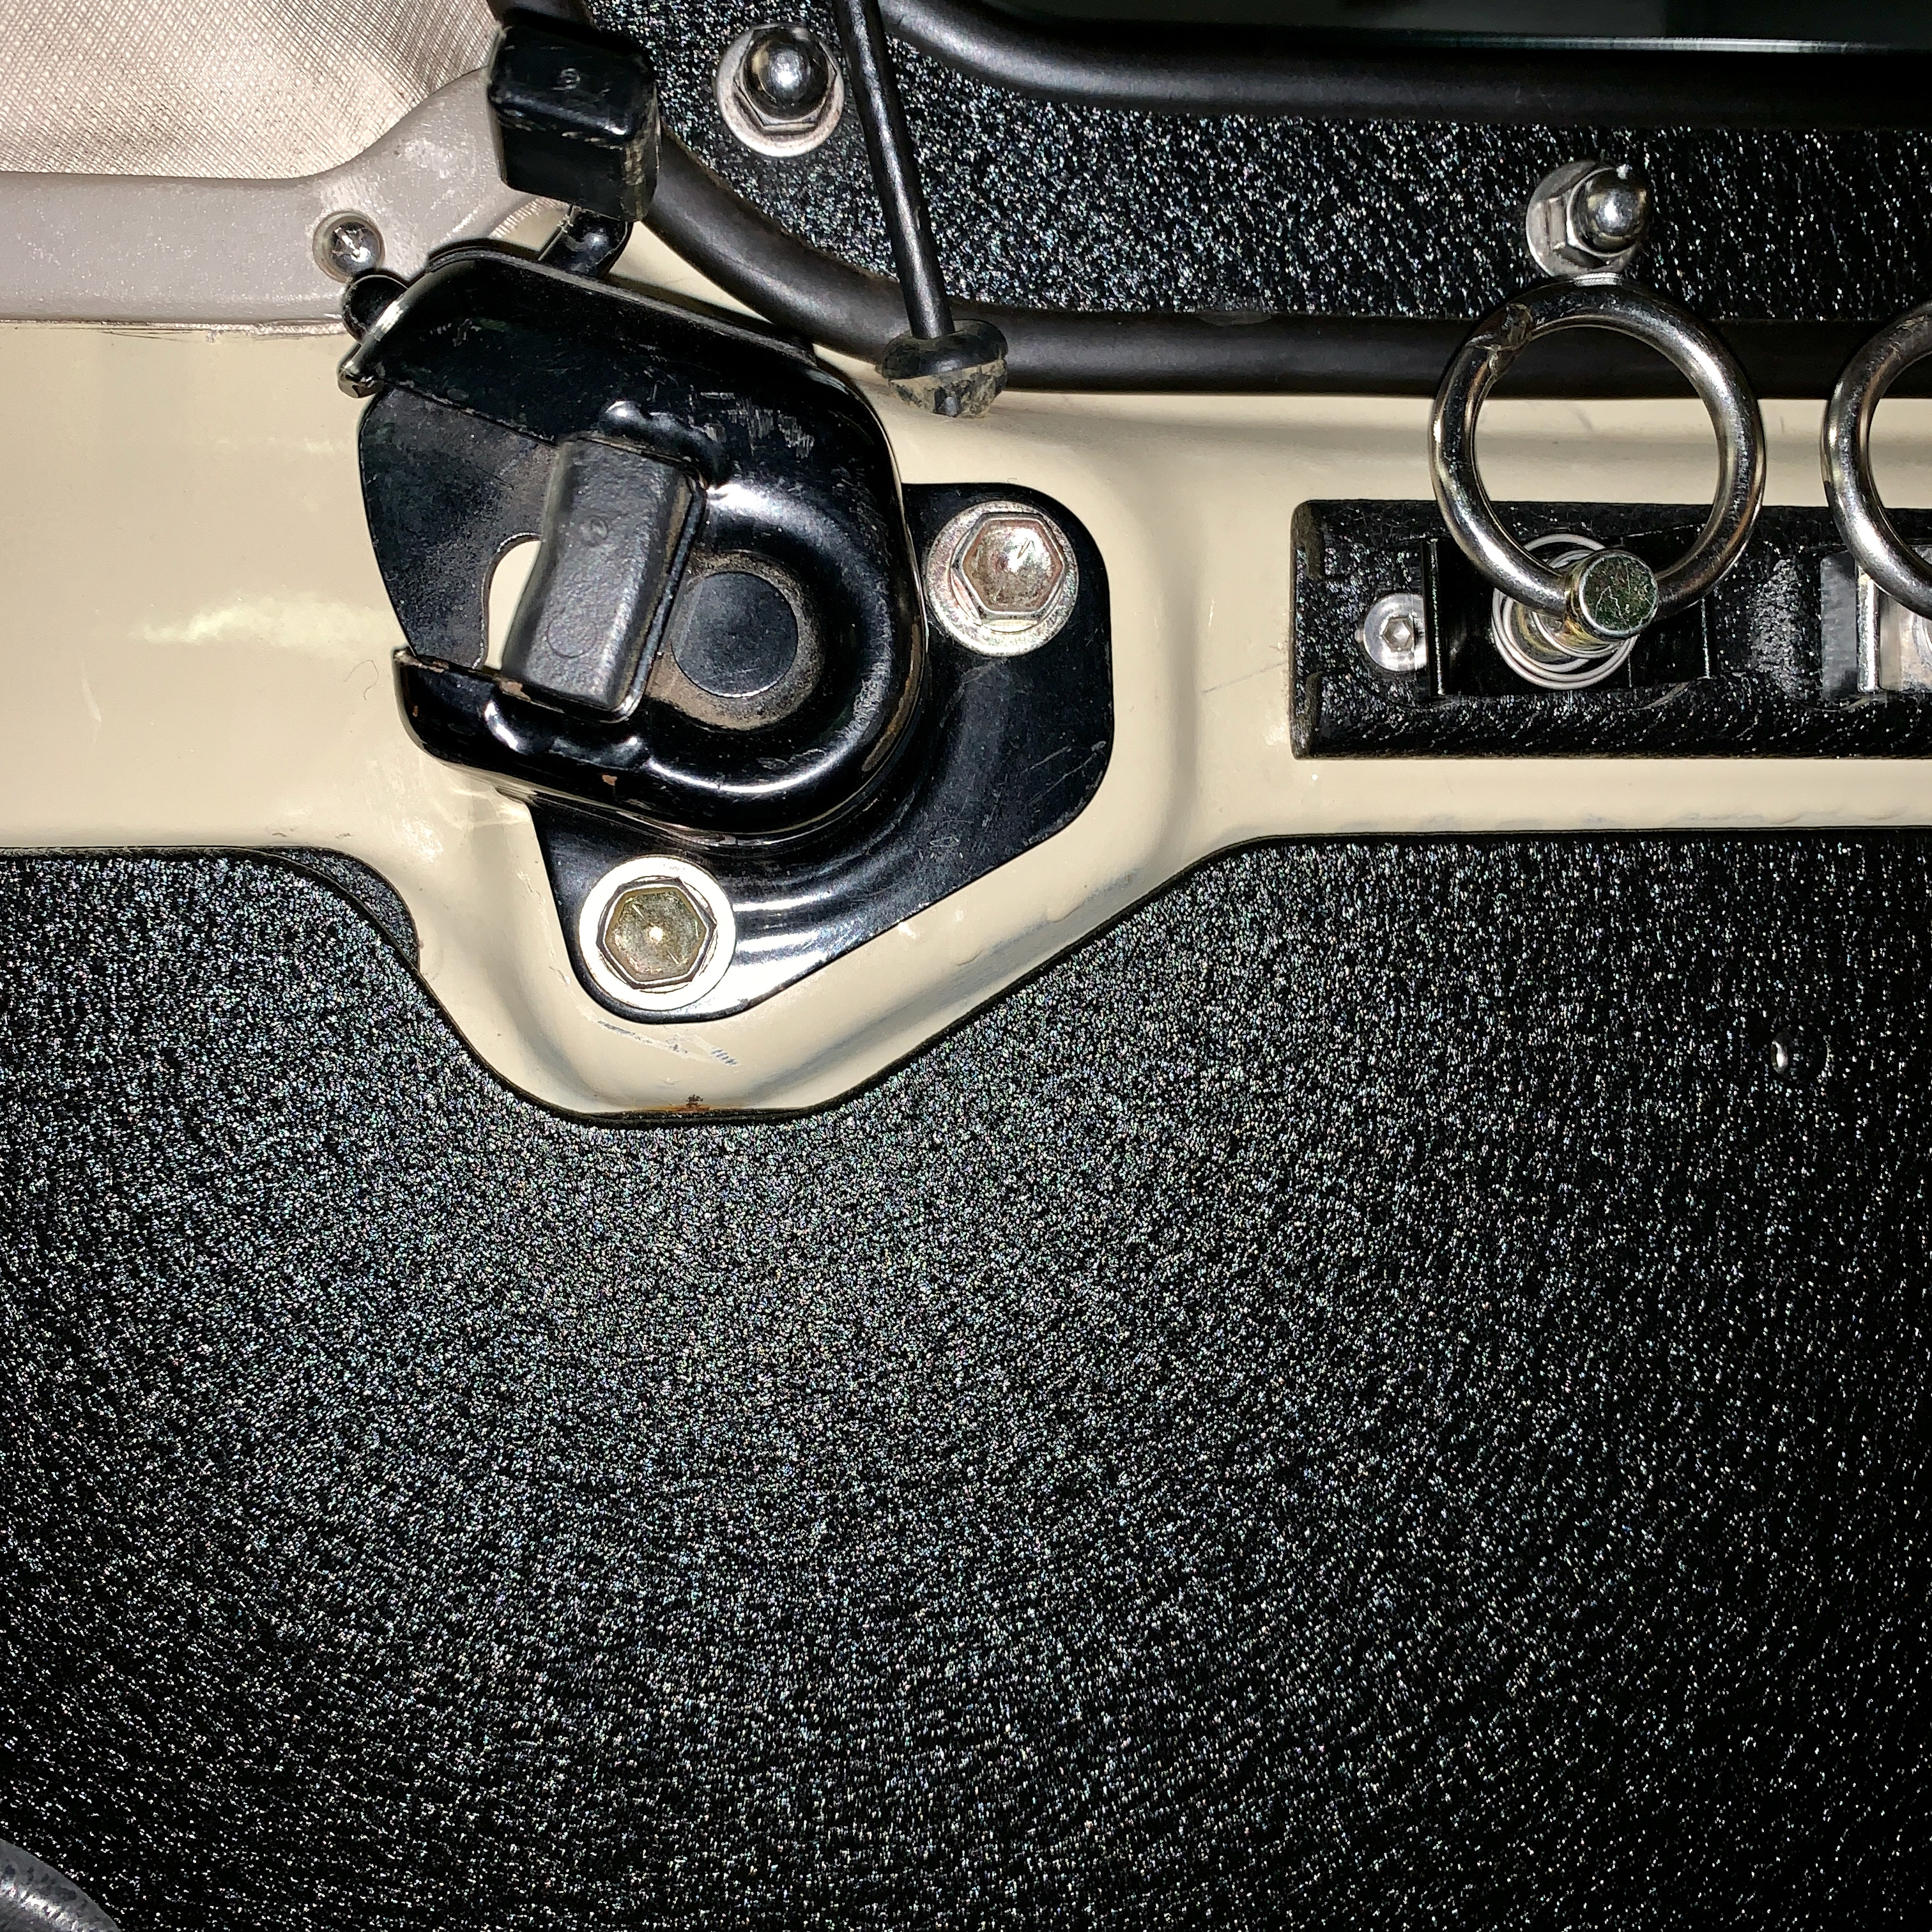
There are also different seat latch mount profiles- this brown tuck pictured has a fairly rare profile only found on 1982 and some international spec trucks.
On trucks that have had the interior plastic cargo trims removed, or on international spec trucks that did not have the plastic trims I can make the panels to fit the seat latch profile rather than the standard plastic trim profile.
(if you take a look at the slide show above you will notice that the panel pictured does not actually match the stamping around the seat latch, that is because the panels pictured are standard panels that fit the truck with or without the plastic trims, unless speced otherwise I make all panels to match the plastic trims)
In the last picture here you can see a non plastic trim seat latch profiled panel laid over a plastic profile panel. (you can see a bit of the plastic profile panel peeking out)

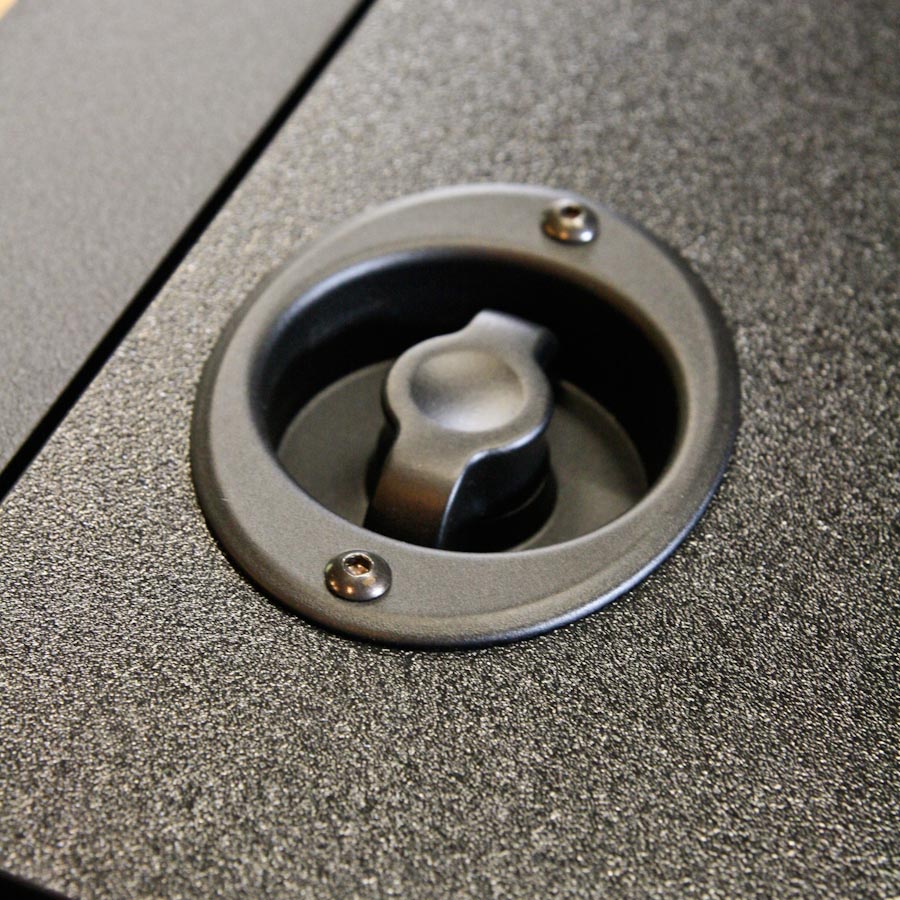
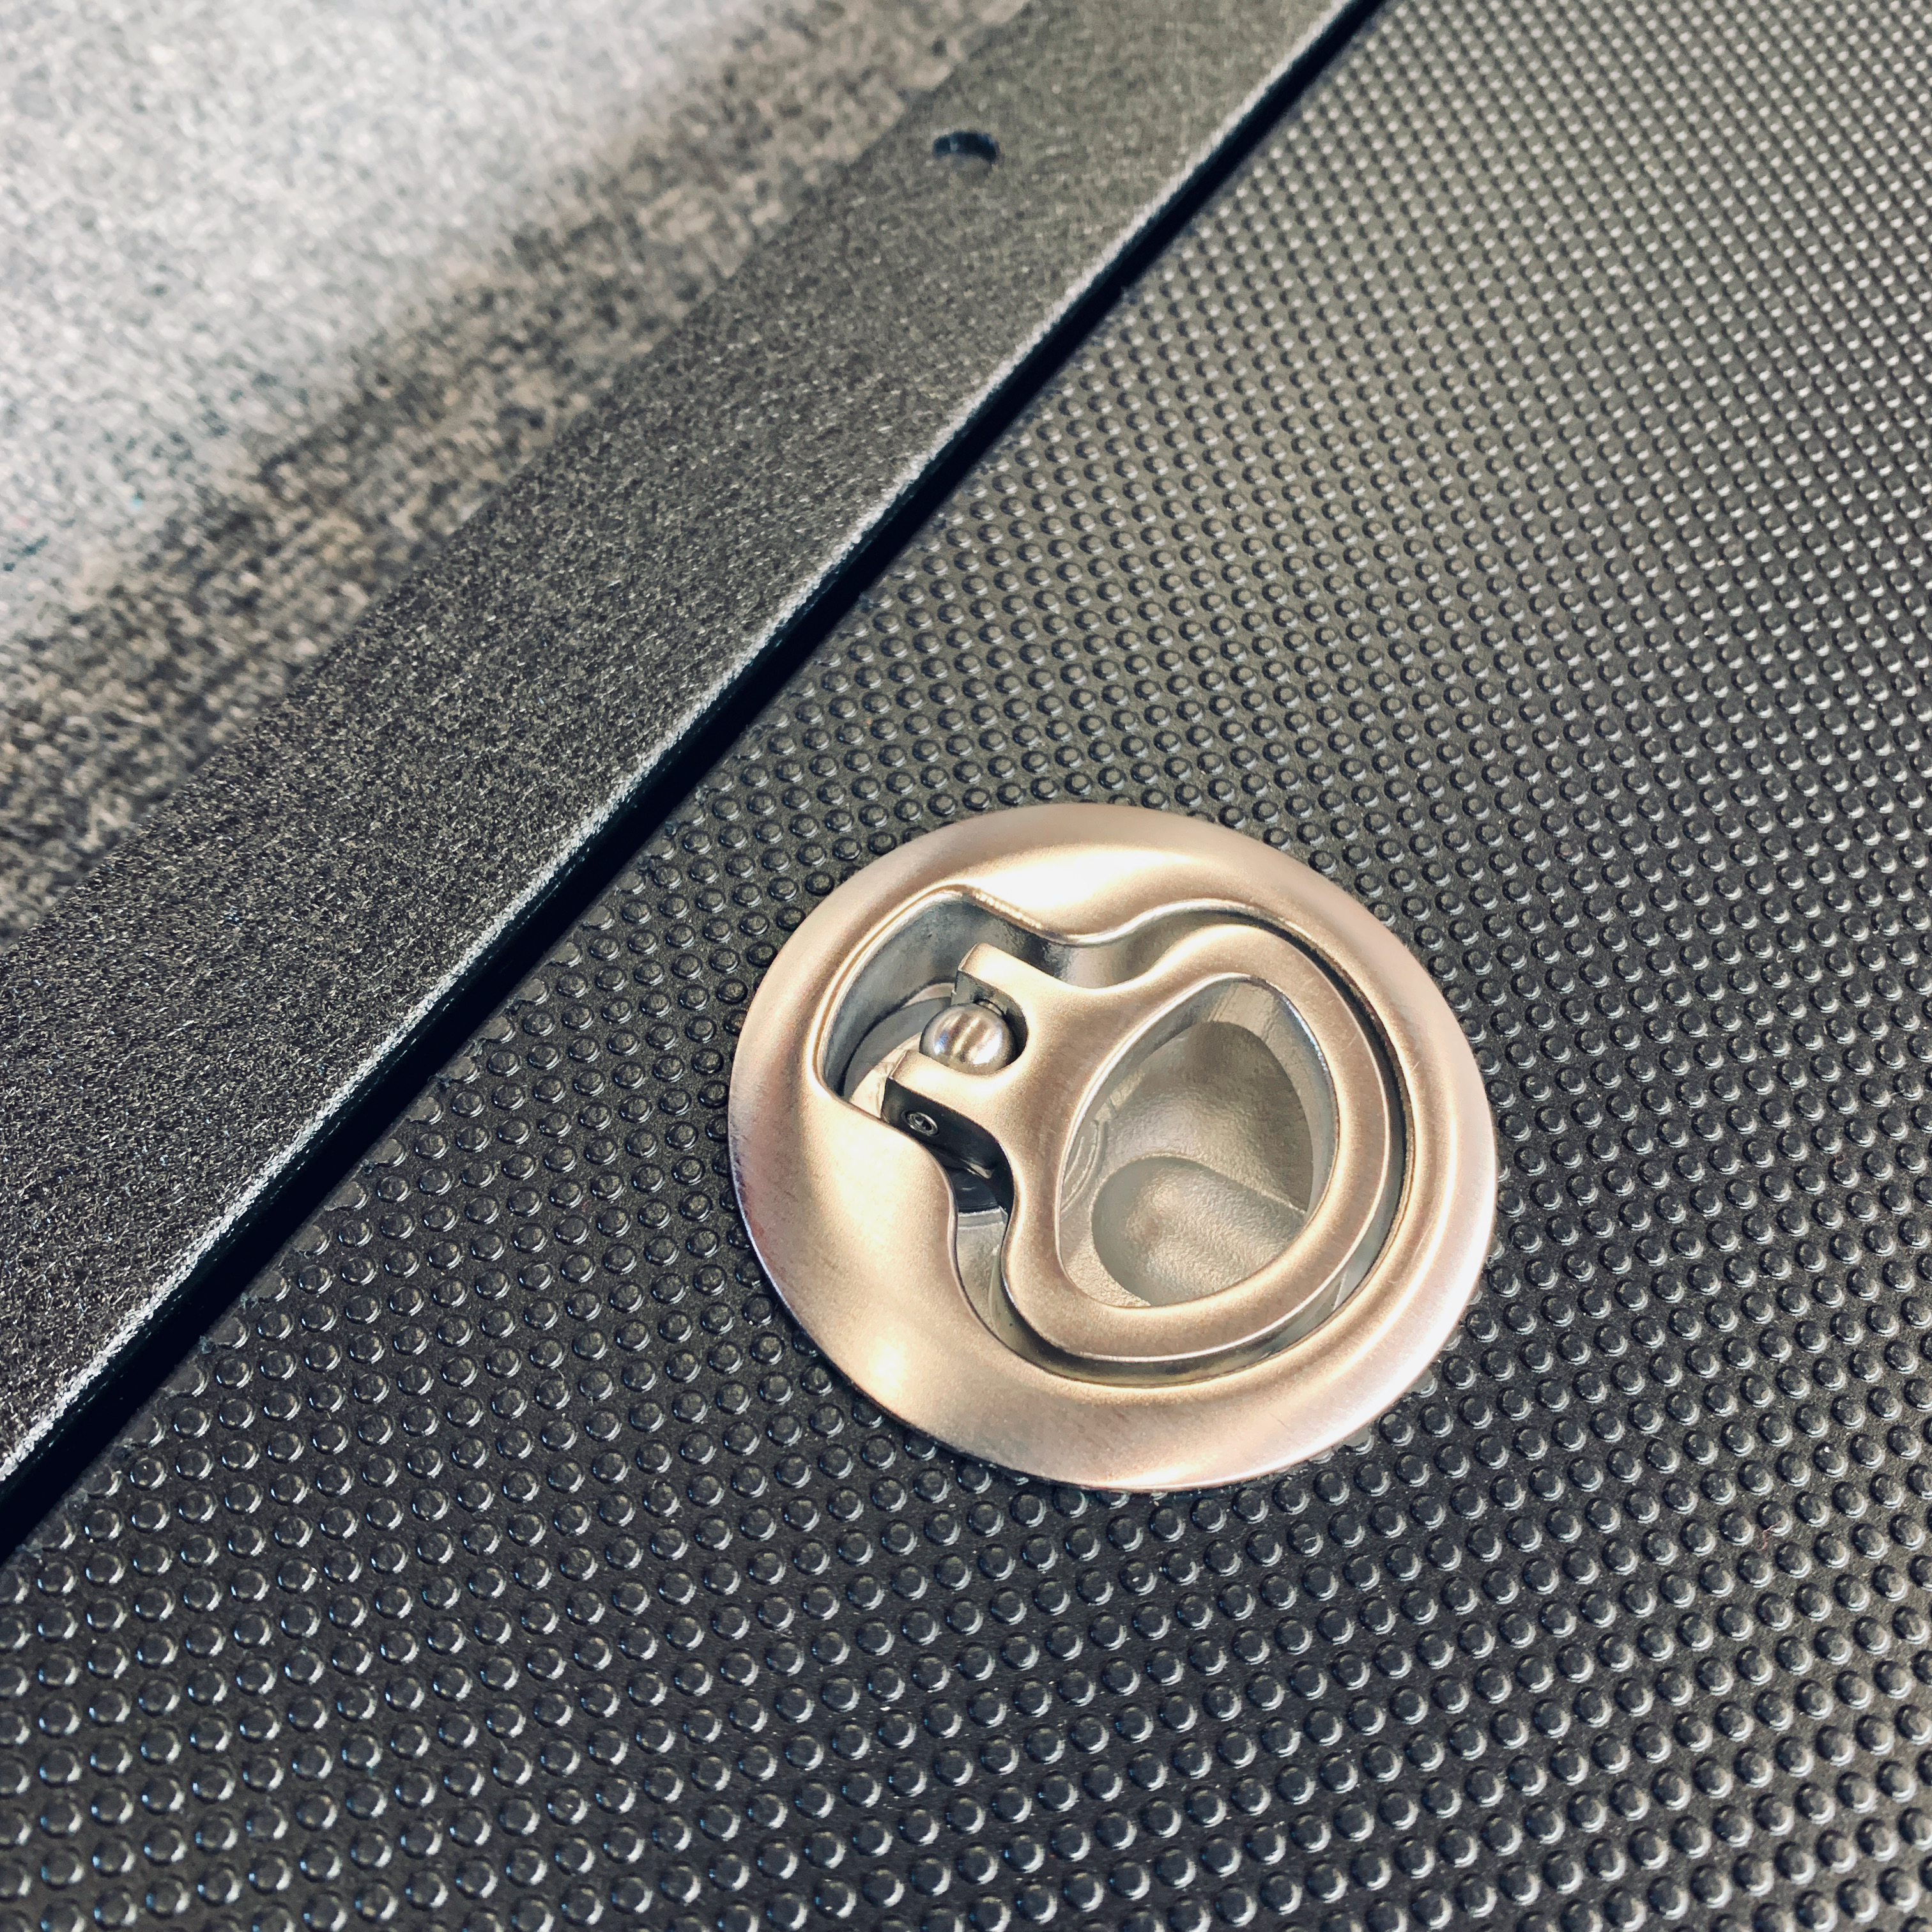
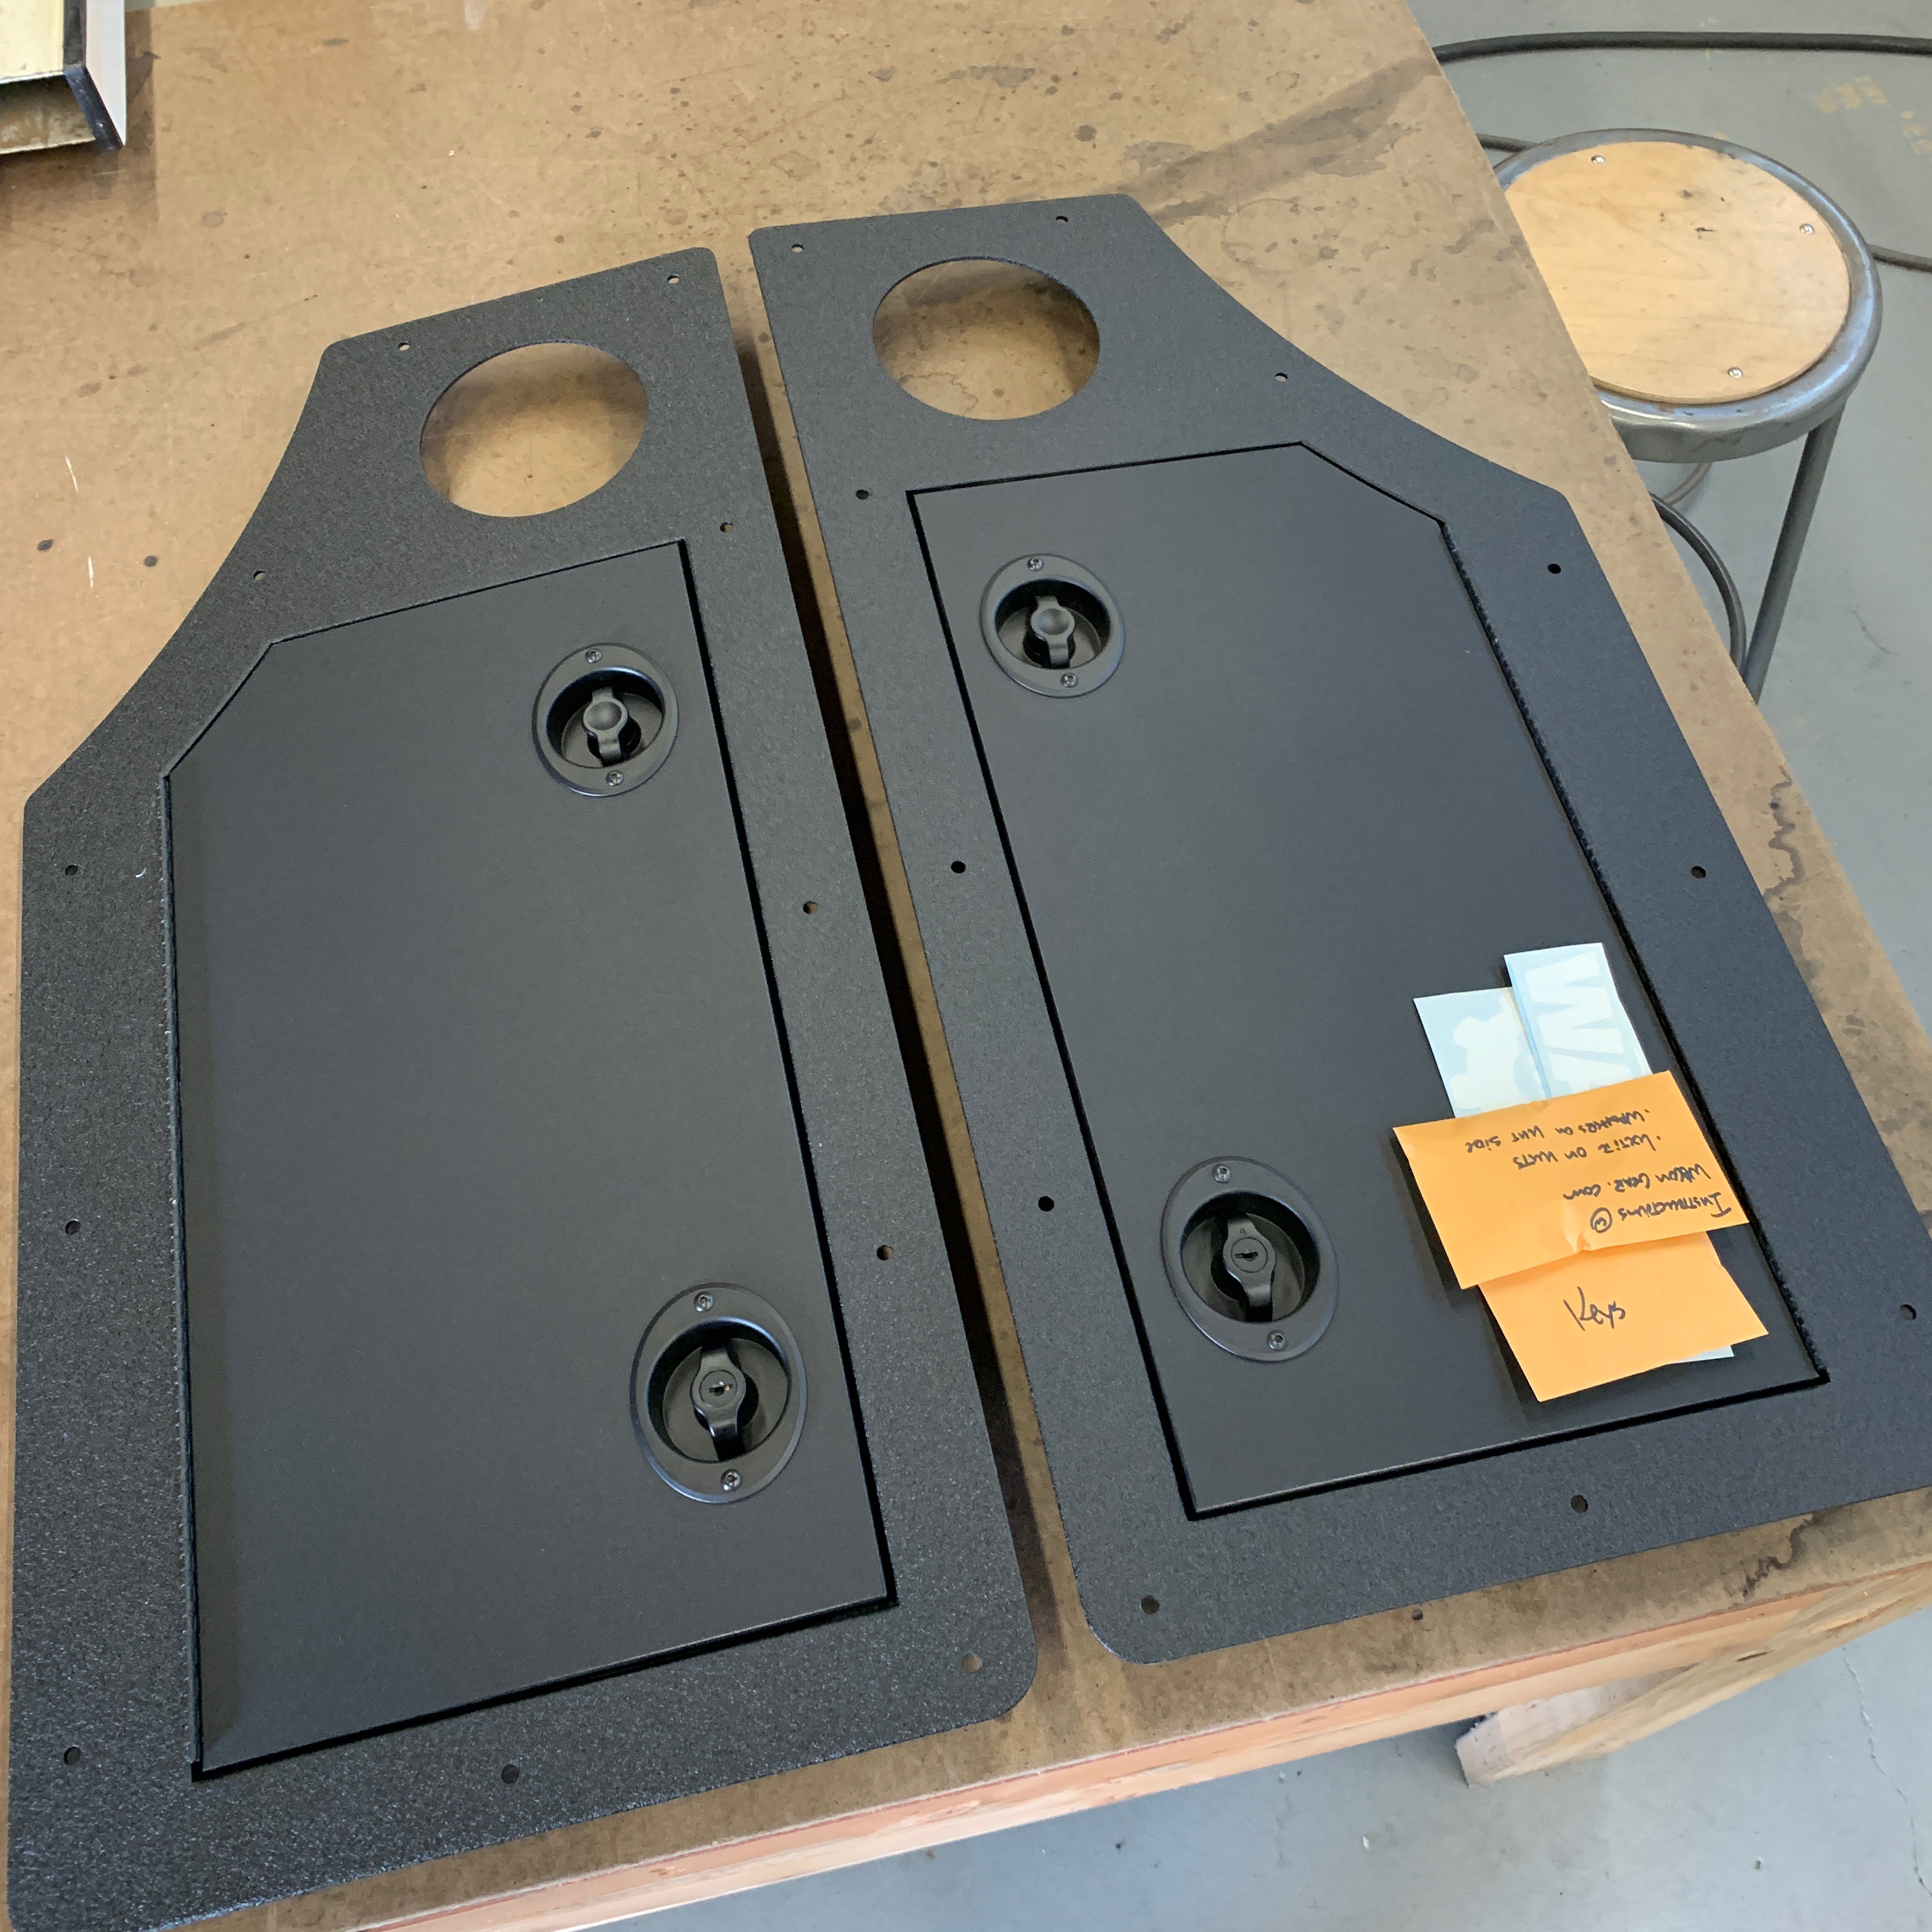
Latch Options:
Including whether you would like any locks.
For lots more info check out the Latch Options Info Page:
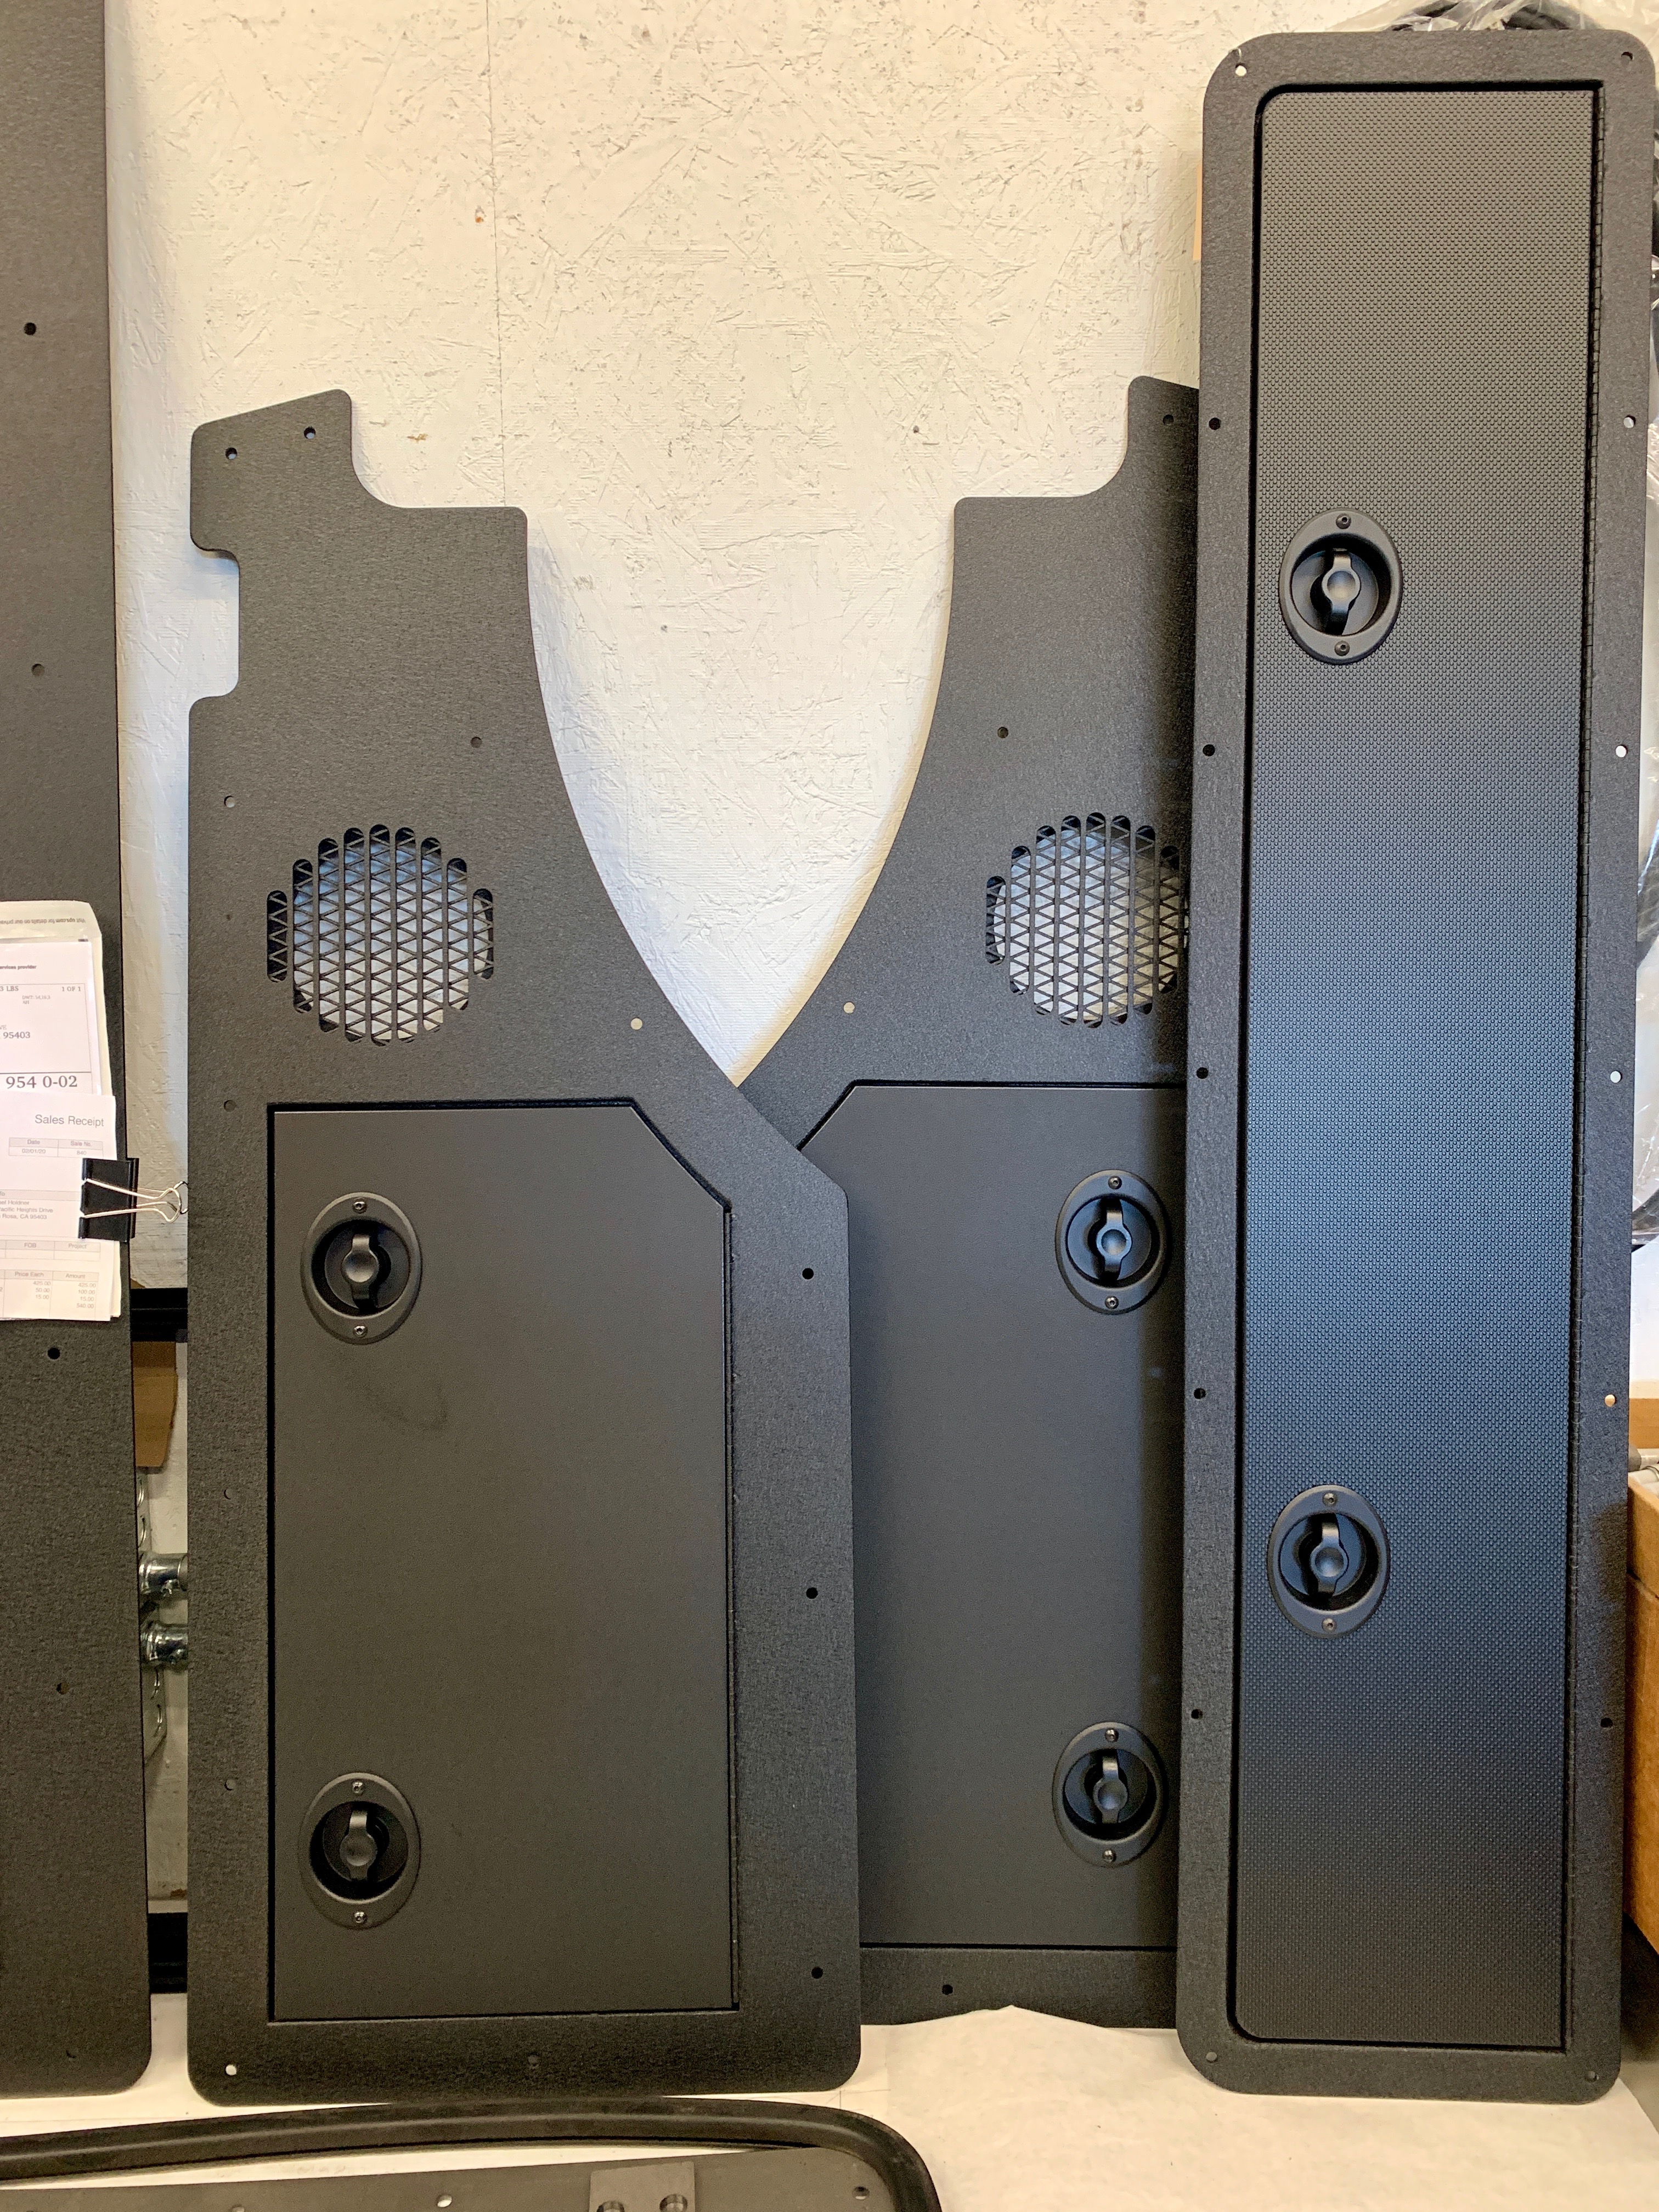
Speaker provisions:
There are three basic speaker options:
No speaker (no charge)
A hole. (no charge)
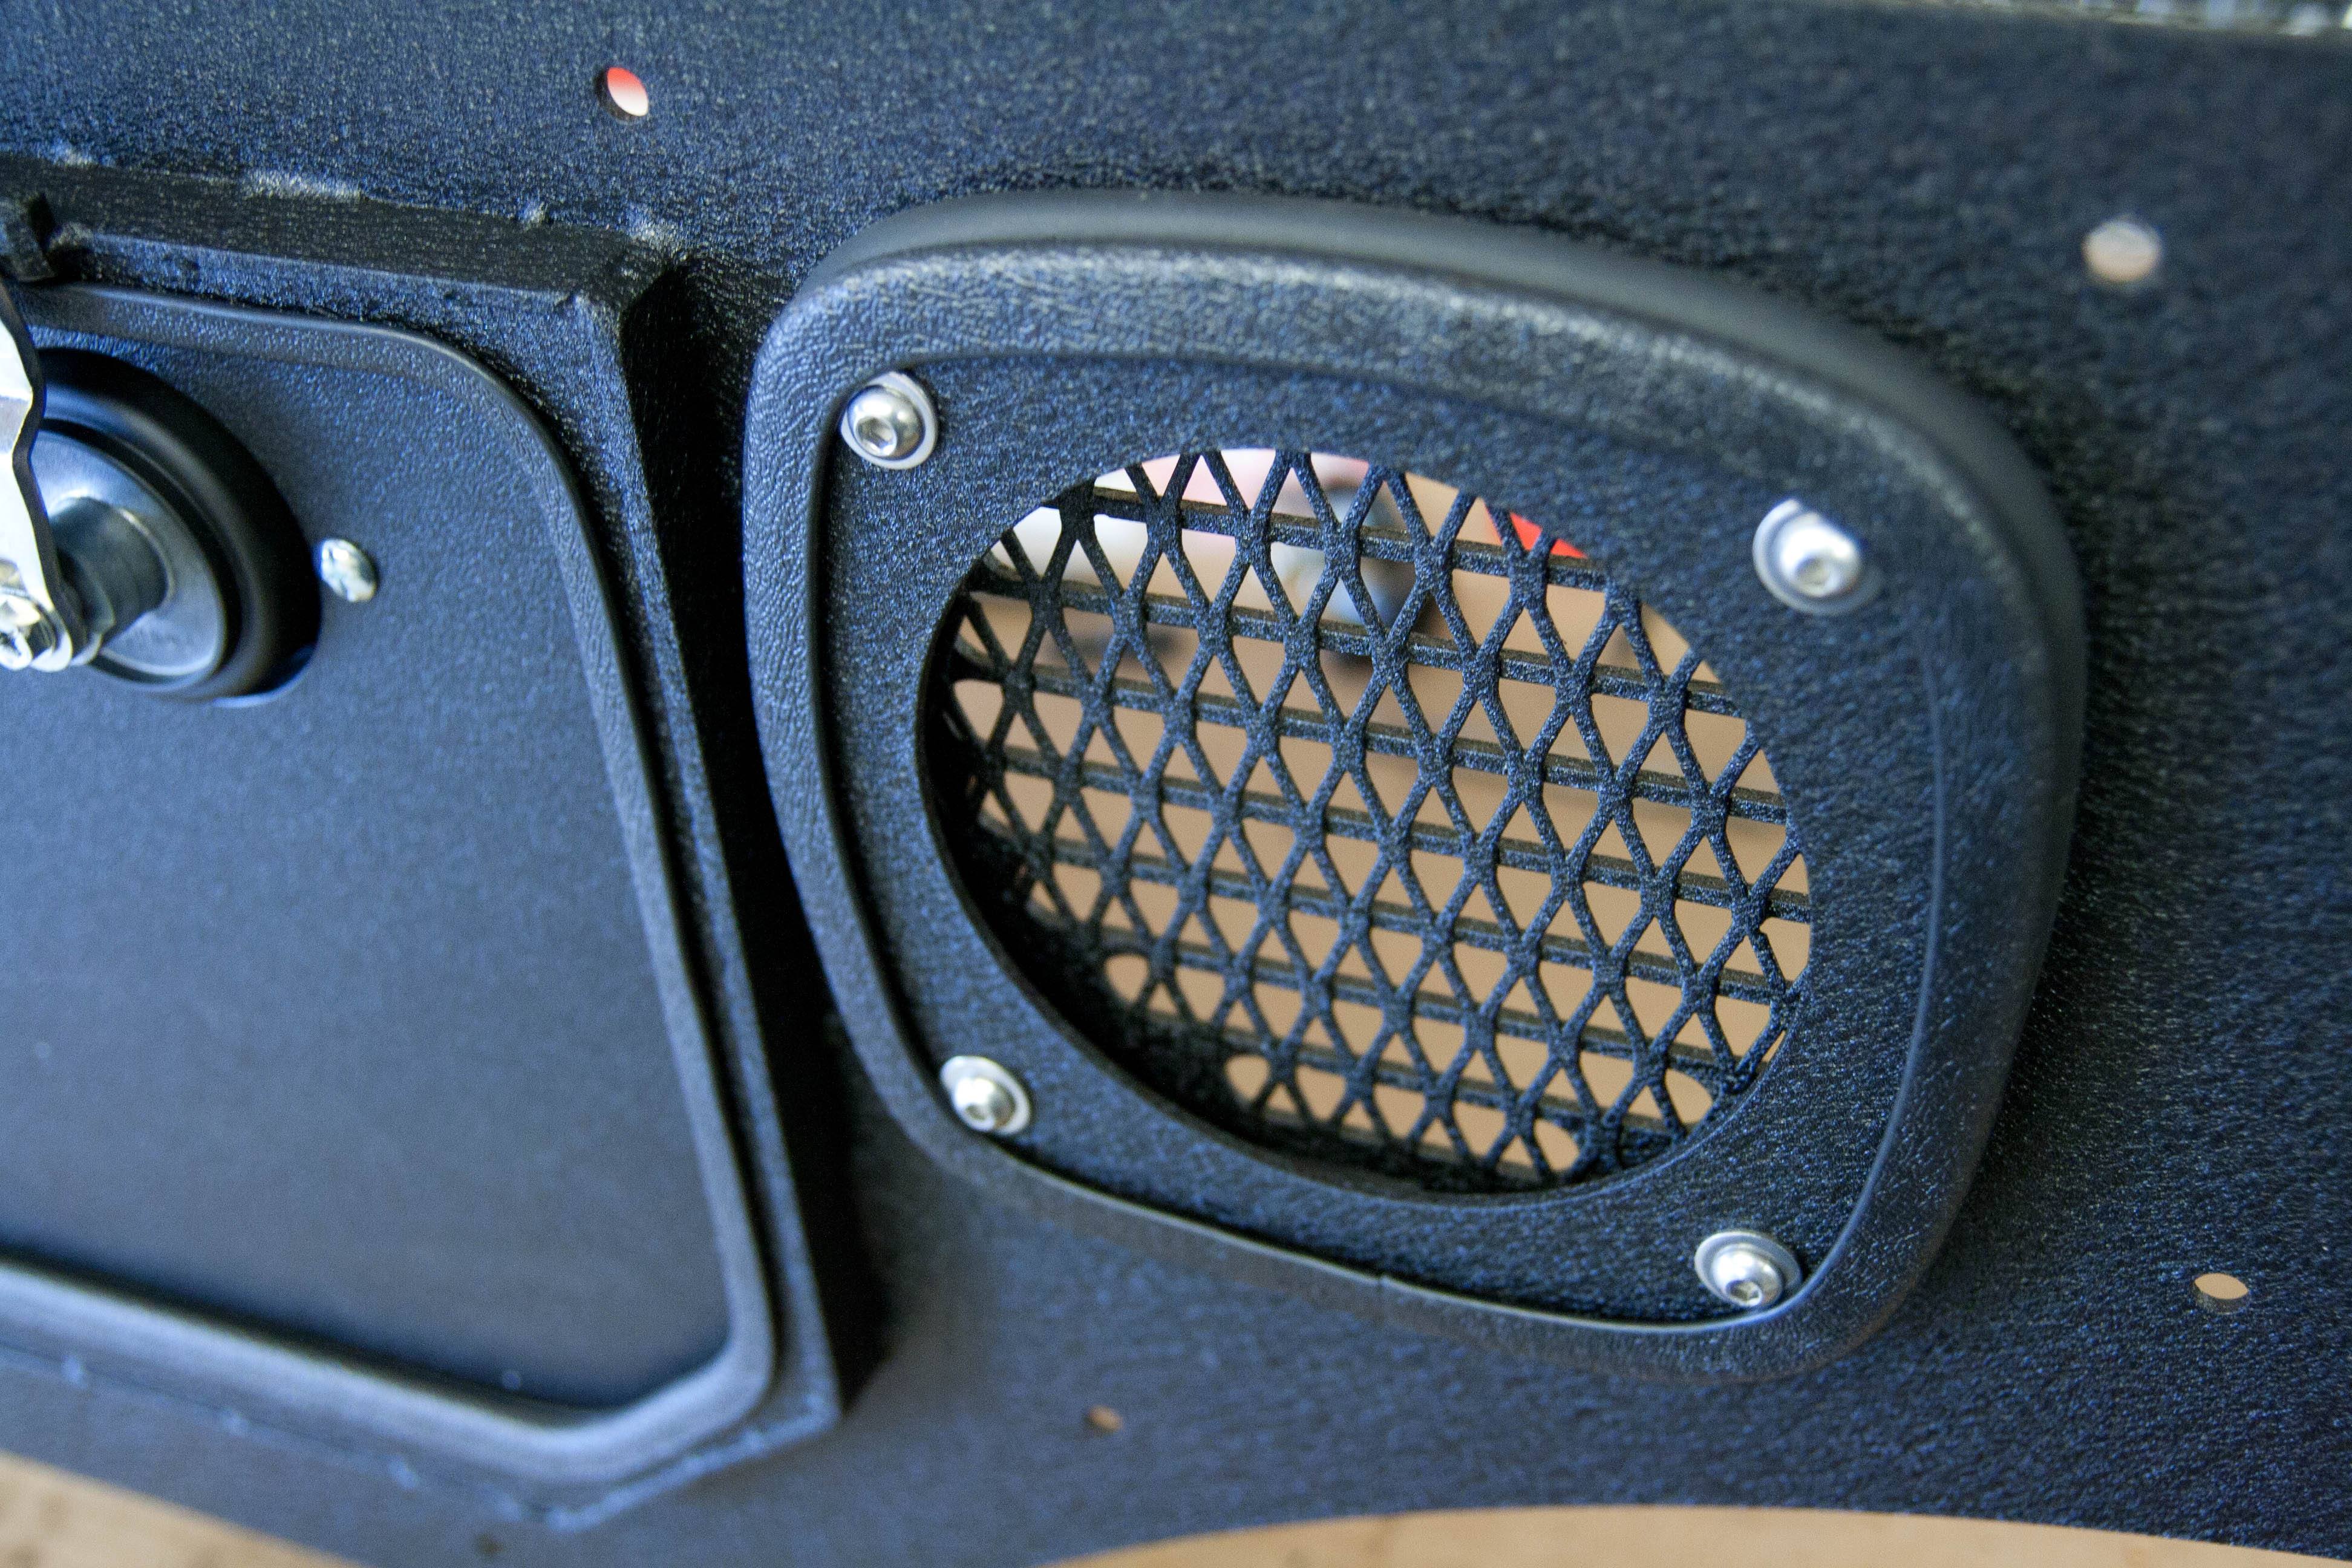
A back mount speaker ring with an integrated flush grill. (extra $75)
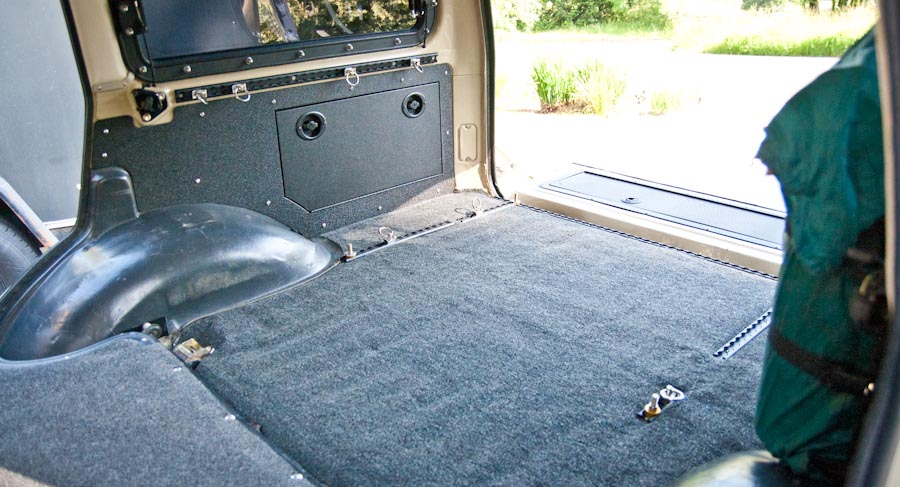
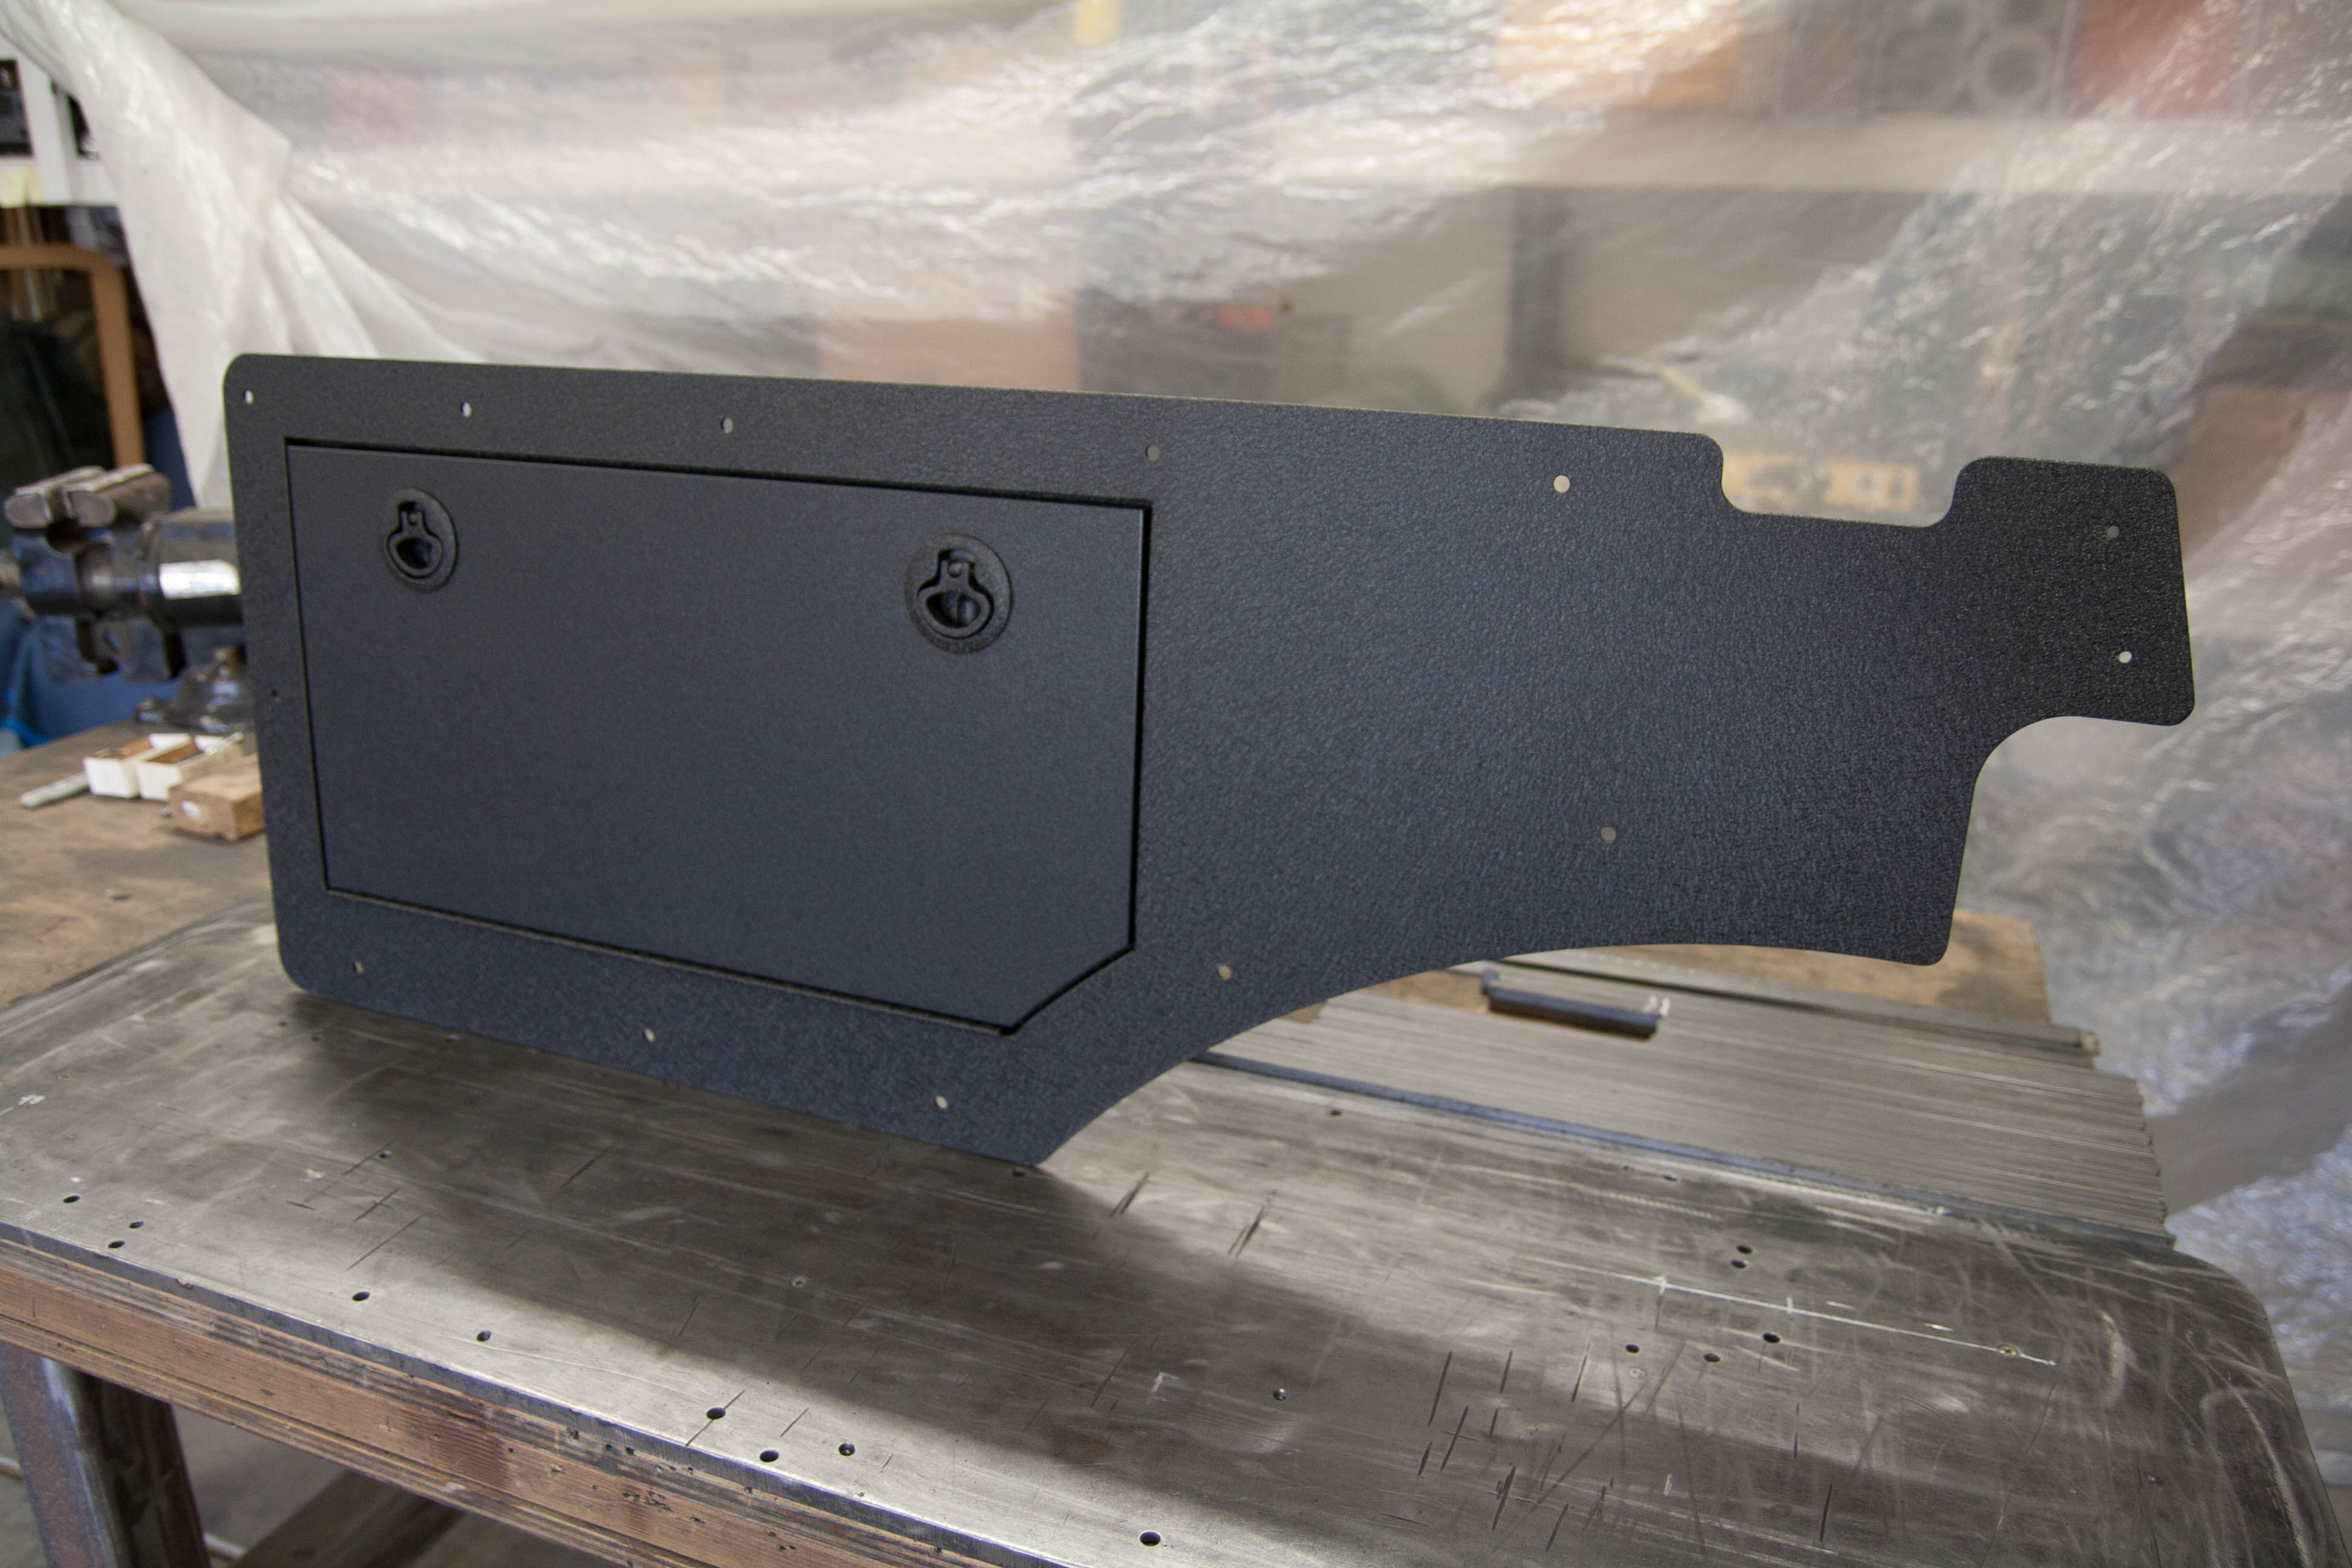
Blank Panel
This is my preferred setup since these are a utilitarian modification and rear cargo speakers are kinda dumb cause they are going to get blocked/covered with…..cargo.
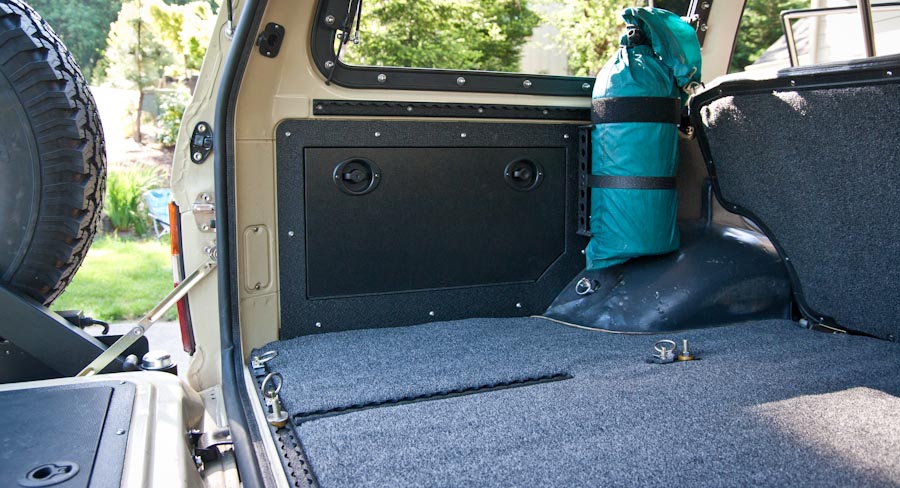
There is also great storage space above the wheel arch inside the panel when there is no speaker in the way, and this also gives you a nice blank panel to mount things to if you want, like a fire extinguisher or CO2 tank, etc…..
I am by far the minority with this preference though as most panels I build are back-mount setups.
This panel set has no speaker mount and black coated stainless compression latches
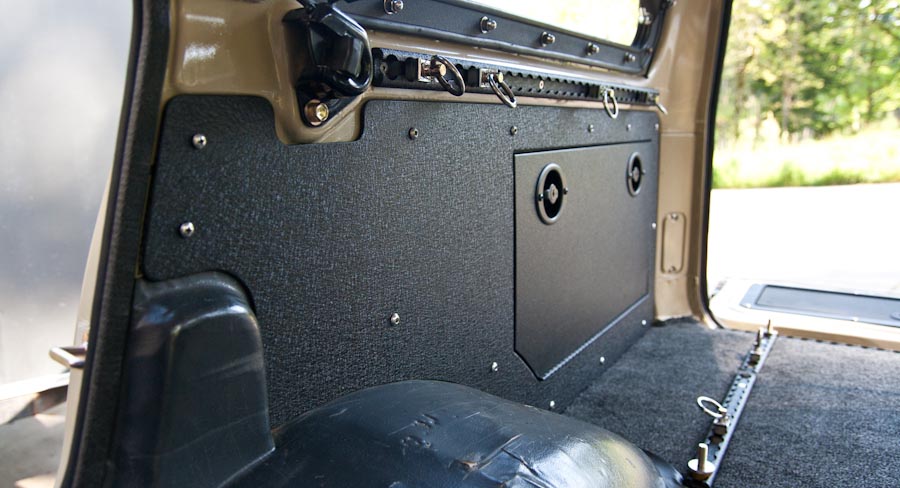
Speaker Hole
The hole is just that- a hole sized to accept a standard 6.5″ auto speaker driver. This requires the use of aftermarket speaker grills that come with the speaker.
Here you can see a panel set with plain mount holes and an outer profile to match a factory rear shoulder belt trim set.
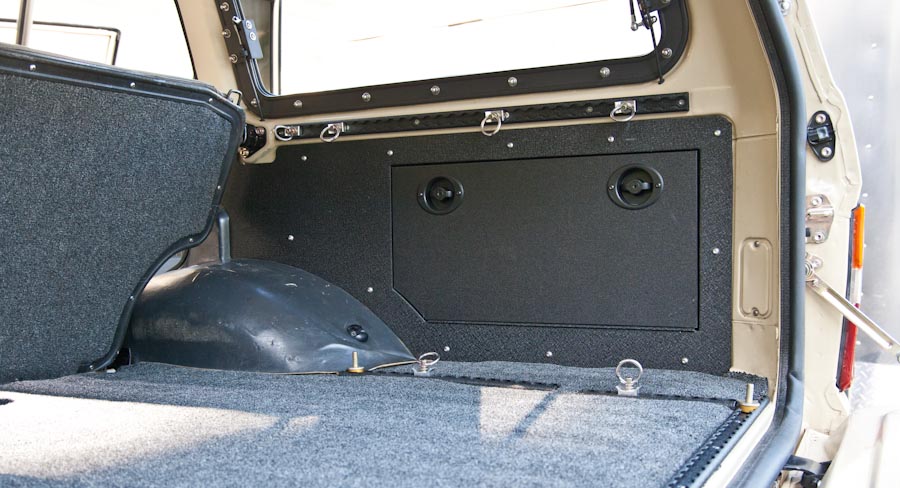
Back Mount Speakers
For the back mount speakers There is a ring mounted to the back of the panels, sized for standard 6.5″ speaker drivers. With this system you can attach your particular driver to the panels without modifying the actual panel.
This system works if you are just re-using the OE speakers as well. This is a $75 option and is by far the most common panel I build.
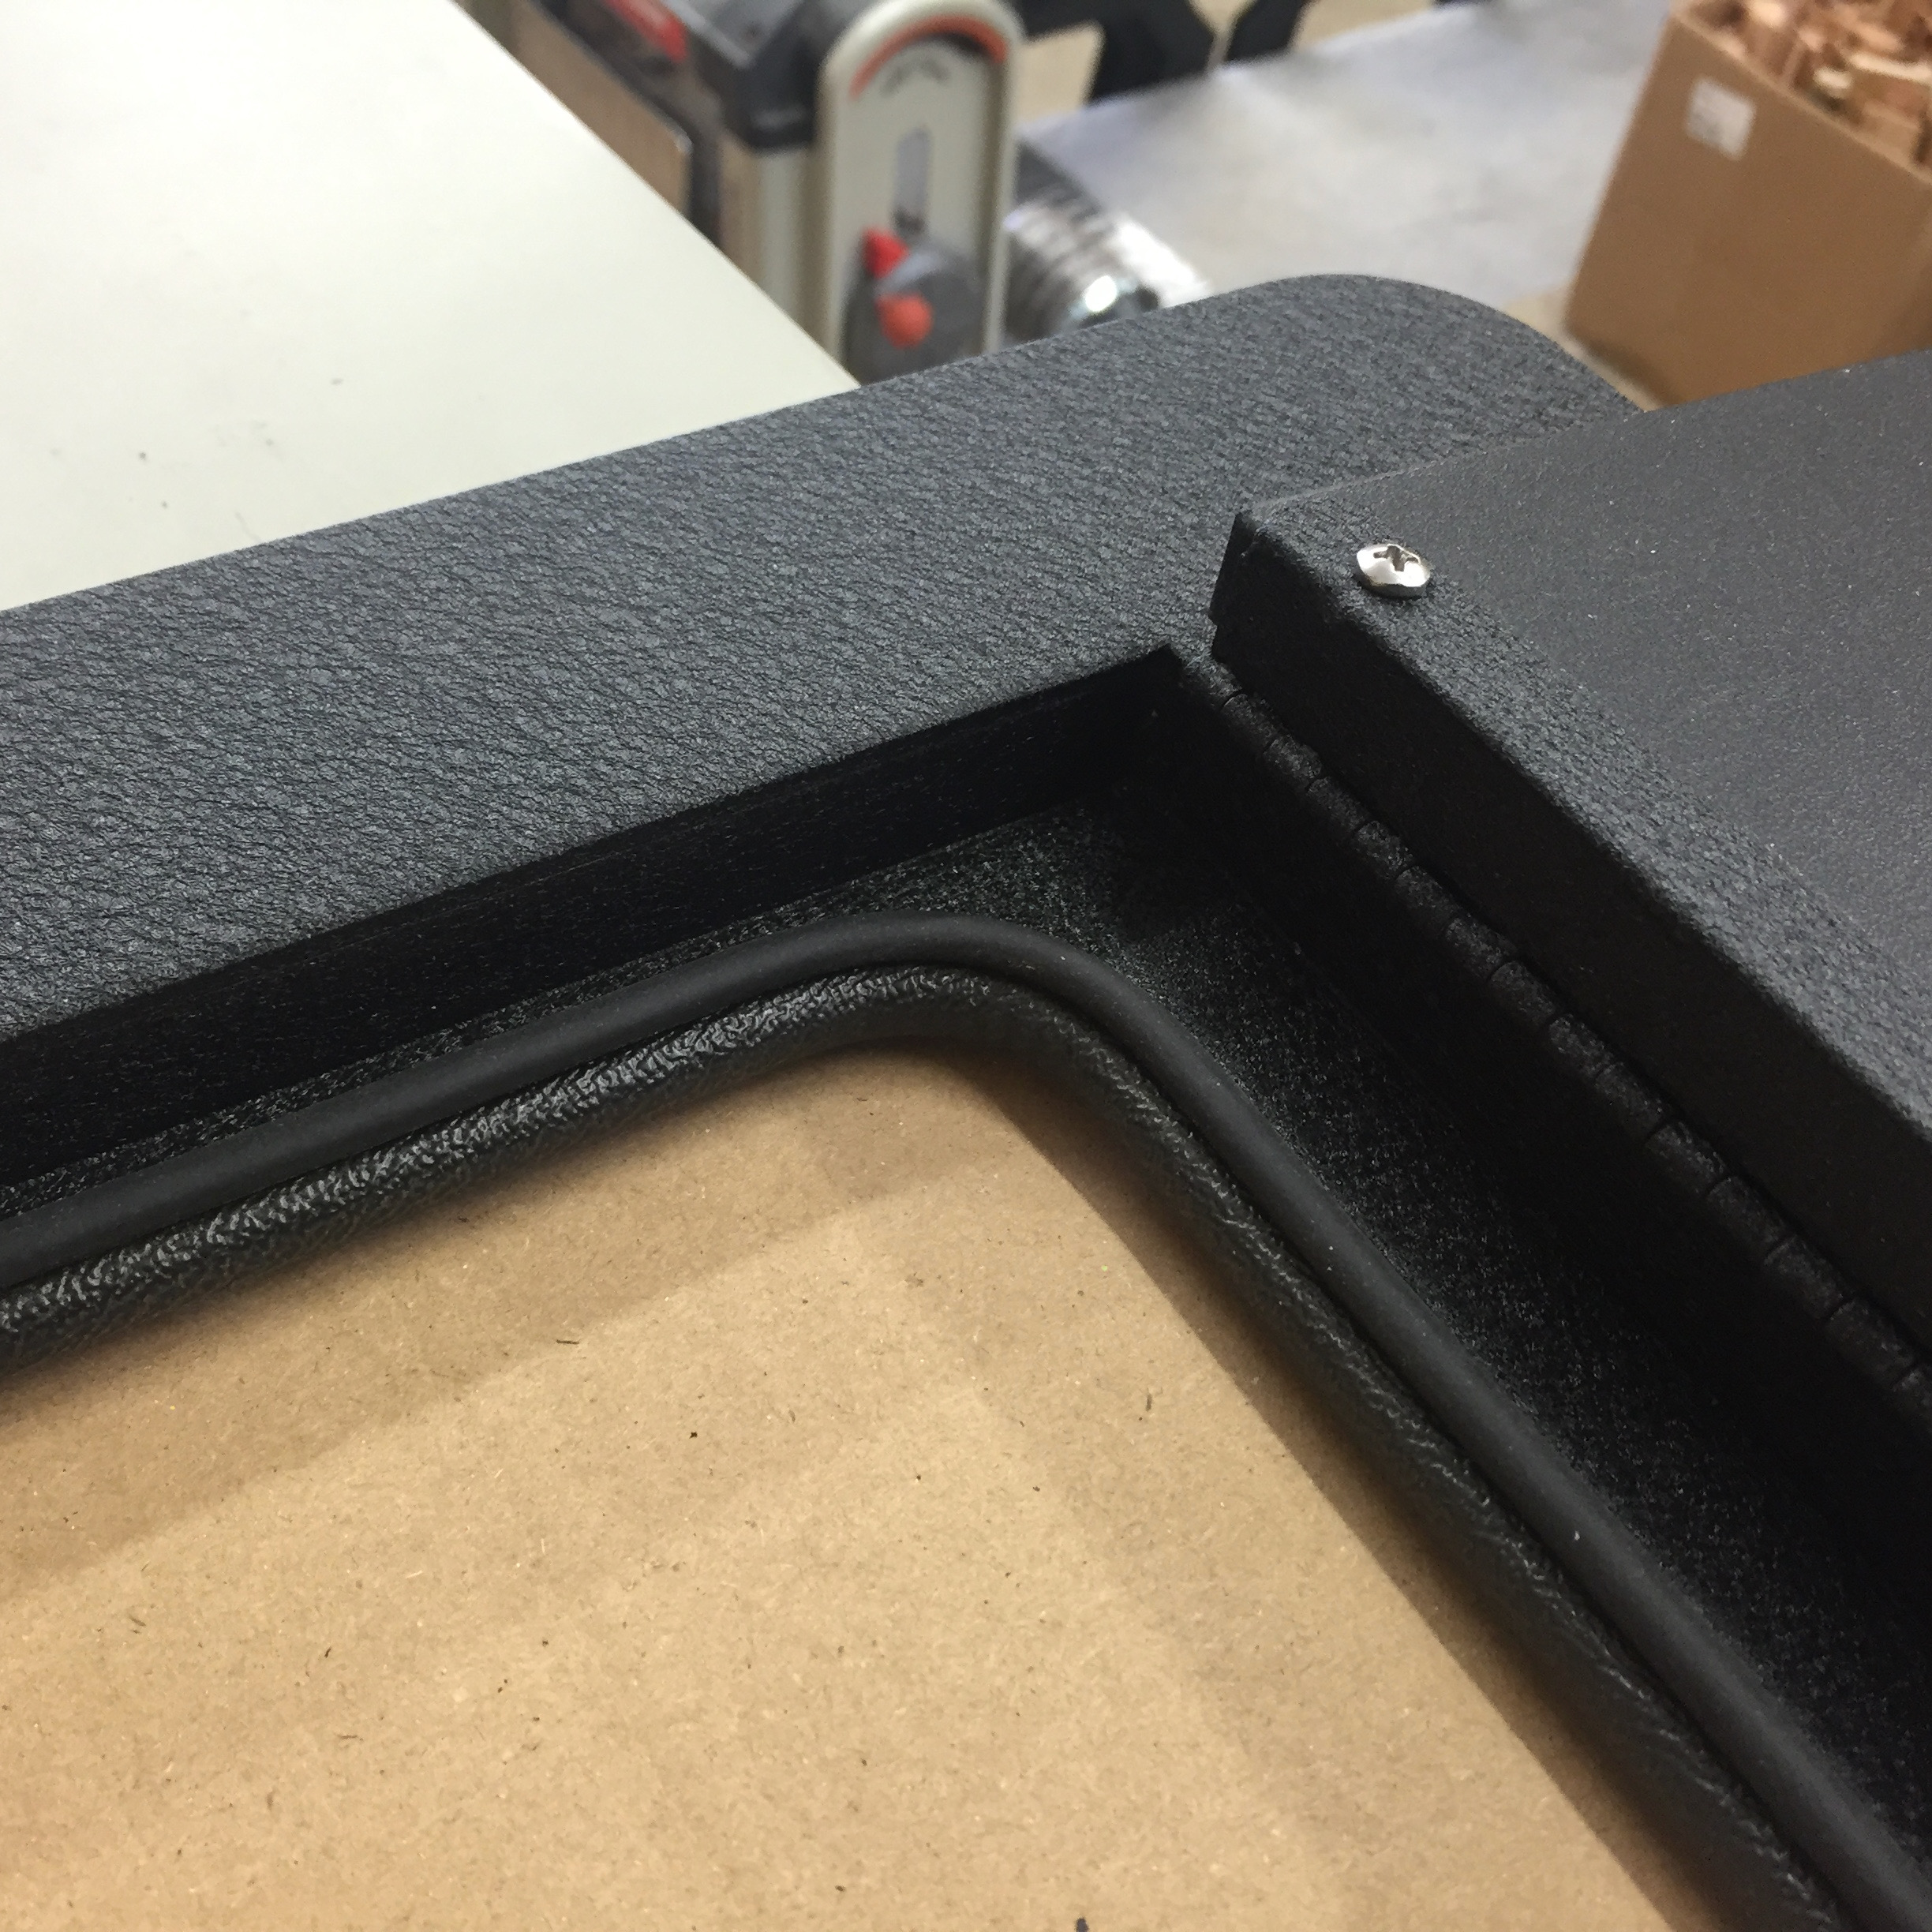
Door Seal
As part of the back mount speaker setup I instal a bulb seal around the speaker mount ring to maintain the integrity of the cargo area seal my panels provide. The quarter panels have air flow through them by design and as such- will (and should) have dust in them as well (keep this in mind when thinking about what you want to store in there)
This bulb seal around the mount ring works in conjunction with the seal around the door opening.
The second photo here shows the seal contact after a hard desert trip.

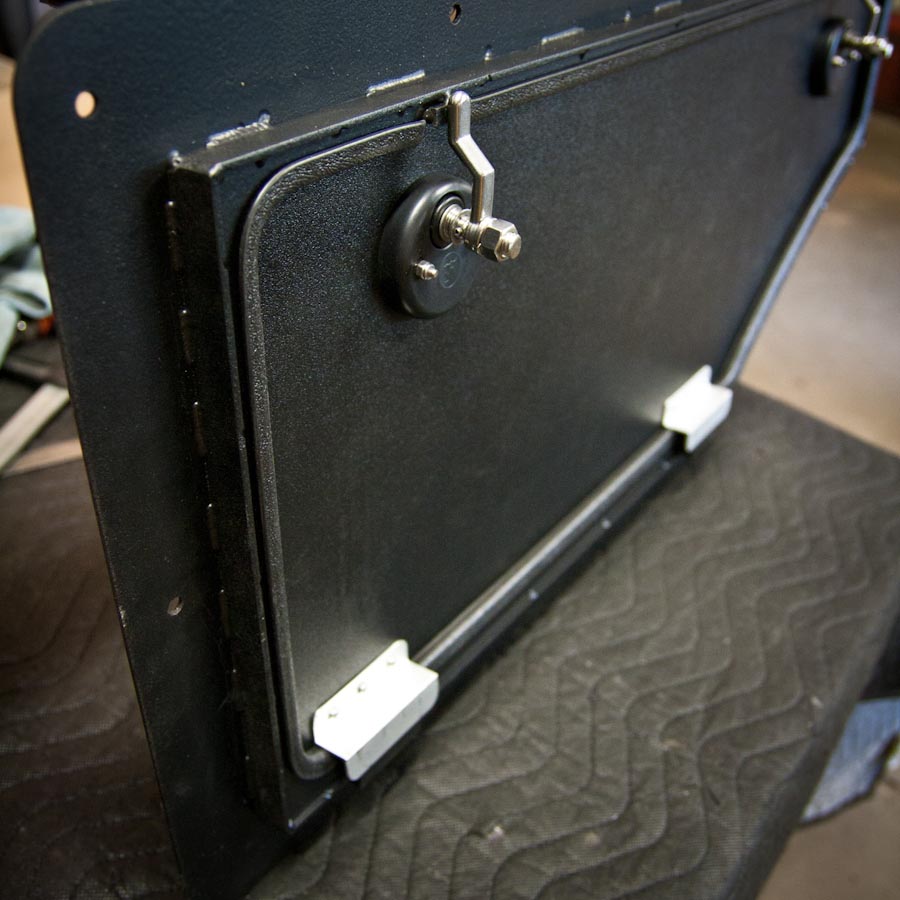
Lift-Off Side Panel Doors:
For special tight space applications I have cargo access doors available that lift out of place rather than hinge down.
-I do not recommend this option- unless space restrictions make it absolutely necessary. If you do not have very high drawers or other storage in the way then the loose doors are more inconvenient to deal with than a secure hinged panel.
These are also a pain to line up and fabricate in comparison so I charge $75 to try and help convince you not to do it.
Custom:
I do make all kinds of customizations. These include special sized short doors/narrow doors, solid panels, special mounts, special sized speaker mounts, etc. Drop me a line and I can usually get you set up with what you are looking for, it just costs more and takes longer.
As a note- I do also have setups for 6×9 speakers for those that insist- they are just not a great fit and have extra installation steps (and sometimes costs) associated.
Side Panel Installation Instructions:
Instructions