
60/62 Series Tailgate Lid Installation Instructions
Tools Needed:
Jig Saw (or angle grinder)
Drill and starter bit
Hearing and eye protection
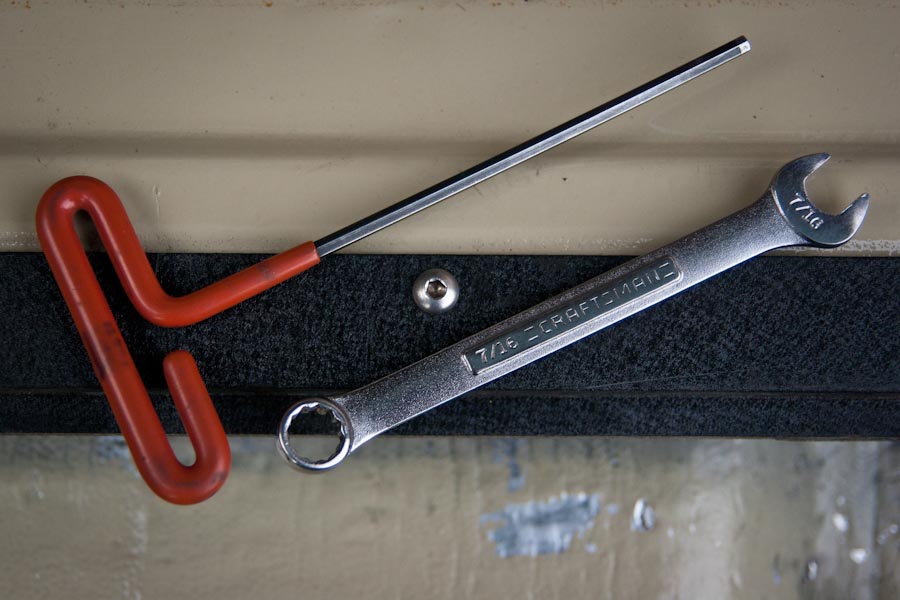
5/32 Allen Wrench
7/16(11mm) Wrench
Materials Needed:
Loc-Tite
Sound Mat (see info pages)
Remove carpet and identify cut line. I dug out my spare tailgate to make an example out of it, poor tailgate. You can see that once the carpet is pulled off there is a very easy cut line to follow.

Drill a starter hole.
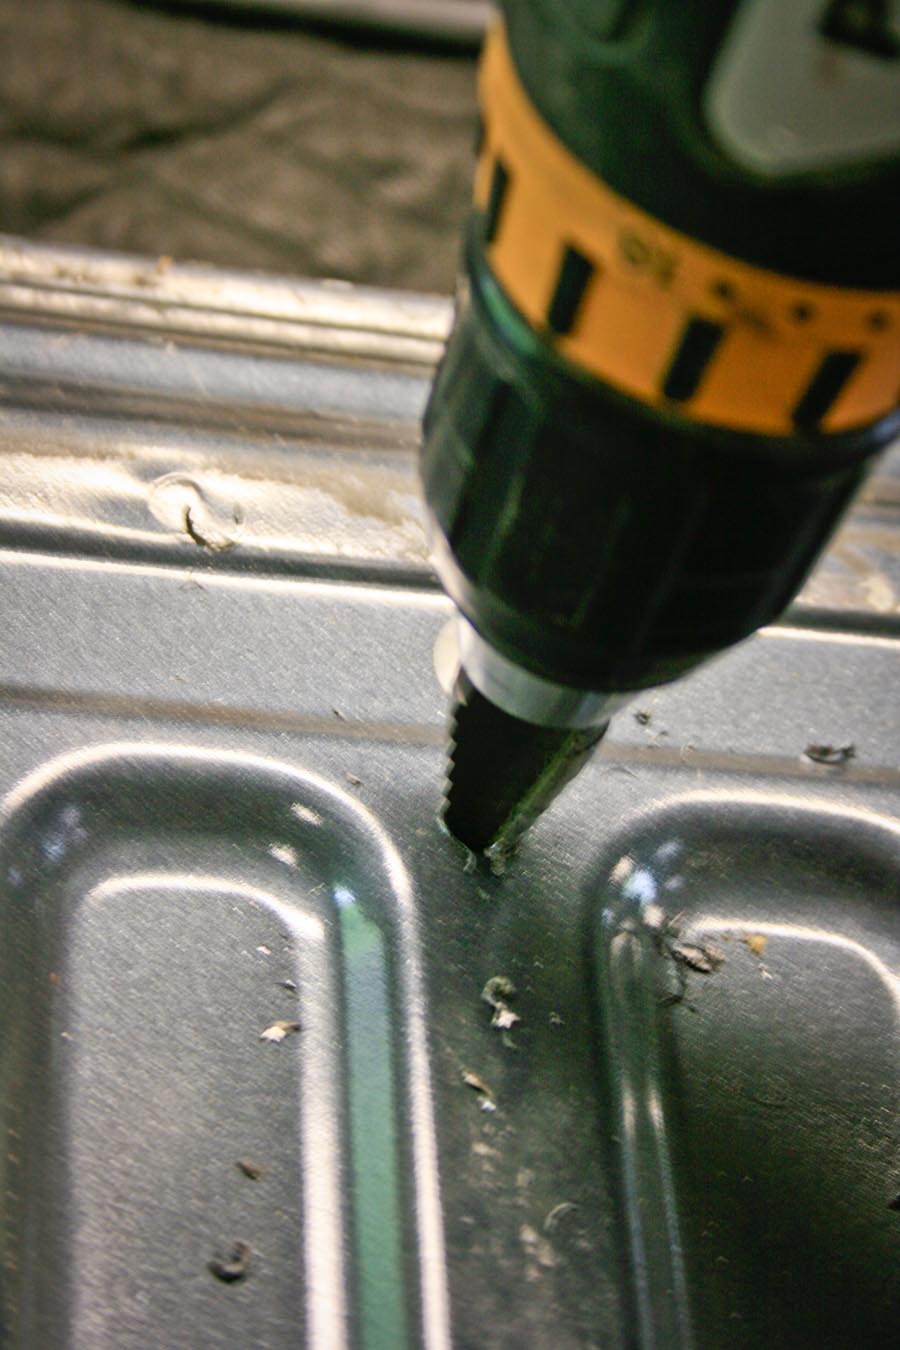
Locate Structural Ribs. You can see the divots where the 3 ribs are spot welded in with 3 spot welds each. With a normal length jigsaw blade you can cut right through the ribs if you go slow.

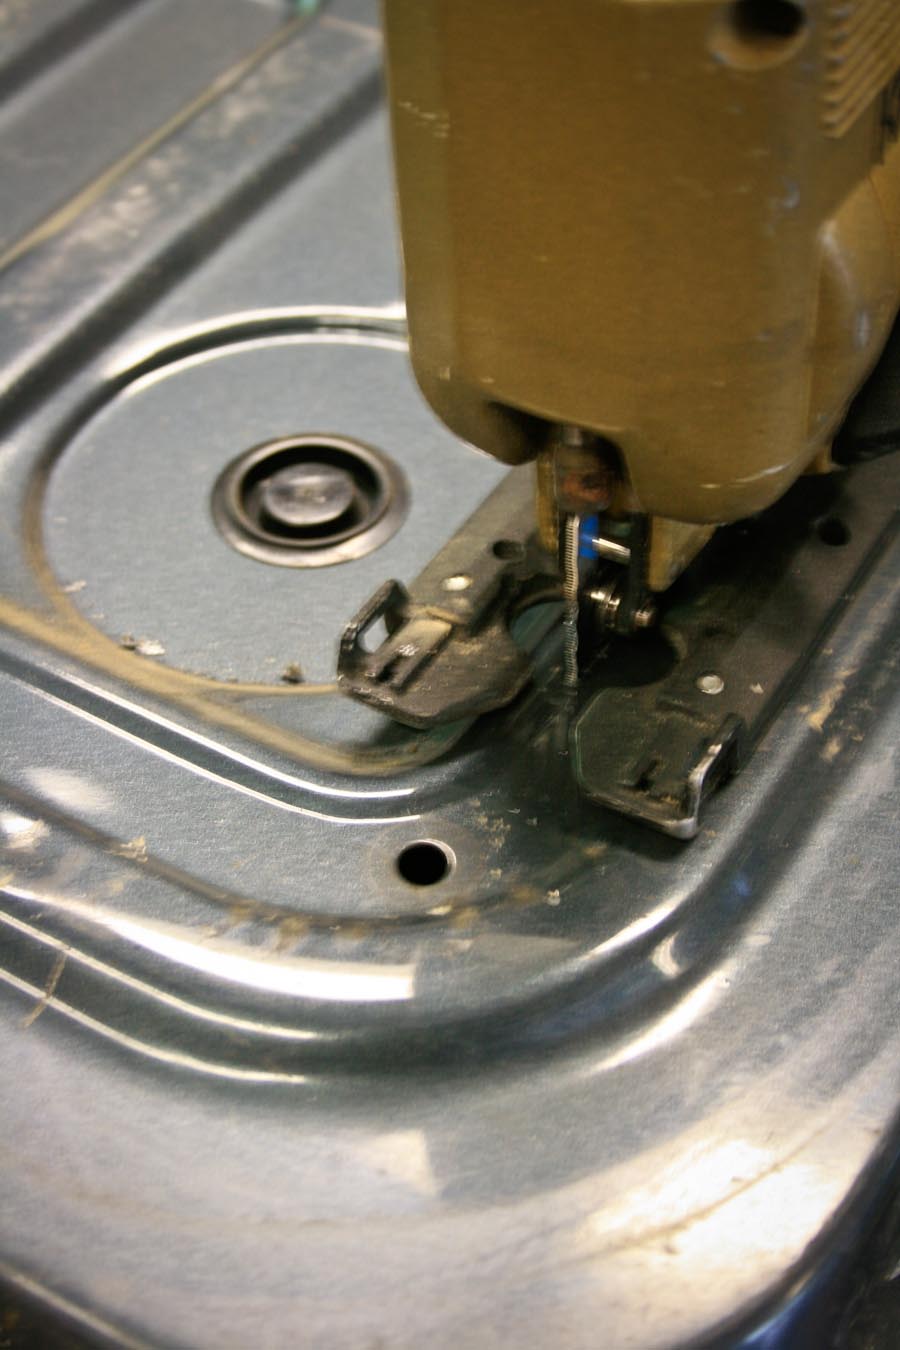
Cut along the line making sure to remove the entire raised inner portion of the formed sheet metal.

As long as you don’t cut off the mount holes you are doing fine.
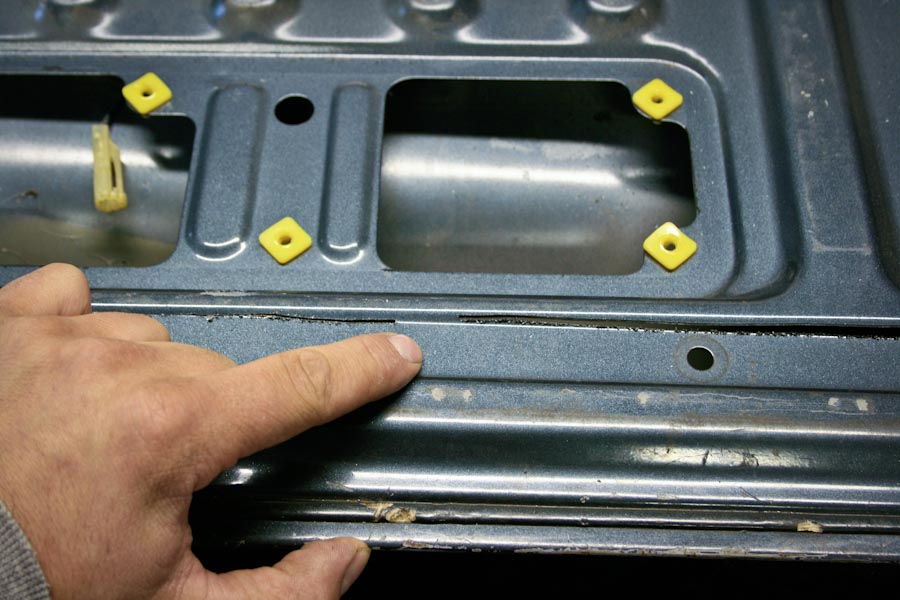
Don’t cut here. There is one section that you can not cut with the jig saw, if you do you will cut into the latch. I just use a cutoff wheel for that little bit, or you could block up the jig saw a bit, or use a shorter blade.
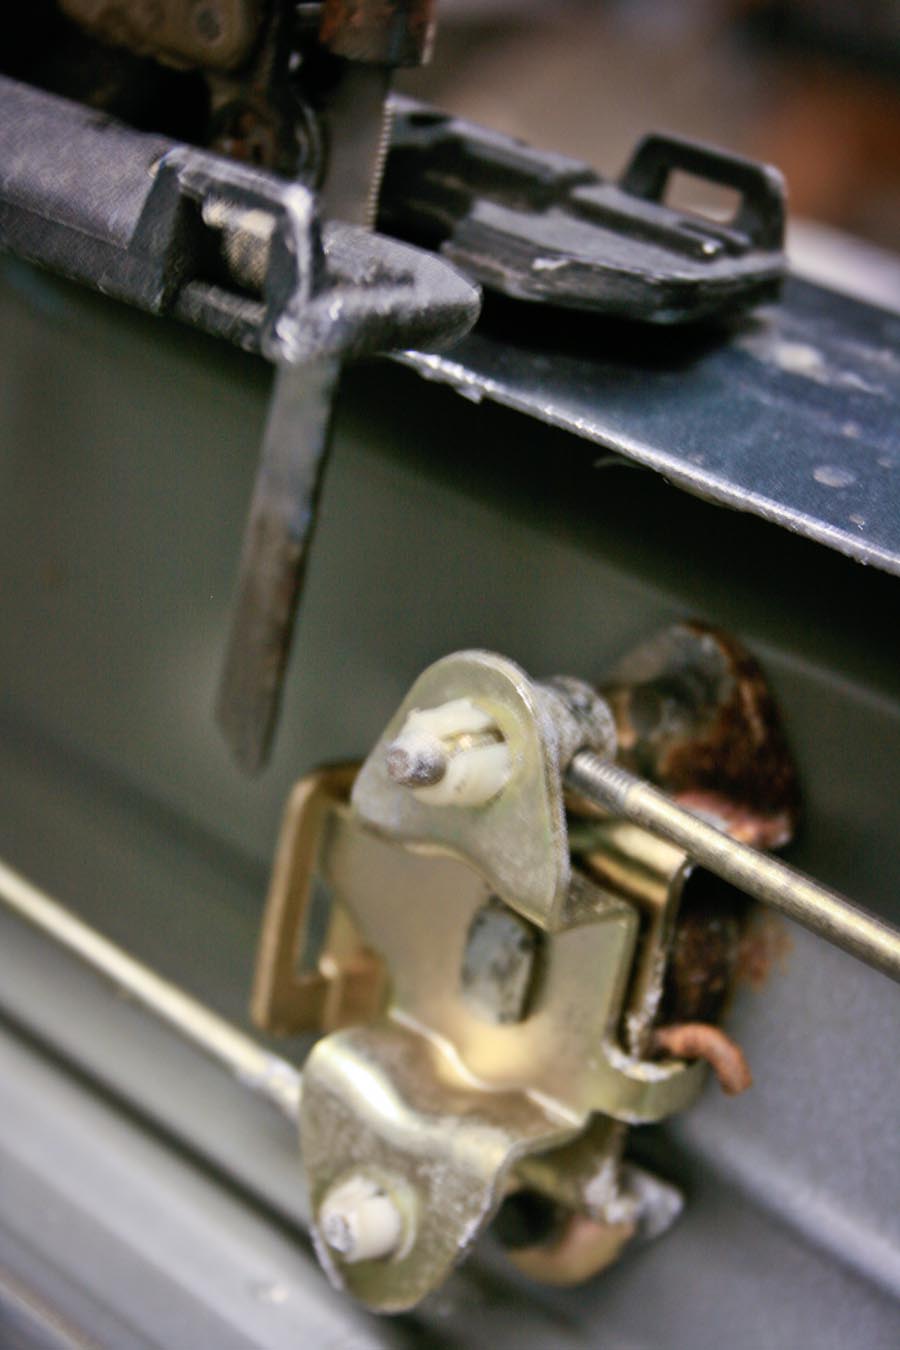
If you remove the inspection cover you can see the problem area beforehand.
A shot of the interference once the center has been removed.
Twist off any remaining spot weld tabs. Once the center is pulled out, remove the ends of the ribs by tweaking them back and forth until the spot weld breaks.

You are left with a big hole and some scrap metal.

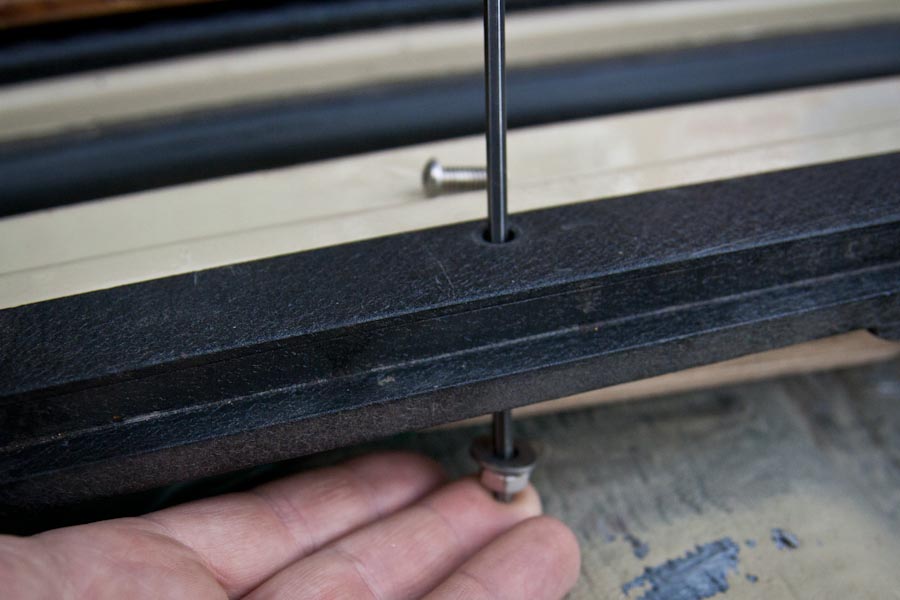
You will need a 5/32 allen wrench and a 7/16 (or 11mm) box wrench. Note: The washers need to be installed on the nut side of the hardware as seen in this picture.
Assemble the hardware. The hardware would be tough to get together unless you send the allen wrench through the hole, line the washer, and lock-nut up on the allen wrench and use it to aline them to the hole, pull out the allen wrench while holding up on the hardware and thread the screw in. Makes quick work of it.
No really, this can be very difficult if you do not use this trick. I recommend using a bit of thread-locker or anti-seize on the threads. The provided hardware is 18.8 stainless which has good corrosion resistance, but is prone to galling after repeated use or under heavy tension.
You should not encounter any problems during the initial installation unless your tailgate is bent more than normal. However, if you end up removing and re-installing your tailgate lid down the line the threads will start to get sticky, a bit of thread-locker will prevent this.
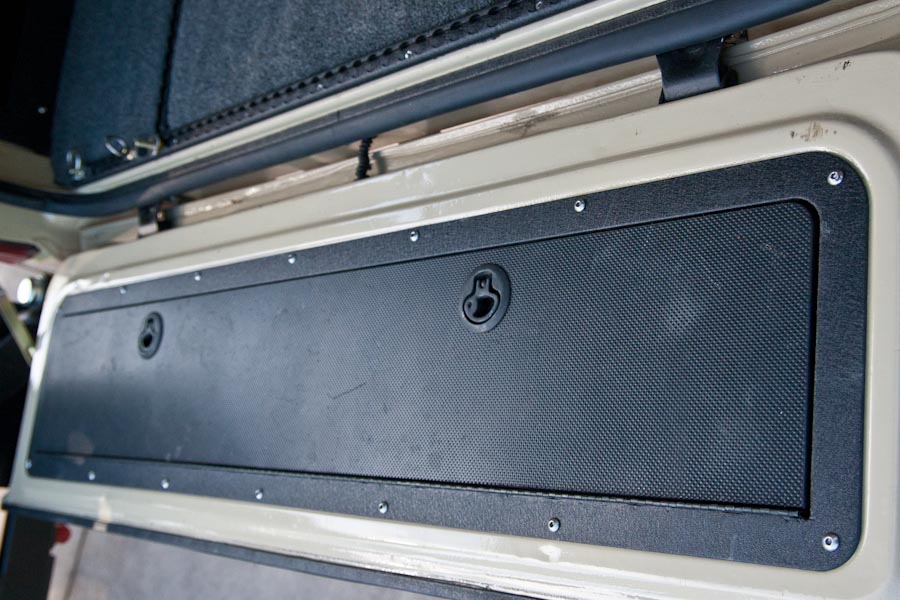
All set.
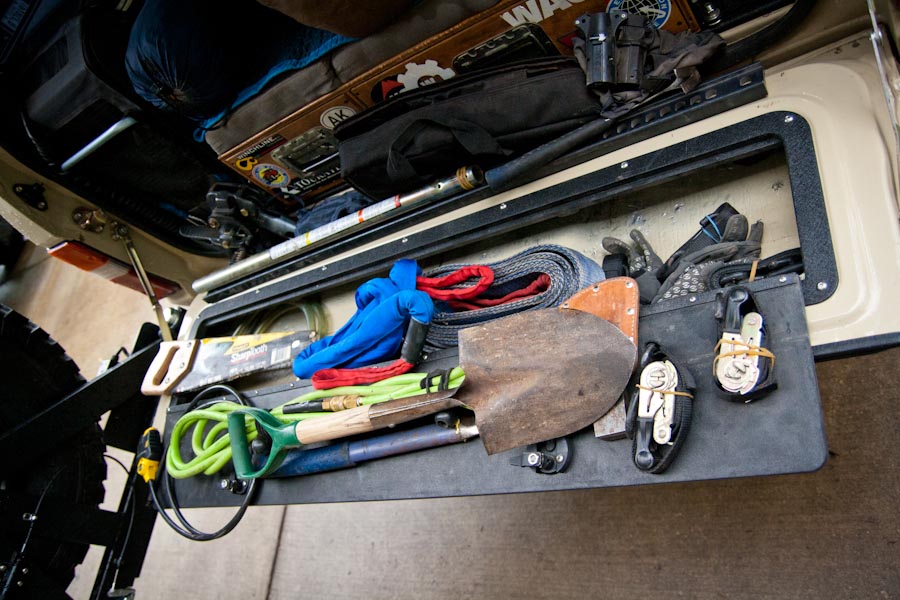
Now everybody’s favorite game: time to see what you can fit in there. Keep in mind, whatever you do put in there, you have to pick up every time you close the gate.
Light things that you need often are the best bet. I like to store tools that we need on a regular basis in camp, anything long and thin is a candidate.
If you would like to use an angle grinder for the installation, or would like to see some more details, check out the 80 series angle grinder installation instructions, they are quite similar to the 60 series process: