
80 Series Tailgate Installation
Tools Needed:
Jig Saw (or Angle Grinder[or plasma cutter…])
Hearing and eye protection
Marker
Philips Driver
5/32 Allen Wrench
7/16(11mm) Wrench
Materials Needed:
Loc-Tite
Sound Mat (See info Pages)
I get a lot of questions from folks who want to install their tailgate lids with an angle grinder rather than the jig-saw I typically recommend.
They both work just fine, covered here are instructions for instal with an angle grinder, check the 60 series installation for the jig saw method.
So, my buddy Matts truck had been coated on the interior with a heavy layer of LineX, it would have made a mess to use the plasma cuter like I normally do at my shop, so I took the opportunity to document an angle grinder cut and install.
Angle grinders work just fine and are probably a bit faster, they are not my first recommendation for a few reasons though:
There is a lot more chance of screwing up, they can be very dangerous (most people use cheap cut-off wheels from Harbor Freight that are even more dangerous and work like crap), the grinder will throw sparks all over your truck and make a bit more of a mess and I’ve had customers slip and cut through the outer skin. (I find that would be hard to do, but keep it in mind)
There are benefits though:
It’s faster.
They cut through the reinforcing ribs a bit easier.
Ummm… I guess that is about it though.
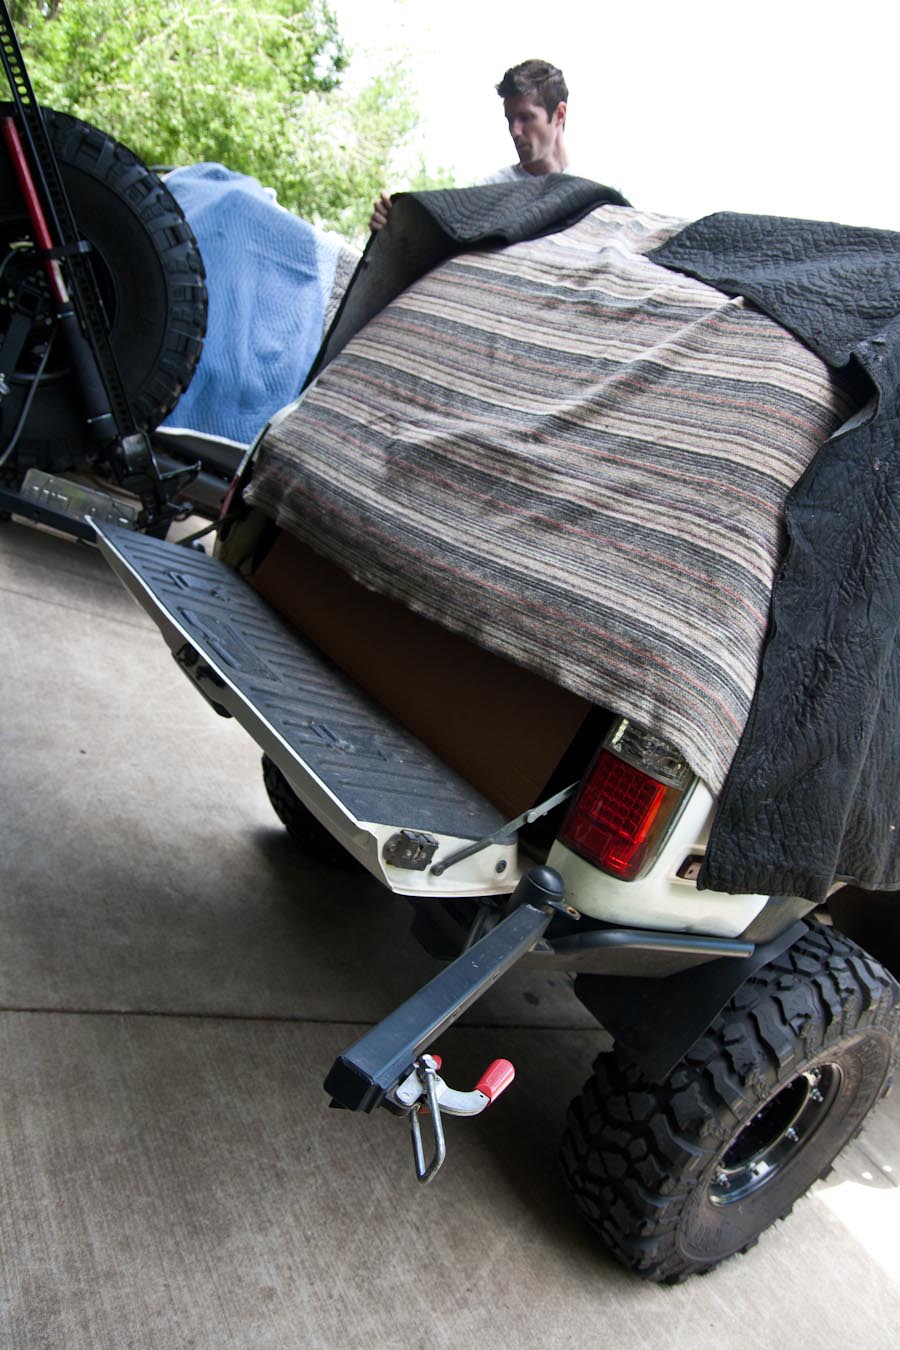
So, on to the pics: Here is Matt putting the finishing touches on our blanket fort.
With the sparks flying around from the grinder it’s a good idea to cover up the back of the truck, including the glass.
You can see here I have the lift gate closed and behind the liftgate I put a piece of cardboard, this really helps keep the inside of the truck clean. The cardboard that your lid comes wrapped in works great for this.
You can see the cardboard here as well.
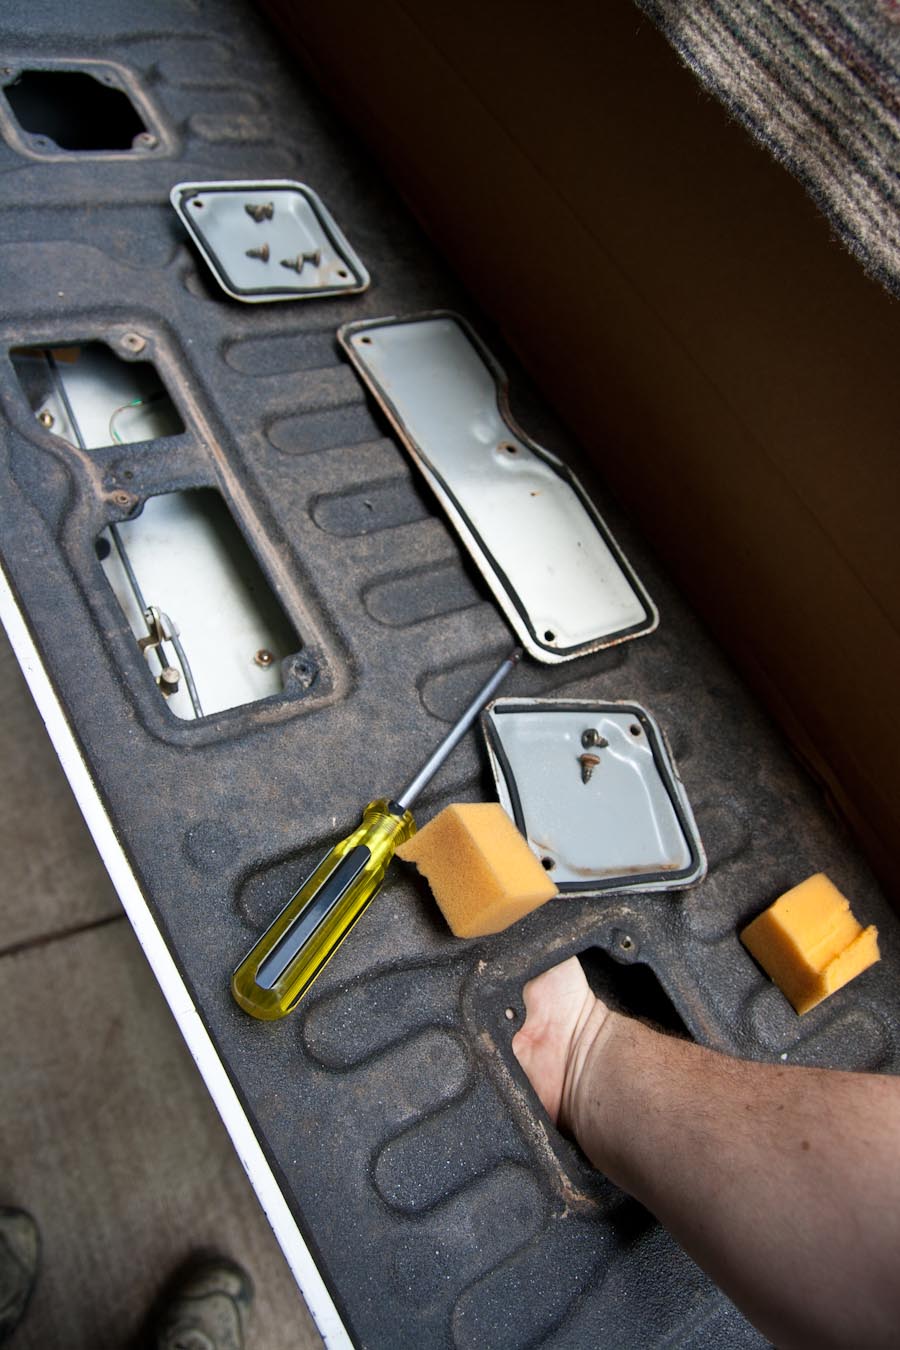
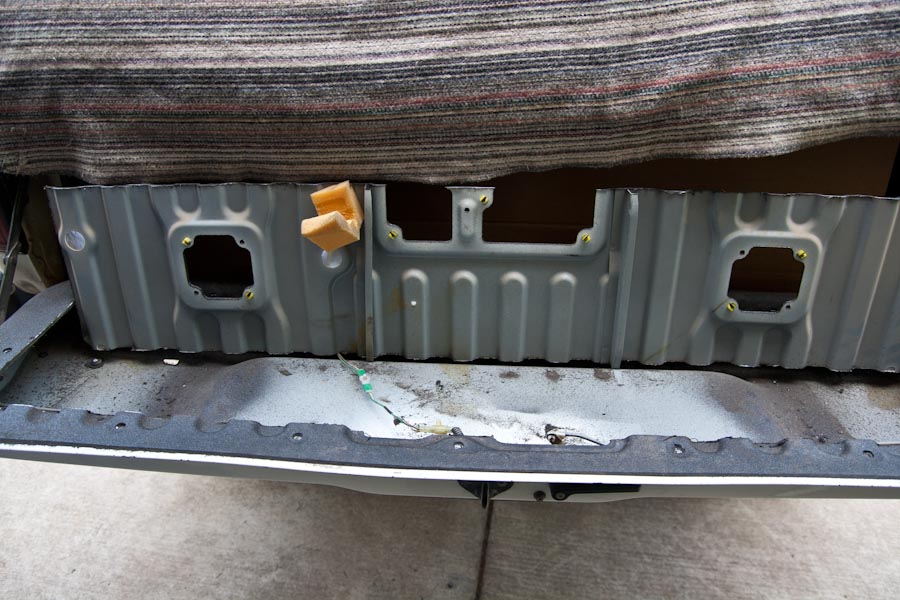
Pull the access covers like normal, good idea to remove the foam blocks so they don’t melt and make a mess.
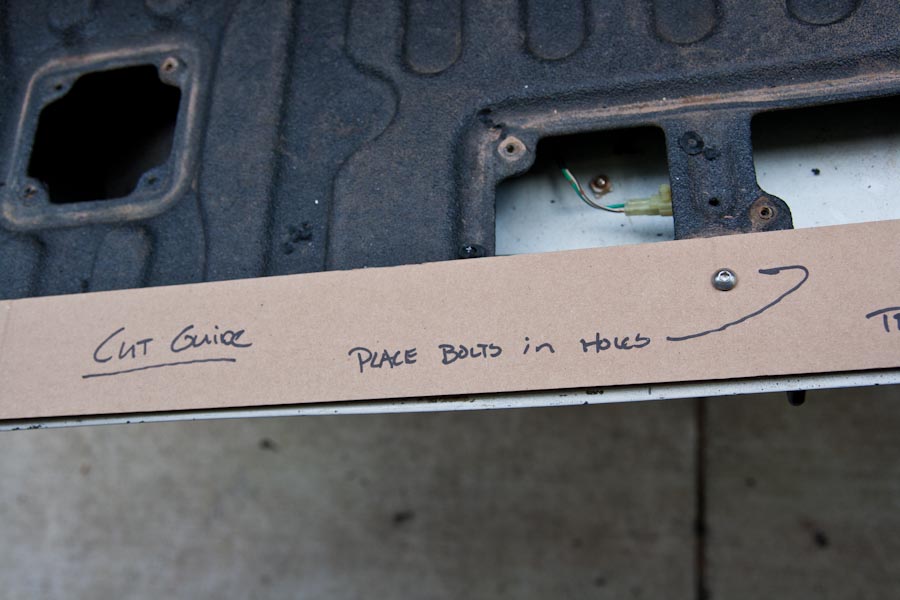
Drop the template into place and pin it with a few bolts.

Hopefully this is pretty self-explanatory:
And:
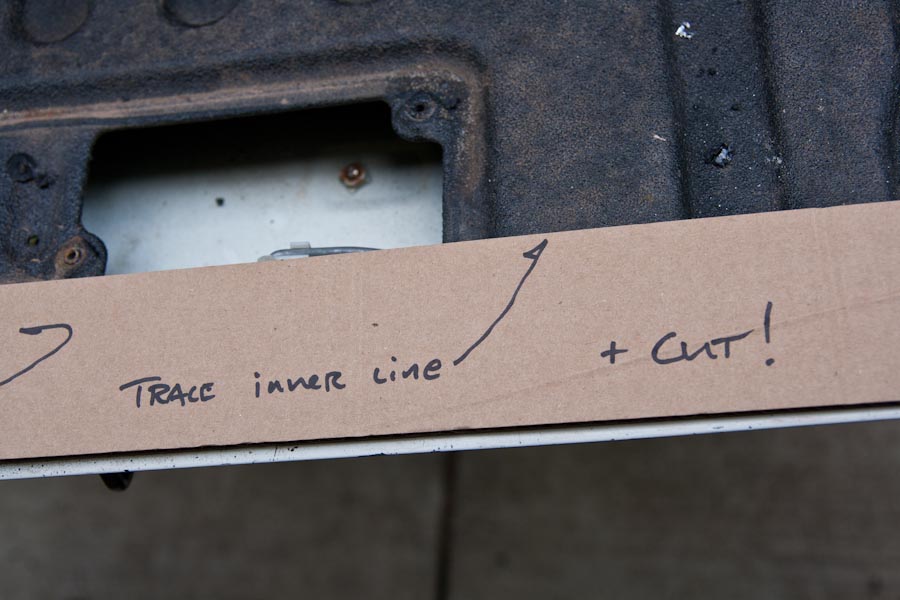
The trace:
Think of this ahead of time, if your truck is dark, you might want to make sure you have a light colored marker. Light colored truck; sharpie works just fine.

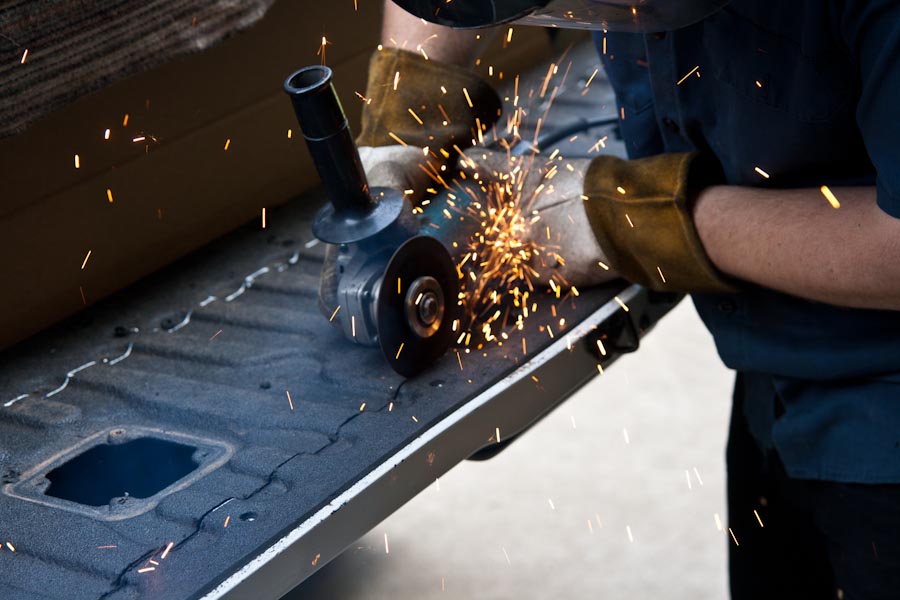
The Cut:
I’ve already removed the wire clip that holds the license plate light wire to the inside surface of the tailgate and we are ready to cut.
Face shield:
Wear one. You will be using the cutoff wheel on the vertical, if you bind it up and it cracks apart there will be shrapnel flying right at your face. In most cases goggles are just fine, but not here.
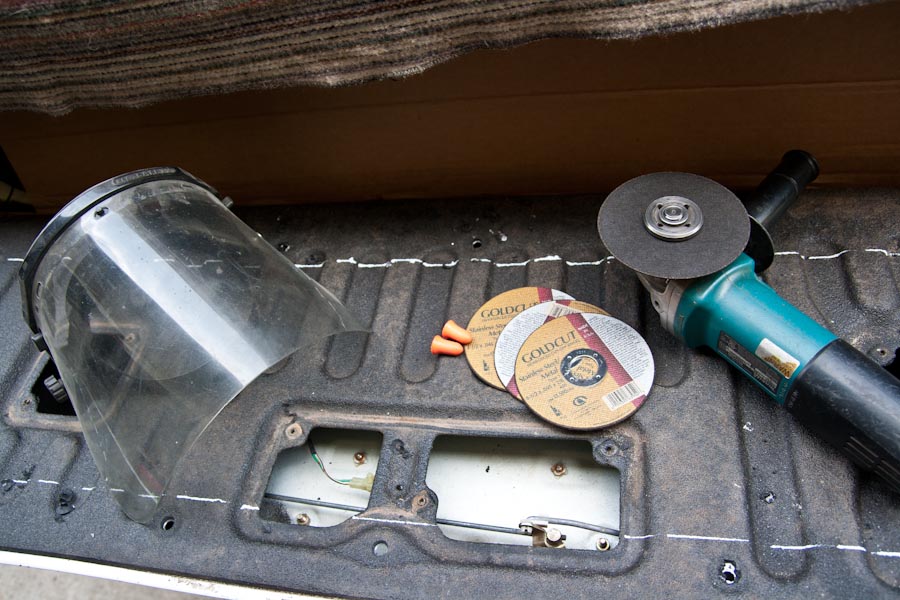
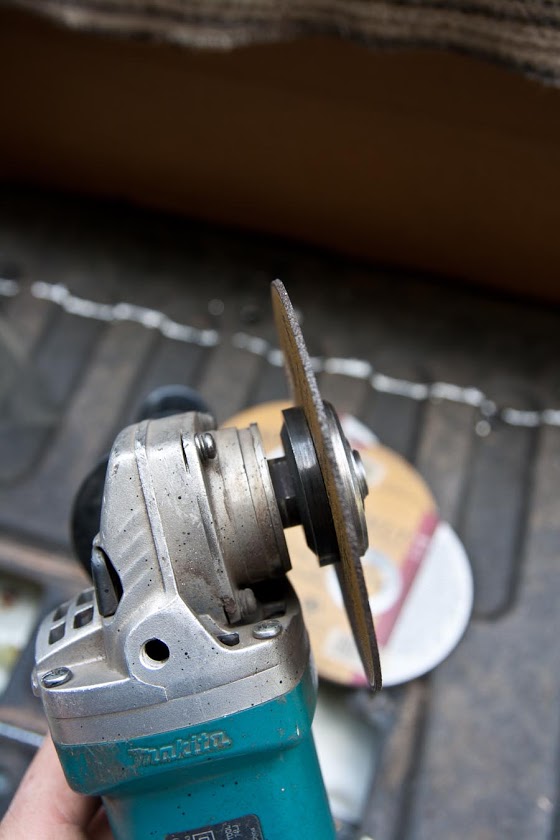
Note the disks, these are high quality cutting disks, they are thin and very strong, they are not from Harbor Freight. I don’t care if your grinder is from HF, but do yourself a favor and buy good wheels.
Just follow the line:
The inside corner can not be a square cut or else you will come too close to the bolt hole, as you go along and wear down your cutting wheel, use the smaller diameter of the worn out wheel to do an angle cut on that corner, this will let you keep the cut nice and small.
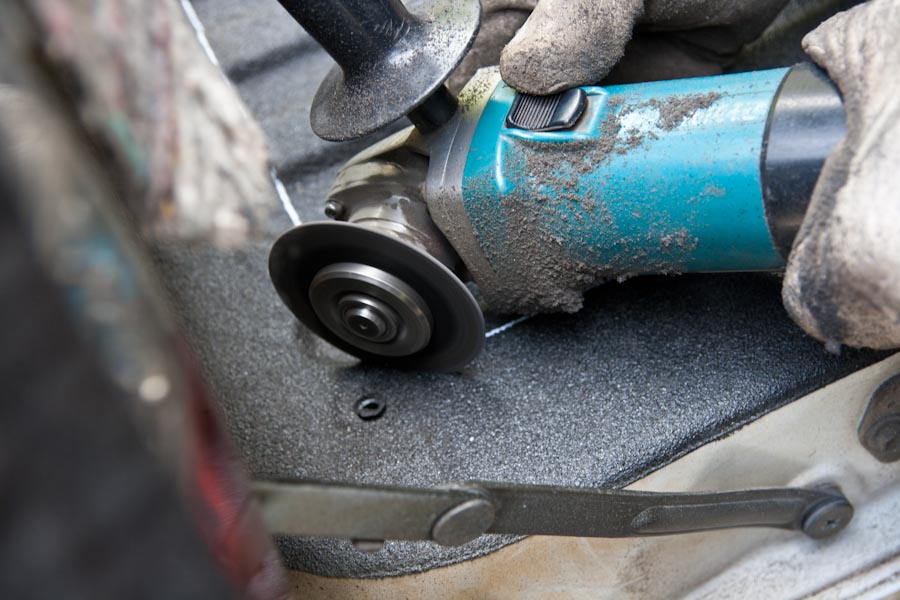
This is one of the two ribs you have to cut through, the cut off wheel does a great job here.

Once you’ve gone all the way around and cut both ends of the ribs off you get this:
Those little ribs are a whole lot weaker than the new tailgate lid panel, you can see that there is not much structure to the inner tailgate lid in stock form. With the new lid bolted in place your tailgate surface is much more sturdy.
You’ve made a mess at this point, vacuum out the dust:
Side note:
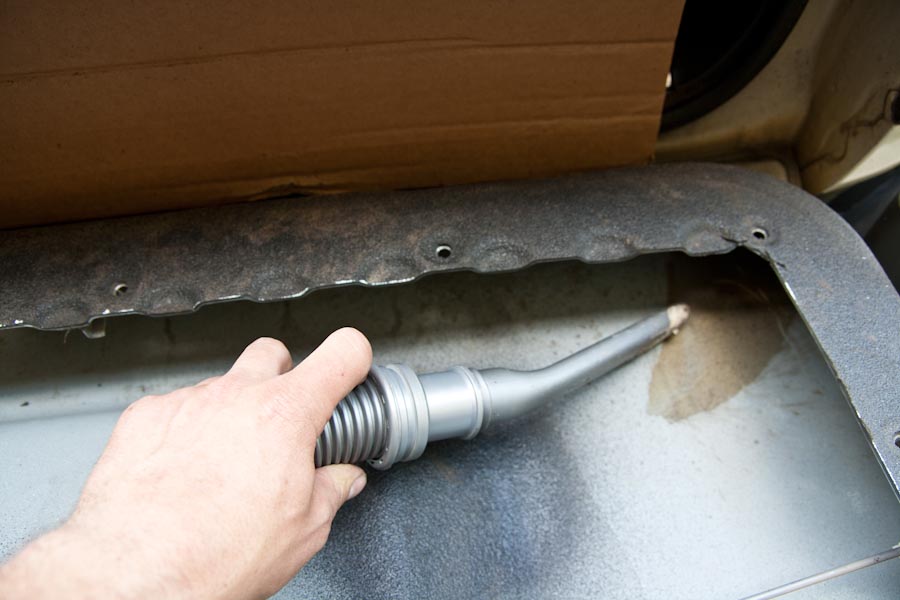
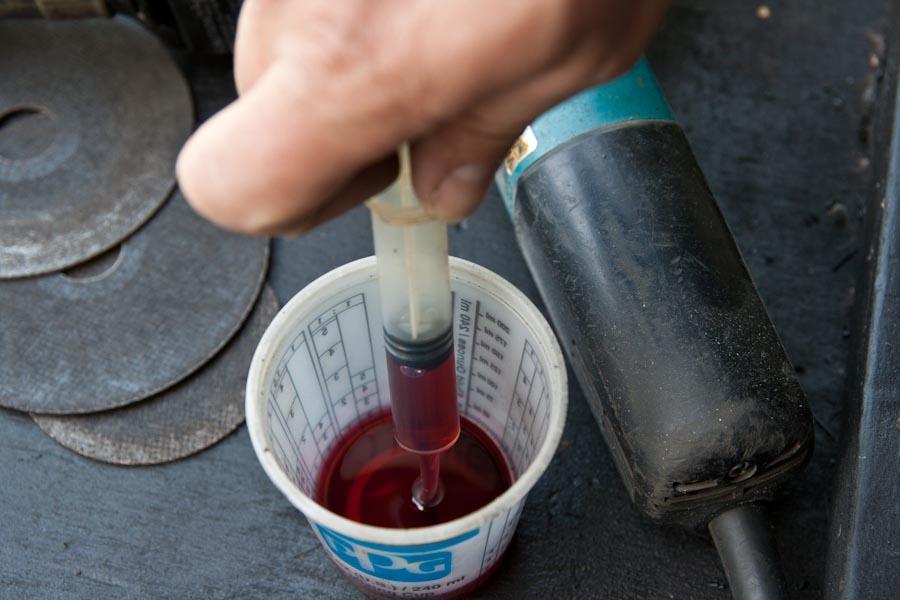
Anytime I’m putting in a tailgate lid, before I put the sound mat in place, I take the opportunity to put a tiny bit of ATF in the folded over pinch weld all along the bottom of the gate. This is a major moisture trap and even in dry climates the tailgates all start to rot out before the rest of the truck in this location (just take a look at any 60 series). The ATF is a very fine fluid that gets into incredibly tight spaces (actually penetrates the folded layers of metal) and it will also wick up against gravity. Perfect for preventative rust-proofing.
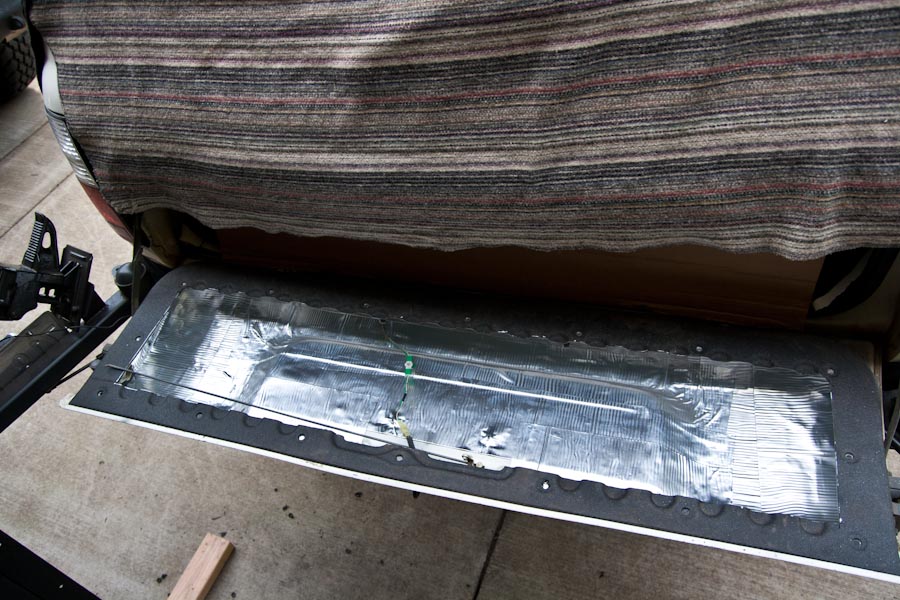
After that, I set Matt to the sound mat install, he did a pretty nice job:
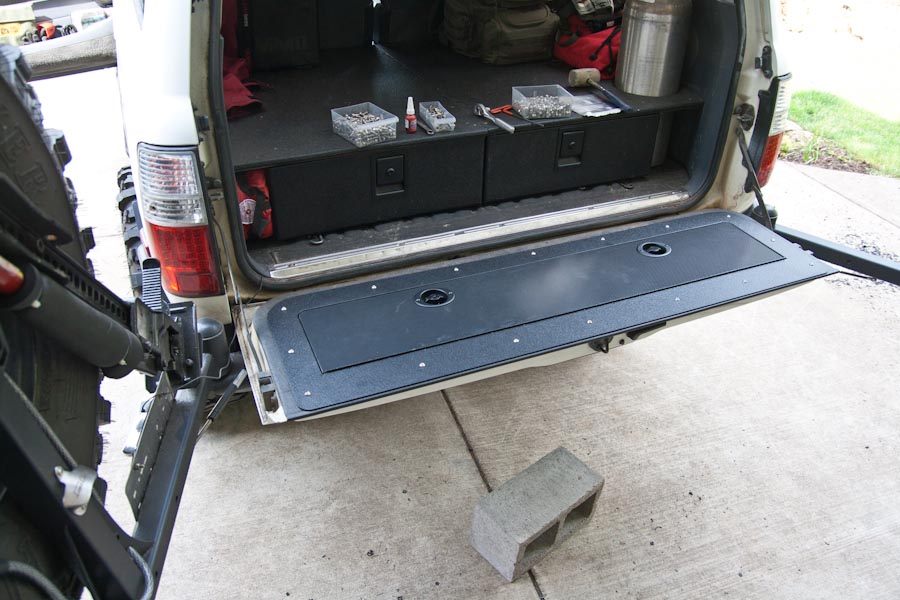
Then we set about bolting the lid in place. You can see the bits and parts in the top of this pic, note the loctite, very important, not only to keep all the hardware in place, but also since the hardware is 18-8 stainless. It has good corrosion resistance and is much more cost effective than 316 hardware, but it will tend to gaul up if you crank down on it. The loctite provides a protective film to help prevent the friction that causes gauling, then, once it cures, it helps keep the lock nuts in place, the tailgate sees a LOT of vibration. Also on the box are the 5/32 allen key, an 11mm gear wrench (since I only have metric gear wrenches) and a 7/16s socket for the few nuts that are hard to get to with the gear wrench.

And all buttoned up:
A couple of my customers have also made their own install videos, you can check them out here:
YouTube Videos